Einleitung
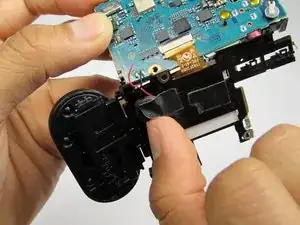
Oftentimes the LCD screen can become damaged or dysfunctional, this guide will show you an easy way to replace the LCD screen on your Sony Action Cam. In order to properly complete this guide, you must first remove the battery and get to the circuit board. During this guide, be wary of small parts and screws, careful not to lose or misplace them.


-
-
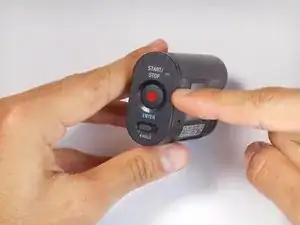
To access the battery, push left on the rear cover of the action cam. The rear panel should easily slide to the side.
-
-
-
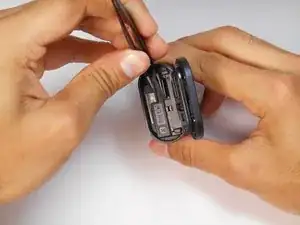
Open the rear panel outward to reveal the battery tray and memory card slot.
-
Pinch the protruding bar next to the "Pull" text and slide the tray outwards.
-
-
-
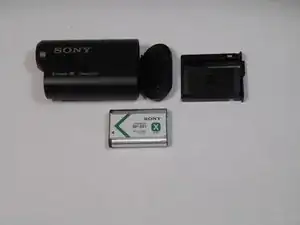
When the battery tray has been removed from the Action Cam, you can simply pull the battery out of the tray.
-
-
-
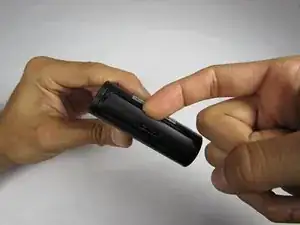
Open the bottom tab with your finger or a plastic opening tool.
-
Pull the tab out, not up, to remove it completely.
-
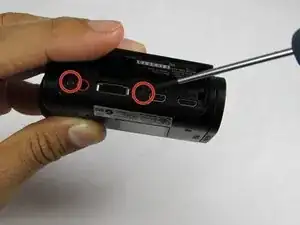
Remove the two screws indicated by the second photo.
-
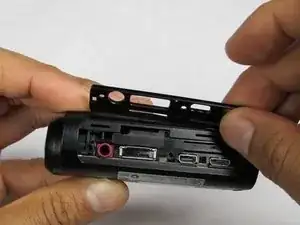
Once the screws are removed, extract the plastic plate as shown in the third photo.
-
-
-
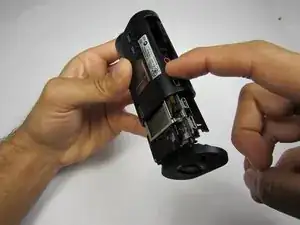
Separate the outer casing from the electronics by pushing on one of the ports toward the back end of the case. The electronics should slide right out.
-
-
-
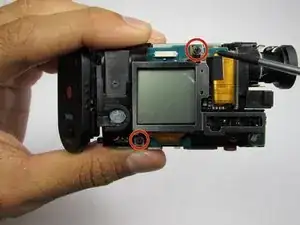
Remove the two 1/4 in. Phillips screws on the LCD side of the device using a #00 Phillips head screwdriver.
-
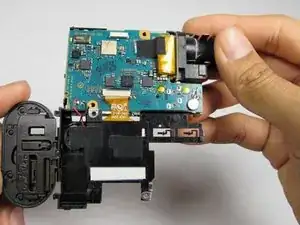
Flip the LCD display downward to reveal the circuit board.
-
-
-
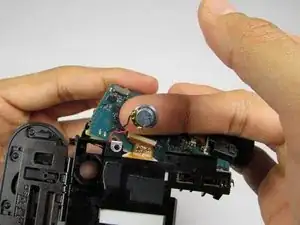
Pry the speaker out from its slot gently, careful not to rip the wires from the circuit board.
-
-
-
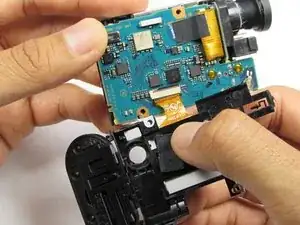
A ribbon cable attaches the LCD to the circuit board, this can be removed by gently pulling on the cable as close to the end that attaches to the circuit board as possible.
-
-
-
Gently remove the metal piece by pulling out to the right on the upper right corner first, and then on the bottom left corner.
-
-
-
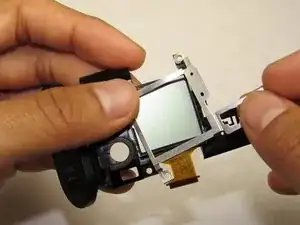
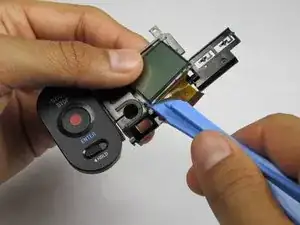
Two clips hold in the LCD screen. Bend these back slightly with a plastic tool or with your hands while pushing on the front of the LCD screen so that the clips do not snap back into place
-
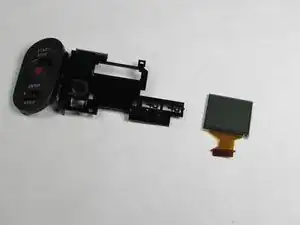
After the clips have been undone, use the plastic opening tools to pry out the LCD screen.
-
To reassemble your device, follow these instructions in reverse order.
