Einleitung
You will take apart the camera case to access the circuit board after removing the battery. Be ready to handle small parts and screws.


-
-
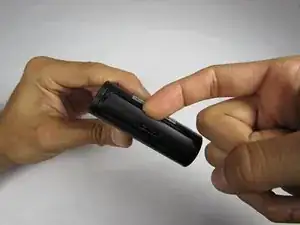
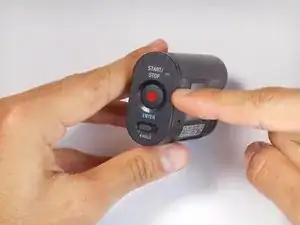
To access the battery, push left on the rear cover of the action cam. The rear panel should easily slide to the side.
-
-
-
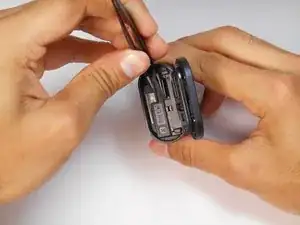
Open the rear panel outward to reveal the battery tray and memory card slot.
-
Pinch the protruding bar next to the "Pull" text and slide the tray outwards.
-
-
-
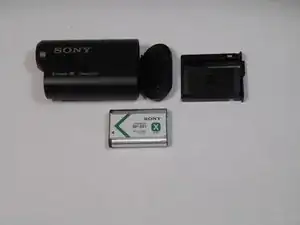
When the battery tray has been removed from the Action Cam, you can simply pull the battery out of the tray.
-
-
-
Open the bottom tab with your finger or a plastic opening tool.
-
Pull the tab out, not up, to remove it completely.
-
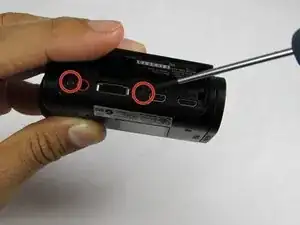
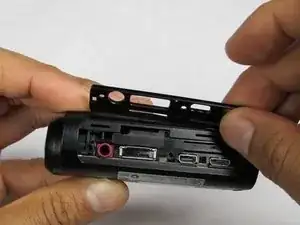
Remove the two screws indicated by the second photo.
-
Once the screws are removed, extract the plastic plate as shown in the third photo.
-
-
-
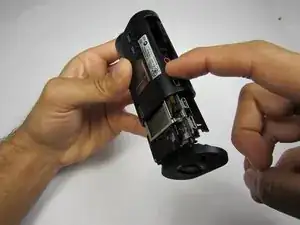
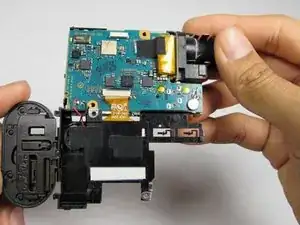
Separate the outer casing from the electronics by pushing on one of the ports toward the back end of the case. The electronics should slide right out.
-
-
-
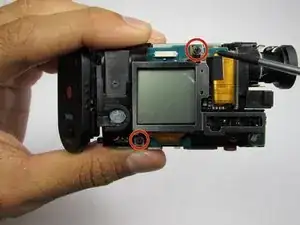
Remove the two 1/4 in. Phillips screws on the LCD side of the device using a #00 Phillips head screwdriver.
-
Flip the LCD display downward to reveal the circuit board.
-
To reassemble your device, follow these instructions in reverse order.