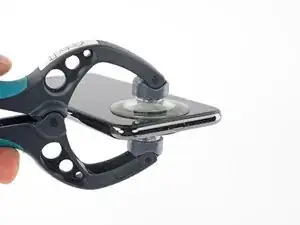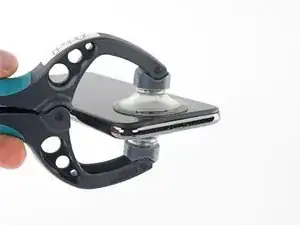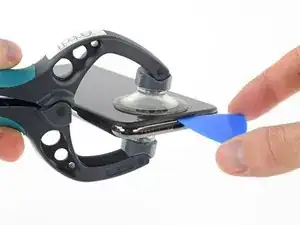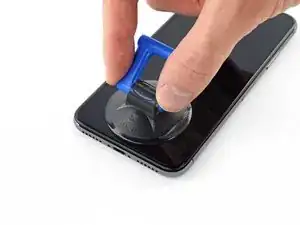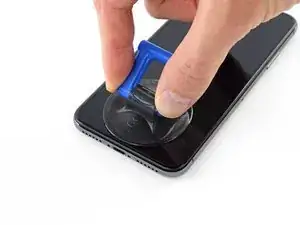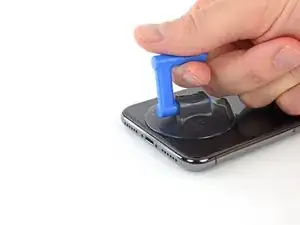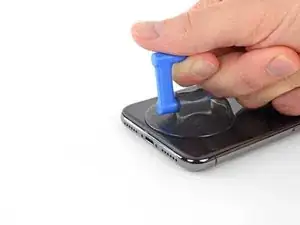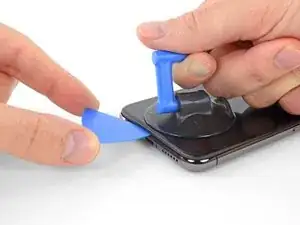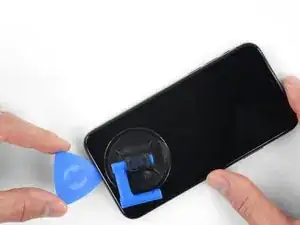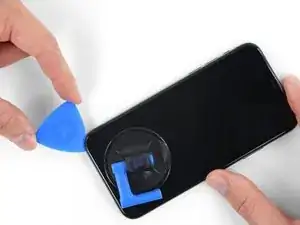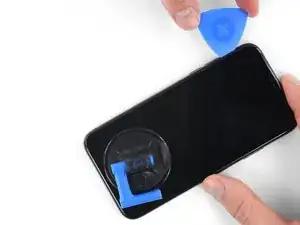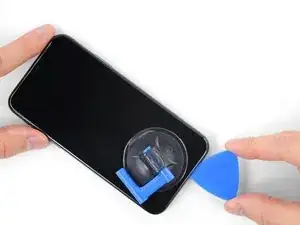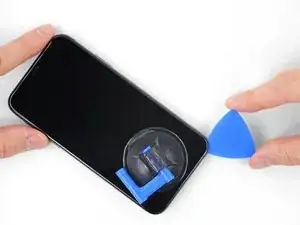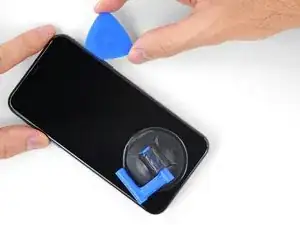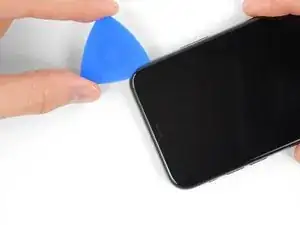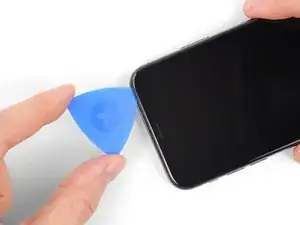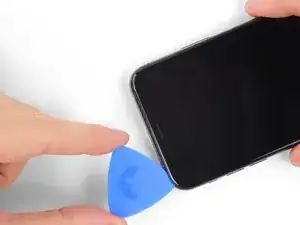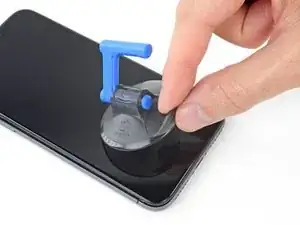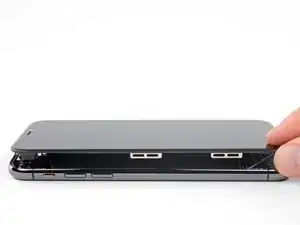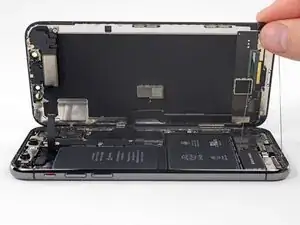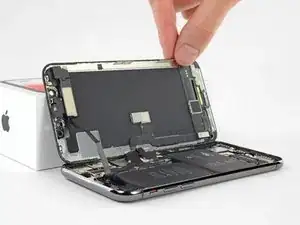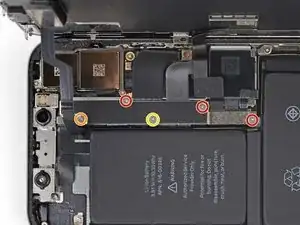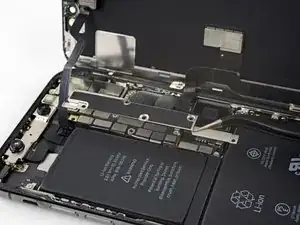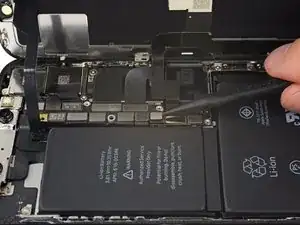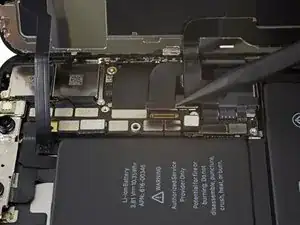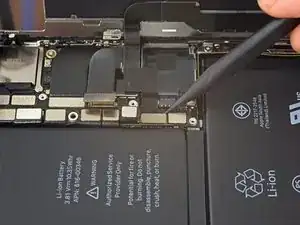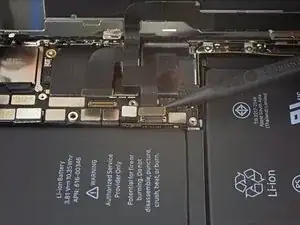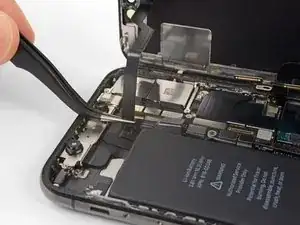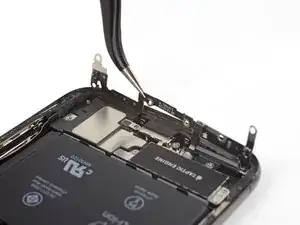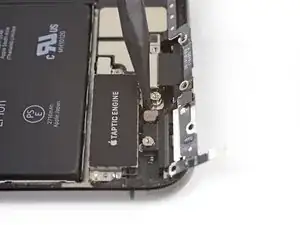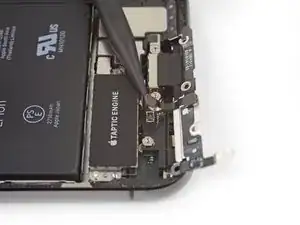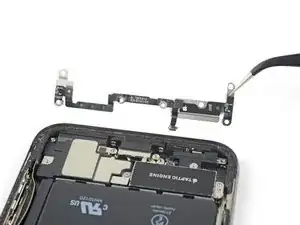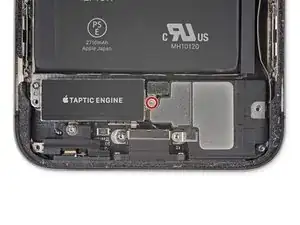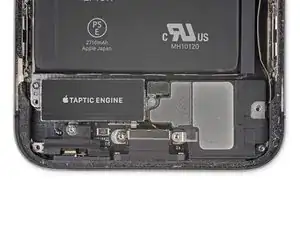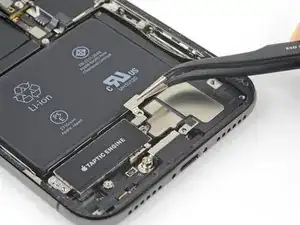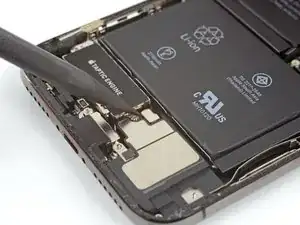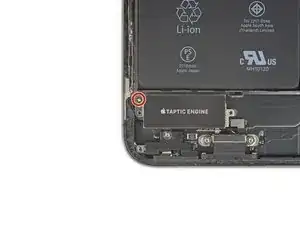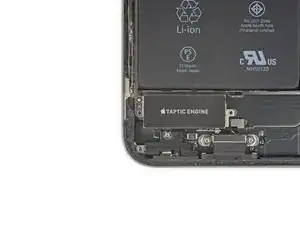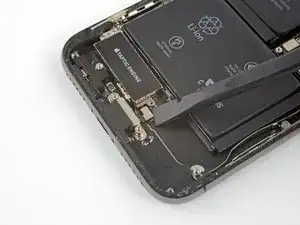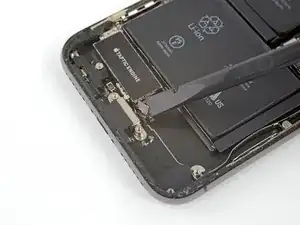
Einleitung

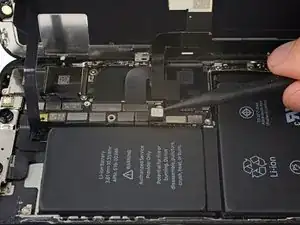
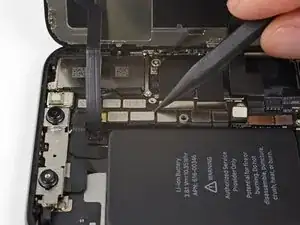
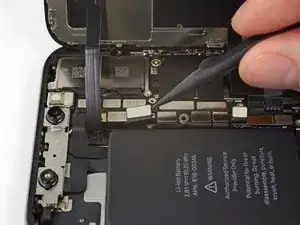
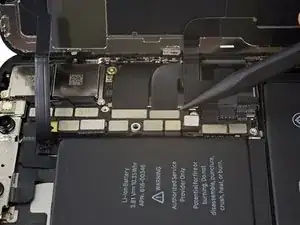
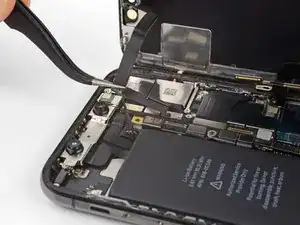
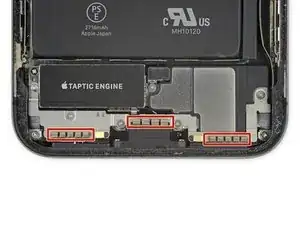
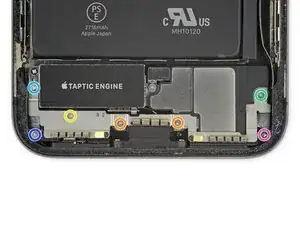
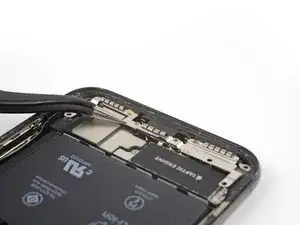
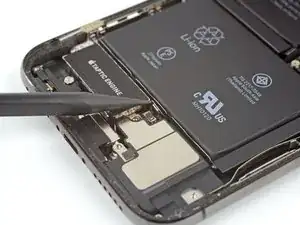
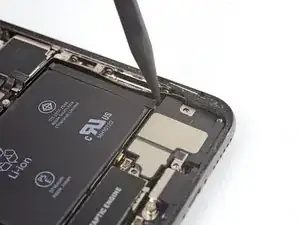
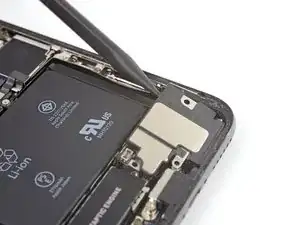
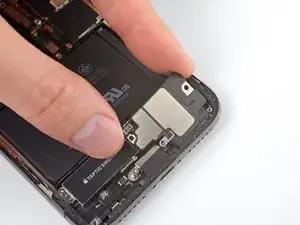
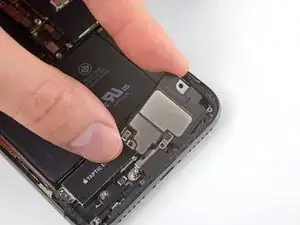
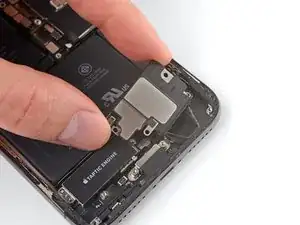
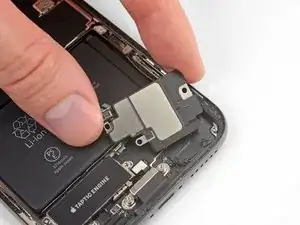
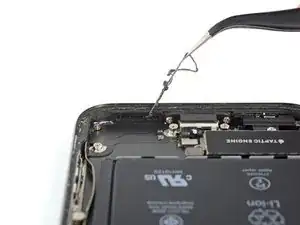
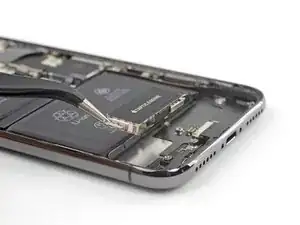
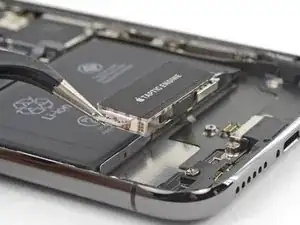
Die Taptic Engine erzeugt die Vibrationen des iPhones und sorgt für haptische Rückmeldung. Folge dieser Anleitung, wenn du die Taptic Engine ausbauen und/oder austauschen willst.

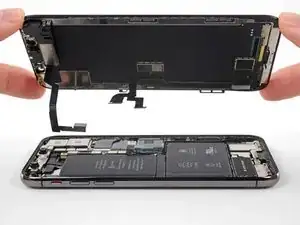
In dieser Anleitung wird auch die Displayeinheit komplett entfernt. Das ist Absicht, um eine versehentliche Überbeanspruchung oder Beschädigung während der Arbeit an den Displaykabeln zu vermeiden. Wenn du dich so sicher fühlst, die Taptic Engine auszubauen, ohne die Displaykabel zu gefährden, dann kannst du die entsprechenden Schritte zum Ablösen der Displaykabel überspringen

  1. BO6lEF2W1kX5S1sI
    • Bevor du anfängst, sollte der Akku deines iPhones auf unter 25% entladen sein. Ein geladener Lithium-Ionen Akku kann Feuer fangen und/oder explodieren, wenn er beschädigt wird.

    • Schalte dein iPhone aus, bevor du daran arbeitest.

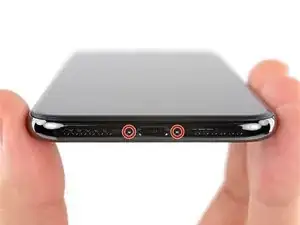
    • Drehe die beiden 6,9 mm langen Pentalobe Schrauben an der unteren Kante heraus.

    • Wenn die Schrauben beschädigt sind, musst du sie ersetzen.

    • Wenn du ein iPhone öffnest werden seine wasserfesten Dichtungen beschädigt. Halte Ersatzdichtungen bereit, bevor du nach diesem Schritt weitermachst, oder vermeide es, dein iPhone der Feuchtigkeit auszusetzen, wenn du es ohne neue Dichtungen wieder zusammenbaust.

    There are 6.81mm long screws!

    Daniel -
    One of the pentalobe screws is stripped :( - suggestions for how to get it out?
    cgtyoder -

    same situation here

    kaunomarcius -

    Same issue for me too, how do I get the stripped screw out?

    patronics -

    Update: I was able to get the “stripped” screw out using another Pentalobe-2 screwdriver bit from another company. It seems it wasn’t the screw, but the screw driver that was actually stripped. Hence why the other screwdriver kit I got came with 3 of this bit, I suppose.

    patronics -

    I ended up going to a jewelry store, and they drilled down into the screw, with of course an incredibly tiny bit. That allowed me to insert the P2 driver, and I was able to unscrew it at that point. Good luck!

    cgtyoder -

    Same issue with the stripping. The tip of the iFixit P2 head in my $70 kit just ground off on the first screw and that was that. Not much you can do.

    Kyle Harris -

    yes correct the same happened to me, the screws were perfect shaped never been open and as soon as i used the P2 it stripped the screws, seems like the P2 is slightly smaller but Dremel kit with a very small drill bits and precise knife tool is the way to go.

    Dulce Vidal -

    Hi, there this is a great informative post that is really shareable to all newbies who are interested in the Guide for the mobile phone repair industry. Really the mobile phone repair blogging is a great way to make money online. Thank you for sharing the post.

    You may know more about iPhone Repair, https://fixnrepair.org/iphone-repair/

    Muhammad Forhad -

    This step in automatically followed through, without any thought. Why remove these screws? Can anybody explain? The Screen is detachable all the same, with them well screwed in…

    Uri -

    These screws attach to a plate that’s part of the screen half of the phone. If you succeed in detaching the screen without removing those, it would seem reasonable that you will have damaged that plate or its ability to keep the two halves together.

    Dan Long -

    @Dan Long is right

    Uri -

    Clean out the pentalobe screw heads first so the tool goes all the way in. A small sewing needle works well to loosen any build up and then press some putty/chewing gum into the screw head and pull away quickly for a final clean out.

    William Olstad -

    The this kit should include screws because you’re going to strip them. Can’t even get past step one. Did anybody figure this out

    justin -

  2. JYhTvDYuGLQw3jiI
    • Das Öffnen des iPhones wird leichter, wenn du seine Unterkante erwärmst und damit den Kleber darunter aufweichst.

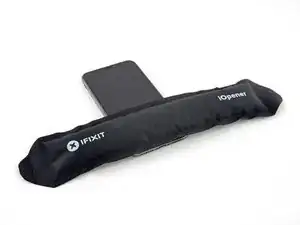
    • Benutze einen Haartrockner oder ein Heißluftgebläse oder bereite unseren iOpener vor. Erwärme damit die Unterkante des iPhones etwa eine Minute lang, um den Kleber darunter aufzuweichen.

    General tip regarding heating necessary to remove adhesive:

    consider using a heated tip of a small screwdriver or metal spudger (not the one made of plastic, provided in kit), rather than to heat the device itself.

    Uri -

    You then need to be careful about the temp of the tool which if hot enough can melt plastic components or harm them. Keeping the heat source (heat gun) far enough away from the object that you’ll eventually melt the glue but would be much harder to melt components. I try to keep 4” or 5” gap between the source & object

    Sandman619 -

    Thanks for the info. Could a air convector do the job

    dominique.br -

    When opening a device that has previously been worked on, and on which the adhesive might not have been replaced, be extremely carful when opening the phone. It will open much more easily than expected. If you’re not careful you might rip a cable.

    jonpol -

  3. iFsfglbCPdqVcdce
    iFsfglbCPdqVcdce
    HGjHVhcZpLkRdWaG
    • Die nächsten beiden Schritte demonstrieren den iSclack, ein praktisches Werkzeug, das wir jedem empfehlen, der öfter repariert. Wenn du keinen iSclack benutzt, dann springe zwei Schritte weiter für eine andere Methode.

    • Wenn der Tiefenmesser aus Kunststoff in der Mitte des iSclack angebracht ist, kannst du ihn jetzt entfernen. Bei größeren Smartphones wie dem iPhone X wird er nicht gebraucht.

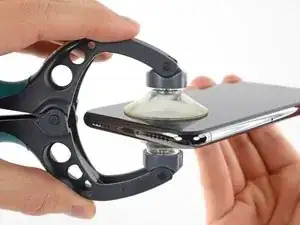
    • Setze die Saugheber am unteren Rand des iPhones an, einen auf der Vorderseite, den anderen auf der Rückseite.

    • Drücke beide Saugheber fest an.

    • Wenn das Displayglas oder das Rückseitenglas sehr zersplittert ist, dann wird das Anbringen der Saugheber vielleicht möglich, wenn du die Scheibe mit starkem durchsichtigem Klebeband abklebst.

  4. 2Jns3o1DnIaFF41A
    2Jns3o1DnIaFF41A
    iBIBDCWZBNRe2c16
    pwX5vwD2BlgqVDvD
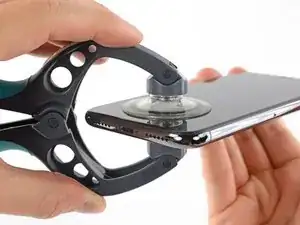
    • Halte das iPhone gut fest und drücke auf die Griffe des iSclack, so dass sich die Scheibe leicht vom Rückgehäuse des Smartphones trennt.

    • Versuche nicht, die Scheibe ganz zu lösen, ein kleiner Spalt an der Unterkante genügt.

    • Setze ein Plektrum in den Spalt.

    • Überspringe die nächsten beiden Schritte.

  5. qXGGZ2MpZIYeQjKI
    qXGGZ2MpZIYeQjKI
    tGDwxj5neYkh3MDh
    • Wenn du einen einzelnen Saugheber benutzt, dann setze ihn am unteren Rand des iPhone auf, wobei du den gebogenen Teil vermeiden musst.

    • Wenn das Displayglas sehr zersplittert ist, dann wird das Anbringen des Saughebers vielleicht möglich, wenn du die Scheibe mit starkem durchsichtigem Klebeband abklebst. Alternativ kannst du auch sehr kräftiges Klebeband anstelle des Saughebers benutzen. Wenn alles nicht funktioniert, dann kannst du den Saugheber mit Sekundenkleber anbringen.

    If you were using some form of screen protector, it may come off first as soon as you pull on the suction cup. Do not be alarmed. That is normal behavior.

    Alain-Daniel Wa-Baguma -

    3m VSB double stick tape will stick to the screen when the suction cups fail (see my comment on step 1)

    Tawan Khamapirad -

  6. mQXXaF3tPiGDXl2a
    mQXXaF3tPiGDXl2a
    uTXCGQFa5j4E5T3Y
    DWfsuj4RCooAtKRa
    • Ziehe fest und gleichmäßig am Saugheber und erzeuge dadurch einen kleinen Spalt zwischen Frontscheibe und Rückgehäuse.

    • Setze ein Plektrum in den Spalt ein.

    • Der wasserfeste Kleber, der das Display festhält, ist sehr stark. Um den anfänglichen Spalt zu erzeugen, musst du recht viel Kraft aufbringen. Wenn der Spalt schwer zu öffnen ist, musst du mehr Wärme anwenden. Bewege die Scheibe vorsichtig hoch und runter und löse so den Klebstoff, bis der Spalt groß genug ist, um das Werkzeug einzusetzen.

    In addition to safety goggles, I would recommend you also wear good gloves to avoid getting cut with the glass as you try to pry it open.

    Alain-Daniel Wa-Baguma -

    The top about applying more heat and gently rocking the screen up and down to weaken the adhesive did the trick for me. Thank you!

    Monil Shah -

  7. QE4lOUoglbyWQUwm
    QE4lOUoglbyWQUwm
    cHHBBJPBr4bVv24U
    agDTTsHWFYyI2WBC
    • Schiebe das Plektrum um die linke untere Ecke und am linken Rand des iPhone hoch, zerschneide damit den Kleber, der das Display festhält.

    • Setze das Plektrum nicht zu tief in das iPhone ein, damit du keine internen Bauteile beschädigst.

  8. OEUEsoSAmOAWxAMR
    OEUEsoSAmOAWxAMR
    YOhTValkxrevLipu
    aSZ2MAdtw4ZImiCD
    • Setze da Plektrum wieder an der Unterkante des iPhone ein und schiebe es die rechte Seite hoch, um den Kleber darunter aufzutrennen.

    • Setze das Plektrum nicht zu tief ein, sonst riskierst du es, die Displaykabel an dieser Seite des iPhone beschädigen. Setze es nur wenige Millimeter tief ein, etwa die Breite der Displayblende.

    If you have flat feeler gauges (for adjusting engine valve tappet clearance, ignition points … old school) the .003” thick gauge goes right in. Work your way up in thickness until you can get the pic or supplied pry tool in. Don’t insert metal feeler gauge in too far, just enough to hold crack open. I didn’t need to use the suction cup. I used a hot/cold gel pack heated in microwave to heat edges to soften glue a bit. Made sure it wasn’t so hot I couldn’t stand it on my skin.

    William Olstad -

  9. WfcjjEBfMZqEySEf
    WfcjjEBfMZqEySEf
    PCXKpWMWg6GWEViY
    McqYslJ4vV1SOOnm
    • Die Oberkante des Displays ist mit Klebstoff und mit Klammern befestigt.

    • Schiebe das Plektrum um die obere Ecke des Displays herum und ziehe gleichzeitig vorsichtig das Display mit wackelnden Bewegungen herunter in Richtung des Lightninganschlusses.

    • Wenn du nicht vorsichtig bist, können die Klammern brechen. Sei geduldig und wende nicht zu viel Kraft an.

    • Setze das Plektrum wiederum nicht tiefer als ein paar Millimeter ein, etwa so tief wie die Breite der Blende. Du könntest sonst die Frontsensorgruppe beschädigen.

    • Schiebe das Plektrum zur gegenüberliegenden Ecke und trenne die restlichen Klebeverbindungen, welche das Display noch befestigen.

    These are the best instructions I’ve ever read for anything.! Thank you!

    Peter Andrew -

  10. GnieimxVeXdJJobM
    • Ziehe an der kleinen Noppe am Saugheber, um ihn vom Display zu entfernen.

    • Wenn du einen iSclack benutzt hast, dann entferne ihn jetzt.

  11. XFu5RLJA6ncMAhxo
    XFu5RLJA6ncMAhxo
    nCGOAuVQLFmYsrOd
    XjQSuyqDe1k51mua
    • Öffne das iPhone, indem du das Display von der linken Seite her hochklappst, wie die Seite eines Buches.

    • Versuche noch nicht, das Display ganz zu trennen, mehrere empfindliche Flachbandkabel verbinden es immer noch mit dem Logic Board des iPhones.

    • Achte darauf, dass der Rahmen wie gezeigt zusammen mit dem Display herauskommt und nicht im Gerät steckenbleibt.

    • Lehne das Display gegen einen Gegenstand, damit es abgestützt ist, wenn du daran arbeitest.

    • Lege das Display beim Zusammenbau richtig in Position, richte die Klammern an der Oberkante aus und drücke die Oberkante hinein, bevor du den Rest des Displays einrasten lässt. Wenn es nicht leicht einrastet, dann prüfe, ob die Klammern am Rand des Displays ringsum richtig sitzen und achte darauf, dass sie nicht verbogen sind.

    My phone came apart in a different way and looks not right the little box at the top of the display as actually bolted to the top of the frame body I think something went really wrong when I opened it.

    Mike Kostersitz -

    It opens like a book but be careful not to open it all the way — only as far as shown in the photo. Otherwise it will strain the thin cable that connects the sensor module and then no more FaceID for you (or, as it turns out me). This could have been made more explicit in the instructions.

    Richard Tucker -

    It opens like a book but be careful not to open it all the way  … the small stainless steel tabs that hold the screen around the metal frame, that are on the bend place (right side of the phone)… are tend to bend, you can straighten them back to 90 deg. but the plastic base that they are on? very fragile- watch out not to break the plastic bezel … it may come apart of the glass.

    dabur872 -

    Advice for re-assembly: Before closing up the phone with the seal, check if phone is powering up again and speaker, mic and sensors are still working. If done this check even before installing the board connector bracket in Step 13.

    Alexander Nowak -

  12. XWpMWTY4DJnfeUAy
    • Entferne fünf Y000 Schrauben, welche die Halterung des Verbinders des Logic Board befestigen:

    • Drei 1,1 mm Schrauben

    • Eine 3,1 mm Schraube

    • Eine 3,7 mm Schraube

    • Achte bei dieser Reparatur auf jede Schraube und stelle sicher, dass jede Schraube wieder genau an ihren alten Platz eingedreht wird. Vermeide damit, dass das Smartphone beschädigt wird.

    One thing I found helpful for replacing the screws was to use only the 000screwdriver tip, without the handle. This way, the tip isn’t magnetized and the screw doesn’t tend to ‘roll’ off the screwdriver tip (the screw has almost no mass, so the head (largest surface) is pulled around to the side of the screwdriver tip when magnetized).

    Rich May 23, 2020

    ungodly -

    My 3.1mm screw had a stripped head, could not remove it. (Factory defect, this iPhone was never opened)

    So I had to give up removing the display assembly, and jumped directly to battery replacement, Step 20.

    That was tricky as I had to keep the display at 90º with a risk of breaking display connectors, but hopefully the replacement went well.

    I would not recommend to do this but to follow the guide, but, in case someone encounters a similar issue, that could help!

    vingu -

    My 1.1mm screw had a stripped head. Used a 3mm steel drill to cut the head off (just 1 mm deep haha) so i could remove the bracket.

    Renout v Oijen -

  13. SmLayTUTWhZPb5Kb
    • Entferne die Halterung.

    • Die Halterung ist unter Umständen leicht angeklebt. Hebe sie vorsichtig, aber fest hoch, um sie zu lösen.

    • Beim Zusammenbau ist dies ein guter Zeitpunkt, um dein iPhone einzuschalten und alle Funktionen zu testen, bevor du das Display wieder festklebst. Denke dran, es danach wieder auszuschalten, bevor du weiter arbeitest.

    I tested it, then proceeded to close up the device without the bracket. Do I need to reopen and install? All connections are good?

    monastra7 -

    The bracket helps those many connectors underneath maintain good contact. Probably in the short term nothing bad will happen, but I’d hang onto the bracket and reinstall it when convenient.

    Jeff Suovanen -

    Agree with Jeff

    cgtyoder -

    I tested all imaginable functionality on the new OLED screen. Taptics are fine. Then, I noticed that the battery wasn't charging. Any ideas as to what could have gone wrong?

    Monica -

  14. eJ1ACHc4FfhUTGYs
    eJ1ACHc4FfhUTGYs
    JGUunolihfMkY3fR
    • Hebele den Akkustecker mit einem sauberen Fingernagel oder einem Spudger aus seinem Sockel auf dem Logic Board.

    • Achte dabei darauf, nicht die schwarze Silikondichtung zu beschädigen, welche an diesem und anderen Verbindern auf der Platine angebracht ist. Diese Dichtungen sorgen für einen Extraschutz gegen Wasser und Staub.

    • Biege den Stecker etwas weg vom Logic Board, damit er nicht versehentlich einen Kontakt zum Sockel herstellen kann. Dadurch würde das iPhone während der Reparatur mit Strom versorgt werden.

    cosa può succedere se non si disconnette la scheda logica'?

    luca.valli -

    note: be careful not to crush or puncture your battery at this step!! I gave mine a minor dent, which I hope wont be a problem.. but something to keep in mind for fxlks in the future!

    Noal Balint -

    Thanks, already did it)

    Stephen Hedrick -

  15. cHVLkYDwhlp2A1Pw
    cHVLkYDwhlp2A1Pw
    K2c31fAgxStY4xjS
    • Löse den Verbinder der Sensoreinheit des Frontpanels mit der Spudgerspitze oder dem Fingernagel.

  16. cpYKZSxRSWRr1pJ3
    cpYKZSxRSWRr1pJ3
    ROpbLqGuPSYmQUk2
    • Löse den Verbinder des Kabels zum OLED Panel mit der Spudgerspitze oder dem Fingernagel.

    • Um Press - Fit - Verbinder wie diesen wieder anzuschließen, musst du ihn erst vorsichtig ausrichten und an einer Seite herunter drücken, bis er einklinkt, wiederhole das dann auf der anderen Seite. Drücke nicht in der Mitte.Wenn der Verbinder schlecht eingesetzt ist, können sich die Kontaktstifte verbiegen und irreparabel beschädigt werden.

    Snap ‘em in like little Legos.

    Ray Johnson -

    Maybe the manual should flip step 17 and 18 (as the digitizer cable from 18, is in the way of the OLED cable of step 17) ?

    Renout v Oijen -

  17. TD3L6MwMyjAtBQJu
    TD3L6MwMyjAtBQJu
    6ApXsETwRu6PQnKr
    • Hebele den Verbinder des Touchscreen Kabels mit der Spudgerspitze aus seinem Sockel.

    • Der Verbinder sitzt etwas vertieft, das macht es schwierig, ihn wieder festzustecken. Lasse dir Zeit und richte ihn sorgfältig aus, und drücke ihn dann vorsichtig mit der Fingerspitze fest - erst auf einer Seite, dann auf der anderen. Du solltest es spüren, wenn er einrastet.

    • Wenn der Touchscreen an irgendeiner Stelle nach der Reparatur nicht reagiert, musst du den Akku trennen und diesen Verbinder wieder neu einsetzen. Achte dabei darauf, dass er richtig einklinkt und dass kein Staub oder etwas anderes im Sockel befindet.

    This was probably the hardest part other than trying to get the screen off with the crappy suction cups. I re-installed the bracket only the find out that the touch screen would not respond to touch. Had to remove the five screws, remove the bracket and reseat the recessed screen connector. Reseating the bracket took another 10+ minutes. I carefully used the angled forceps to grab the cable and align the connector being careful not to damage the cable.

    Once you have the connector seated, I would reconnect the battery, power on the phone, and check the touch screen response before re-installing the bracket (step 13).

    Tawan Khamapirad -

    Yeah, this was probably the trickiest part of the reassembly. The power connector cable kept getting in the way so I moved it carefully but fully out of the way. Then it was a matter of fiddling around with it a bit and being careful not to force it on.

    Jeffrey Hoy -

    I was positive that I had messed something up, I had powered up the phone to test three different times and everything seemed find except there was no touch at all. On my fourth attempt, I carefully examined everything for dust and debris (blowing gently), and I did notice that a corner of the connector (more like part of the ribbon) was bent slightly, and I straightened it. I don't know if it was the ribbon or some tiny debris, but after reseating a fourth time, it worked.

    Pol Llovet -

  18. T4COCwpNIPZglkVc
    T4COCwpNIPZglkVc
    q145rGUkFfAEwOf1
    EgtbW5Mf1lUuPrWK
    • Das Flachbandkabel der Sensoreinheit am Frontpanel ist leicht festgeklebt.

    • Hebe das Kabel vorsichtig an, bis es sich ablöst.

    Do this sensor affect face id?

    bonglkv -

    It is part of the face id part so yes. This is the ear piece too so if the ribbon tears there is a chance the ear piece will stop working as well.

    Stephen Patterson -

    Be super careful handling this ribbon particularly. I did a battery install and, when I was done, I had a phone with a new battery and no Face ID. That’s a $300 Apple repair, and no 3rd party shop will touch it. I believe the ribbon lays vertically (i.e., perpendicular to the “floor” of the phone, against the side edge of the battery. During the re-install, I must have forced the ribbon into position after seating the connector, causing fatal flexing of the ribbon. (Don’t know this for sure, but I see another comment saying that this cable is part of Face ID.) Anyway, bottom line: BE CAREFUL REMOVING AND REINSTALLING THIS RIBBON!

    Jonathan Pines -

    My flex cable was more than lightly adhered in place. I needed to use a guitar pic or similar to help encourage adhesive to separate. I wouldn’t pull too hard like shown in pictures unless you had just the right grip on the ribbon cable so as to avoid damaging flex cable. See note above (5/31/20)

    William Olstad -

    Bizarre — it turns out my whole front panel sensor assembly came entire off of the front screen and is stuck to the logic board.

    Karl Jarvis -

    I also found the glue quite recluctant to release so I applied a second or two of heat using the wife's hair dryer which softened it and the cable lifted much easier then. Be careful not to apply too much heat though which could then impact other internal components.

    LosBenitos -

  19. 6ik3wBhFQRTApGki

    I tried this and broke the cable can it still repair

    Alexis Rodriguez -

    At this point I would have found it easier to remove the glue from the edges than later on when I was reassembling it. I bought the kit that had the replacement glue in it.

    Grant -

    Excellent guide! Would love to have a link to moving the sensor assembly from the old display to the new here.

    Nicole -

  20. BoHxHxepsDZEp5B4
    BoHxHxepsDZEp5B4
    dXwiSZ3WZcIoWD1U
    • Achte darauf, dass du die drei Reihen Erdungspads unten am iPhone nicht berührst.

    • Entferne die sieben Schrauben, die die Halterung unterhalb der Taptic Engine und dem Lautsprecher befestigen:

    • Zwei 1,9 mm Y000 Schrauben

    • Eine 1,2 mm Y000 Schraube

    • Eine 1,6 mm Y000 Schraube

    • Eine 2,4 mm Kreuzschlitzschraube

    • Eine 1,7 mm Kreuzschlitzschraube

    • Eine 1,5 mm Kreuzschlitzschraube

    For battery replacement:

    It is not necessary to remove Taptic Engine and speaker to replace a battery. Go straight to the step #33

    Additional video: https://youtu.be/2GfBOlJEW10

    Alexander -

    I wish I seen this before I did all that! Thank you for that information. Next time I do something like this. I'm gonna pay more attention to the comments.

    Eric Marino -

    Removing the Taptic Engine and speaker greatly improves your chances of getting the battery adhesive strips out intact. If those break, you’ll have a much tougher time.

    Jeff Suovanen -

    Boy, I tried to skip removing these items but was unable to get the glue strips out with them in place, not much to grab and tabs were kind of stuck to a seam in the battery, and hard to tell the difference between the seam and the strip tabs. For me I had to remove these items to get this done.

    marshallburchard -

    I stopped removing things after getting the display side off. There were 3 screws stripped on the speaker cover which wouldn't come out so I punted. Just pried the battery out with a smudger tool and some patience, starting at the top and working towards the bottom. New battery is in and working fine.

    Andy Price -

    The 2.4mm screw identified as “green” needs a Y000 screwdriver

    seb6po -

    Thanks for not removing the following steps. this made me break the connector for the bottom speakers >:(

    Andrew Romano -

    The color codes are missing from my display — only on this step.

    nat2 -

    The screws color and quantities in list don’t match the schematic ! I wish i had a magnetic screw mat before starting, because not only i removed the Taptic Engine and speaker unnecessarily, but i also lost a screw ?

    fb.mailing.lists -

    For first timer, dont think its possible to skip these steps and remove battery. It’s hard to remove the glue

    Wex -

  21. A6XdCYVX6JwfIKyE
    A6XdCYVX6JwfIKyE
    A4EHUTn22AgwPZxR
    • Hebe nun die Halterung von der Ecke, welche der Batterie am nächsten ist an. Versuche nicht, sie vollständig zu entfernen, da sie weiterhin mit einem kleinen Flex-Kabel verbunden ist.

  22. c5QjrHSAGoEVorBq
    c5QjrHSAGoEVorBq
    qMqUiBcQJqrsMsyd
    • Halte die Halterung so, dass sie dich nicht stört, und benutze die Spudgerspitze, um das darunterliegende Flex-Kabel mit einer Hebelbewegung zu lösen.

  23. eoTqiltfnhM1iScH
    • Entferne die Halterung.

  24. KVsQuGUlRSYJCgwc
    KVsQuGUlRSYJCgwc
    1oMPc41ZwNKvWSjt
    • Entferne die 2,1 mm Y000-Schraube, welche die Abdeckung des Lautsprecherverbinders befestigt.

    L'unique vis non?

    Easy Repair -

    Effectivement ;-) Merci pour les bons yeux et la remarque !

    Claire Miesch -

  25. kEdiRARZCyTLEXJG
    • Entferne die Abdeckung des Lautsprecherverbinders.

  26. oTiIqEVBPENNIfRv
    oTiIqEVBPENNIfRv
    bPVea3cUUG5ydybE
    • Benutze die Spudgerspitze, um den Lautsprecherverbinder hochzuheben und zu trennen.

  27. nbqXImWqlhcmZwLp
    nbqXImWqlhcmZwLp
    XKBNris4snqB4vTl
    • Passe beim Hochhebeln des Lautsprechers auf, dass du nicht das gerade gelöste Flexkabel beschädigst. Drücke es, wenn nötig, zur einer Seite hin, so dass der Lautsprecher beim Herauskommen Platz hat.

    • Setze einen Spudger unter die Oberkante des Lautsprechers in der Nähe vom Rand des iPhone Gehäuses.

    • Hebele vorsichtig nach oben und hebe die Oberkante des Lautsprechers an.

    • Prüfe beim Einbau des Lautsprechers die Position des Flexkabels und achte darauf, dass es nicht unter dem Lautsprecher eingeklemmt wird.

  28. vP52MSMbQMQVGXDv
    vP52MSMbQMQVGXDv
    jdpMlj6ohBmkmRoF
    aBojFlY2A4cLssW2
    • Greife den Lautsprecher an den Seitenkanten an und rücke ihn etwas hin und her. Dadurch löst sich die Klebeverbindung zur Unterkante des iPhones.

    • Ziehe den Lautsprecher von der Unterkante des iPhones weg, bis sich die Klebedichtung löst.

  29. G1qam2tn3Av5D6ub
    G1qam2tn3Av5D6ub
    RhZADdTaatNHENVB
    • Entferne den Lautsprecher.

    • Die Klebedichtung des Lautsprechers lässt sich nicht mehr verwenden. Ziehe alle Reste davon mit einer Pinzette ab.

    • Damit das iPhone weiterhin gegen Staub und Feuchtigkeit geschützt ist, musst du beim Zusammenbau die Klebedichtung erneuern. Reinige die Klebefläche mit Isopropylalkohol und einem fussellfreien Tuch oder Filterpapier, damit die Dichtung gut klebt. Klebe die Dichtung zuerst am Lautsprecher an und baue ihn dann ein.

    You don’t need to remove the speaker and ruin its gasket. You can wiggle and slide the taptic engine out without removing the speaker. I’ve done this twice on rear shell replacement jobs.

    timblake2112 -

  30. XATHudC6esRZFEKI
    XATHudC6esRZFEKI
    4b6hhSLIlJT6Pjum
    • Entferne die 2,3 mm Kreuzschlitzschraube, welche die Taptic Engine festhält.

  31. aSBjBVvQXPjDTMPE
    aSBjBVvQXPjDTMPE
    JrsJ3crZXUQsaBpo
    • Löse das Flexkabel der Taptic Engine, indem du es mit dem Spudger gerade aus seinem Sockel hochhebelst.

  32. FeOXDWVO1kSwkRYc
    • Entferne die Taptic Engine.

Abschluss

Vergleiche das neue Ersatzteil mit dem Originalteil. Möglicherweise musst du vor dem Zusammenbau verbleibenden Komponenten übertragen oder Schutzfolien vom neuen Teil entfernen.

Um das Gerät wieder zusammenzubauen, befolge die oben genannten Schritte in umgekehrter Reihenfolge.

Bringe deinen Elektroschrott zu einem zertifizierten Recycler.

Reparatur ging nicht wie geplant?

Informationen zur Fehlerbehebung findest du in unserer Answers Community.

Jeff Suovanen

Mitglied seit: 06/08/13

384851 Reputation

Ein Kommentar

不需要寫碼?按步驟換完後仍然不行work,賣家說要寫碼?

tseng.mt -