Einleitung
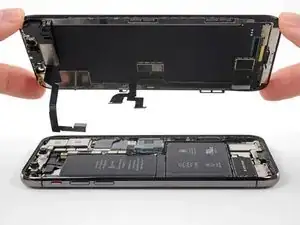
Nur ein Voraussetzung beim Ausbau der Displayeinheit.


-
-
Schalte dein iPhone aus, bevor du daran arbeitest.
-
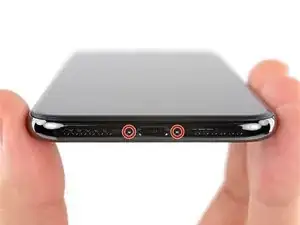
Drehe die beiden 6,9 mm langen Pentalobe Schrauben an der unteren Kante heraus.
-
-
-
Wenn der Tiefenmesser aus Kunststoff in der Mitte des iSclack angebracht ist, kannst du ihn jetzt entfernen. Bei größeren Smartphones wie dem iPhone X wird er nicht gebraucht.
-
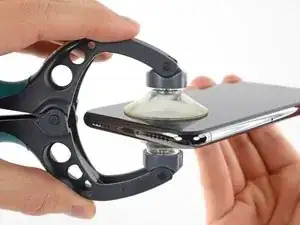
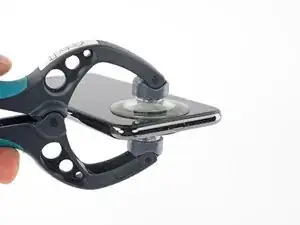
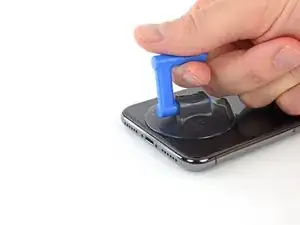
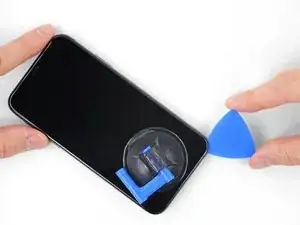
Setze die Saugheber am unteren Rand des iPhones an, einen auf der Vorderseite, den anderen auf der Rückseite.
-
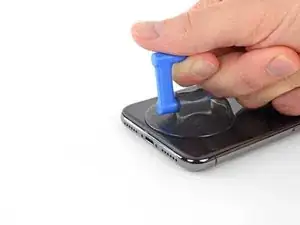
Drücke beide Saugheber fest an.
-
-
-
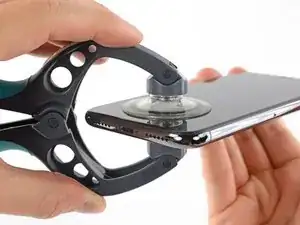
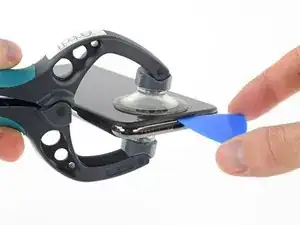
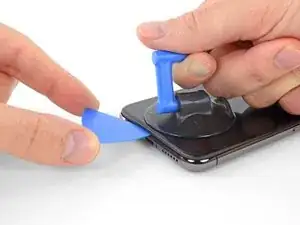
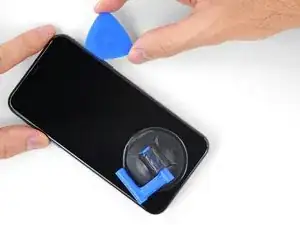
Halte das iPhone gut fest und drücke auf die Griffe des iSclack, so dass sich die Scheibe leicht vom Rückgehäuse des Smartphones trennt.
-
Setze ein Plektrum in den Spalt.
-
Überspringe die nächsten beiden Schritte.
-
-
-
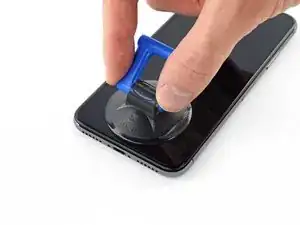
Wenn du einen einzelnen Saugheber benutzt, dann setze ihn am unteren Rand des iPhone auf, wobei du den gebogenen Teil vermeiden musst.
-
-
-
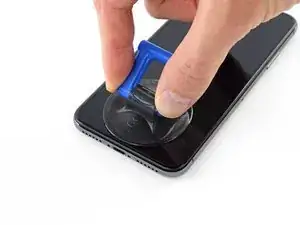
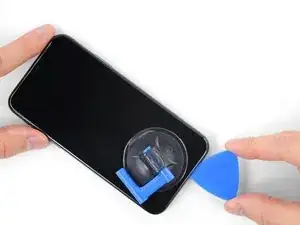
Ziehe fest und gleichmäßig am Saugheber und erzeuge dadurch einen kleinen Spalt zwischen Frontscheibe und Rückgehäuse.
-
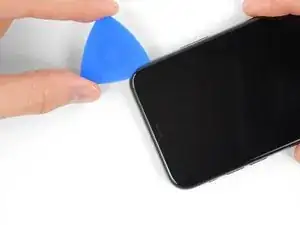
Setze ein Plektrum in den Spalt ein.
-
-
-
Schiebe das Plektrum um die linke untere Ecke und am linken Rand des iPhone hoch, zerschneide damit den Kleber, der das Display festhält.
-
-
-
Setze da Plektrum wieder an der Unterkante des iPhone ein und schiebe es die rechte Seite hoch, um den Kleber darunter aufzutrennen.
-
-
-
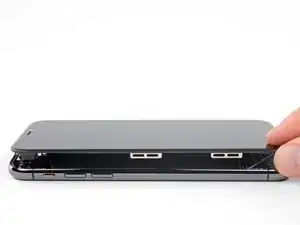
Schiebe das Plektrum um die obere Ecke des Displays herum und ziehe gleichzeitig vorsichtig das Display mit wackelnden Bewegungen herunter in Richtung des Lightninganschlusses.
-
-
-
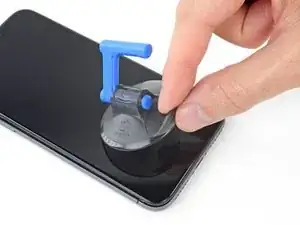
Ziehe an der kleinen Noppe am Saugheber, um ihn vom Display zu entfernen.
-
Wenn du einen iSclack benutzt hast, dann entferne ihn jetzt.
-
-
-
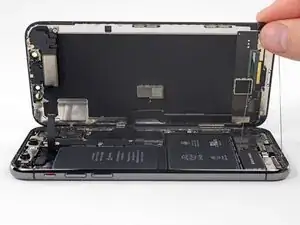
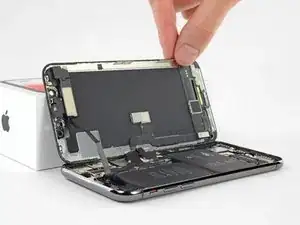
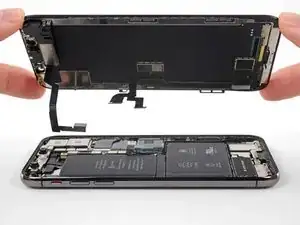
Öffne das iPhone, indem du das Display von der linken Seite her hochklappst, wie die Seite eines Buches.
-
Lehne das Display gegen einen Gegenstand, damit es abgestützt ist, wenn du daran arbeitest.
-
-
-
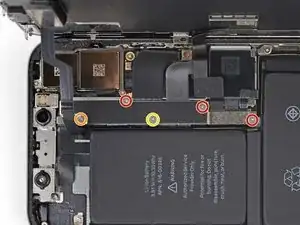
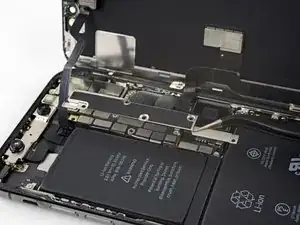
Entferne fünf Y000 Schrauben, welche die Halterung des Verbinders des Logic Board befestigen:
-
Drei 1,1 mm Schrauben
-
Eine 3,1 mm Schraube
-
Eine 3,7 mm Schraube
-
-
-
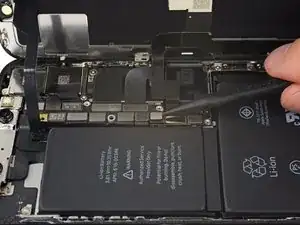
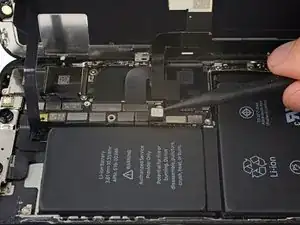
Hebele den Akkustecker mit einem sauberen Fingernagel oder einem Spudger aus seinem Sockel auf dem Logic Board.
-
Biege den Stecker etwas weg vom Logic Board, damit er nicht versehentlich einen Kontakt zum Sockel herstellen kann. Dadurch würde das iPhone während der Reparatur mit Strom versorgt werden.
-
-
-
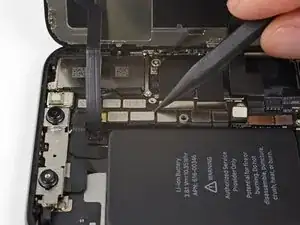
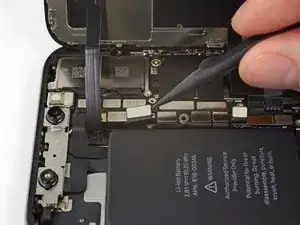
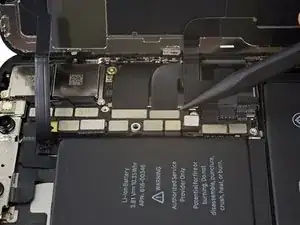
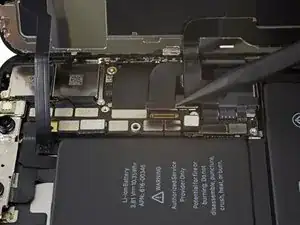
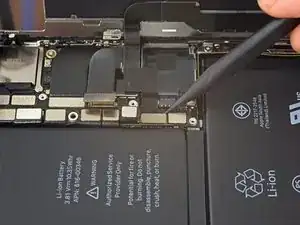
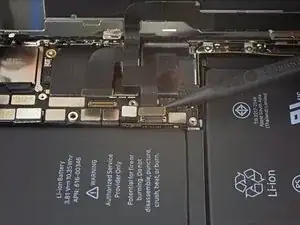
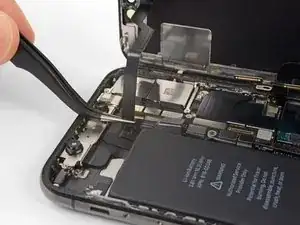
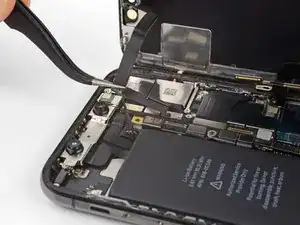
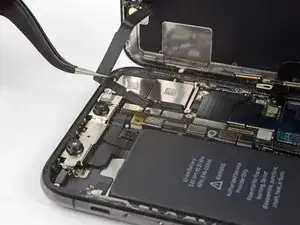
Löse den Verbinder der Sensoreinheit des Frontpanels mit der Spudgerspitze oder dem Fingernagel.
-







Um dein Gerät wieder zusammenzusetzen, folge den Schritten in umgekehrter Reihenfolge.

Ein Kommentar
Meh, i had to Replace the sensors and camera unit thingy too, but i managed it without advice, the iPhone X is nicer to repair as any other iPhone.
Thanks for the detailed step by step description. :)
(the iphone 8 teardown for example lacks extremely much Details)
There are 6.81mm long screws!
Daniel -
One of the pentalobe screws is stripped :( - suggestions for how to get it out?
cgtyoder -
same situation here
kaunomarcius -
Same issue for me too, how do I get the stripped screw out?
patronics -
Update: I was able to get the “stripped” screw out using another Pentalobe-2 screwdriver bit from another company. It seems it wasn’t the screw, but the screw driver that was actually stripped. Hence why the other screwdriver kit I got came with 3 of this bit, I suppose.
patronics -
I ended up going to a jewelry store, and they drilled down into the screw, with of course an incredibly tiny bit. That allowed me to insert the P2 driver, and I was able to unscrew it at that point. Good luck!
cgtyoder -
Same issue with the stripping. The tip of the iFixit P2 head in my $70 kit just ground off on the first screw and that was that. Not much you can do.
Kyle Harris -
yes correct the same happened to me, the screws were perfect shaped never been open and as soon as i used the P2 it stripped the screws, seems like the P2 is slightly smaller but Dremel kit with a very small drill bits and precise knife tool is the way to go.
Dulce Vidal -
Hi, there this is a great informative post that is really shareable to all newbies who are interested in the Guide for the mobile phone repair industry. Really the mobile phone repair blogging is a great way to make money online. Thank you for sharing the post.
You may know more about iPhone Repair, https://fixnrepair.org/iphone-repair/
Muhammad Forhad -
This step in automatically followed through, without any thought. Why remove these screws? Can anybody explain? The Screen is detachable all the same, with them well screwed in…
Uri -
These screws attach to a plate that’s part of the screen half of the phone. If you succeed in detaching the screen without removing those, it would seem reasonable that you will have damaged that plate or its ability to keep the two halves together.
Dan Long -
@Dan Long is right
Uri -
Clean out the pentalobe screw heads first so the tool goes all the way in. A small sewing needle works well to loosen any build up and then press some putty/chewing gum into the screw head and pull away quickly for a final clean out.
William Olstad -
The this kit should include screws because you’re going to strip them. Can’t even get past step one. Did anybody figure this out
justin -