Einleitung

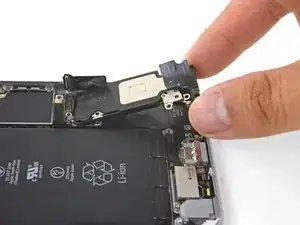
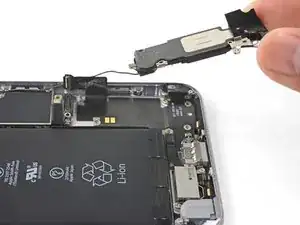
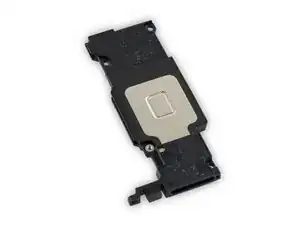
Dies ist nur eine grundständige Anleitung! Austausch des Lautsprechermoduls des iPhone 6s Plus. Aktualisierte Version mit Fotos eines intakten Logic Boards.

  1. kBKHw6cNKGYlXPrD
    kBKHw6cNKGYlXPrD
    oonLGkBNUcXayi3G
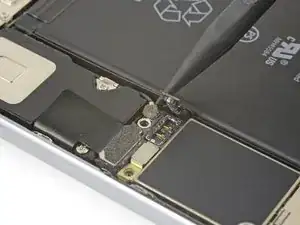
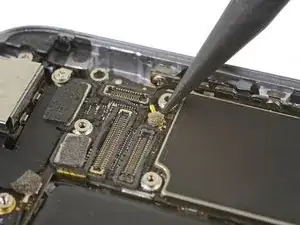
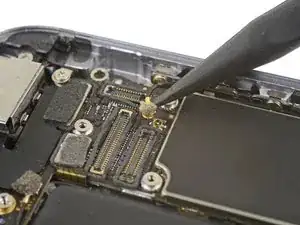
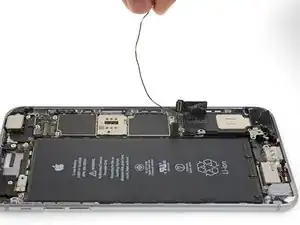
    • Heble und löse das Antennenkabel mit der Spudgerspitze unten vom Logic Board ab.

  2. WccJDnbsejP52V5X
    WccJDnbsejP52V5X
    V6sW6VnPGVXBQL6X
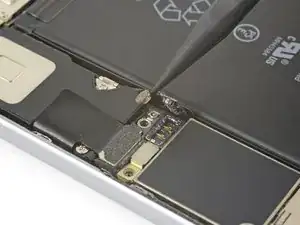
    • Heble und löse das Lightning Connector Kabel mit der Spudgerspitze vom Logic Board ab.

  3. elMW6qBvflWxenYP
    elMW6qBvflWxenYP
    gg1iRHpjPqxpQOIR
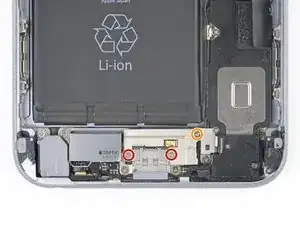
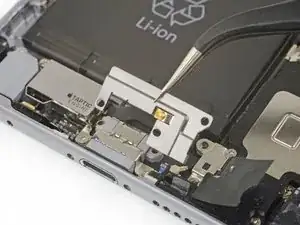
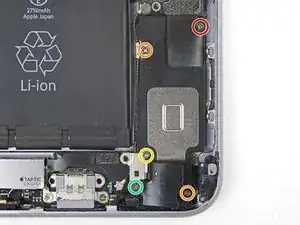
    • Entferne die drei Kreuzschlitzschrauben, mit denen die Halterung des Lightning Connectors befestigt ist:

    • Zwei 3,5 mm Schrauben

    • Eine 2,7 mm Schraube

    • Entferne die Halterung.

  4. SgG53O6BSfrkOK2p
    SgG53O6BSfrkOK2p
    AEKrMNpft4K2HiLF
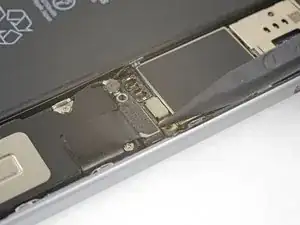
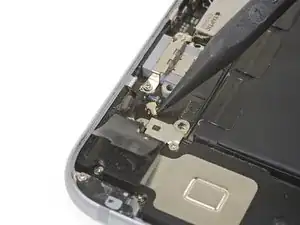
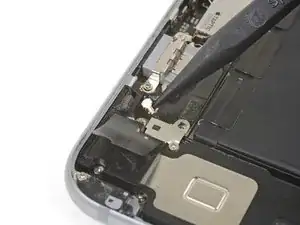
    • Heble und löse das Antennenkabel mit der Spudgerspitze von der Lightning Connector Einheit.

  5. qbgbwWkNrHBYkeXO
    qbgbwWkNrHBYkeXO
    wwbcCwfuQk35eDSr
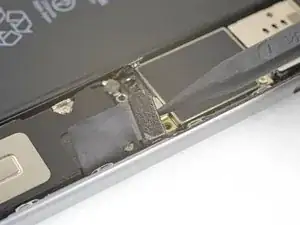
    • Heble und löse das Antennenkabel mit der Spudgerspitze oben vom Logic Board ab.

    I did not remove the antenna cable from the board because it does not necessary.

    István Borsányi -

    We were not able to remove the cable, despite following the tips; it meant that the speaker unit was tethered to the phone during repair, which is not ideal, but we took care of it and all went well.

    Matthew Dearden -

  6. qimK2fGrAUOWxHxM
    qimK2fGrAUOWxHxM
    tlvFaarUtguBjXVQ
    vQHHCTgY5VcZ6vyi
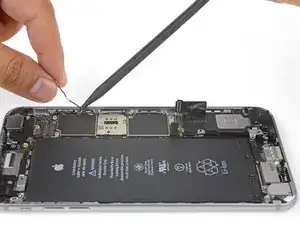
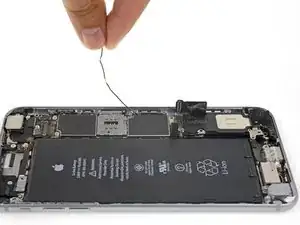
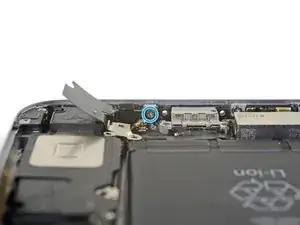
    • Hebe das Antennenkabel vorsichtig hoch und führe es aus der Kante des iPhones heraus. Benutze die Spudgerspitze, um das Kabel aus seinen Halteklammern zu heben.

    • Falls das Kabel nicht lang genug ist, um es anzuheben, dann löse diese Kreuzschlitzschraube, mit der das Logic Board befestigt ist, um mehr Spielraum zu haben.

    • Denke beim Zusammenbau daran, diese Schraube wieder anzuziehen.

    • Achte beim Zusammenbau darauf, das Antennenkabel unter der Ecke des Logic Boards durchzuführen.

    • Du kannst beim Zusammenbau, nachdem du das Antennenkabel wieder eingesetzt hast, auch den SIM Karteneinschub wieder einsetzten.

    • Falls du in irgendeiner Weise Widerstand spürst, dann halte an und stelle sicher, dass sich der Karteneinschub nicht am Antennenkabel verhakt hat.

    I didn’t need to do this step to remove the lightening charge port. In later steps I just put the speaker to the side with the cable attached. I also didn’t take the display off. I just left it at 90 degrees, attached to the iPhone box; like picture early. It made it much easier.

    Joel Sarmiento -

    I did not remove the antenna cable from the board because it does not necessary.

    István Borsányi -

  7. ykUNpAOehRyMM4KD
    ykUNpAOehRyMM4KD
    YXqg3QKovosQUUyT
    • Entferne die sechs Kreuzschlitzschrauben, mit denen der Lautsprecher am Rückgehäuse befestigt ist:

    • Eine 2,5 mm Schraube

    • Zwei 2,7 mm Schrauben

    • Eine 1,5 mm Schraube

    • Eine 1,7 mm Schraube

    • Eine 2,6 mm Schraube, mit der der Lautsprecher an der Unterkante des Rückgehäuses befestigt ist.

    Still working on it but I am not having any success getting the 2.6mm screw back in now 1+ hour into it.

    colfax80 -

    The blue one is the hard part to assembly back.

    István Borsányi -

    Do not pry-off the antenna from the speaker module!

    István Borsányi -

  8. dBNM36TPifSaKhkQ
    dBNM36TPifSaKhkQ
    IEQcC2KQUXUXIfdL
    vkMFJ4TFSCStgVP1
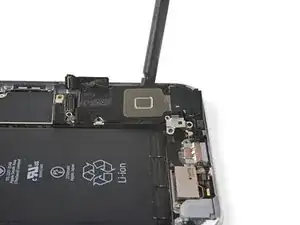
    • Setze das flache Ende des Spudgers zwischen die lange Kante des Lautsprechermoduls und dem Rand des Gehäuses ein.

    • Heble vorsichtig, um das Lautsprechermodul zu lösen.

    • Wenn das Modul gelöst ist, dann kannst du es anheben und zusammen mit dem daran befestigten Antennenkabel vom Smartphone entfernen.

    Peel off the adhered

    Anthony Fisher -

    There is also a screw to remove from the speaker near the lightning connector . It is a screw with the screwhole in the bottom of iPhone

    John Jaspers -

    Hi John,

    I think I noted all the screws in step 3 and step 7. Did I miss any?

    Arthur Shi -

Abschluss

Um dein Gerät wieder zusammenzubauen, folge dieser Anleitung in umgekehrter Reihenfolge.

Arthur Shi

Mitglied seit: 03/01/18

194394 Reputation

0 Kommentare