Einleitung
Prereq für die Display Einheit
Werkzeuge

-
-
Wenn der Abstandshalter aus Plastik noch in der Mitte des iSclack ist, entferne diesen jetzt – er ist nicht benötigt für größere Smartphones wie das iPhone 6.
-
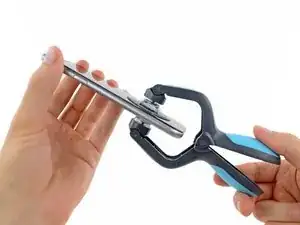
Schließe den Griff des iSclack, um die Saugnapf-Zange zu öffnen.
-
-
-
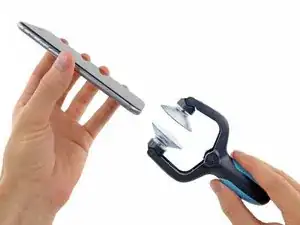
Platziere das untere Ende deines iPhone zwischen den Saugnäpfen.
-
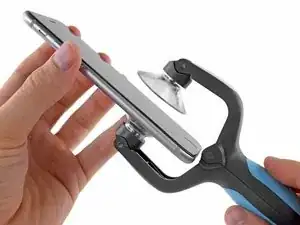
Positioniere den oberen Saugnapf direkt über (aber nicht auf) dem Home Button und drücke ihn gegen das Display.
-
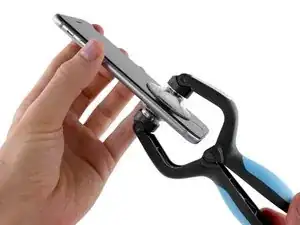
Öffne den Griff um die Zange zu schließen. Platziere die Saugnäpfe mittig und drücke Sie kräftig gegen die Ober- und Unterseite des iPhones.
-
-
-
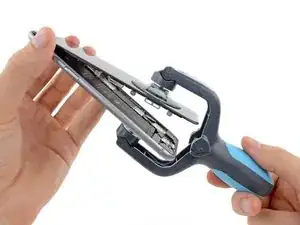
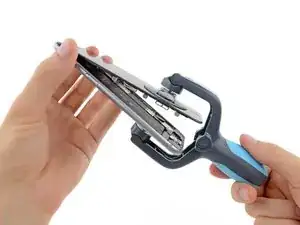
Halte dein iPhone gut fest und schließe den Griff des iSclack, um die Zange zu öffnen. Die Saugnäpfe heben dabei die Display Einheit von der Rückseite des Gerätes.
-
Das iSclack Öffnungswerkzeug wurde entwickelt, um dein iPhone genau so weit zu öffnen, dass die Teile getrennt werden können, aber keine Kabel beschädigt werden.
-
Löse die Saugnäpfe von deinem iPhone.
-
Überspringe die nächsten drei Schritte und fahre fort mit Schritt 8.
-
Arbeite die Schritte in umgekehrter Reihenfolge ab, um dein Gerät wieder zusammenzubauen.

There was only one suction cup in my kit. Why show the need for two if ifixit provides only one?
Lisa Klitses -
Do Not Worry. The Islack comes seprate. This guide shows you how to remove the front screen with a normal suction cup.
Owen -
I found that the single suction cup from the kit worked very well. It didn’t take that much force to separate the front panel from the phone. I think any suction cup that you are able to get a firm grip on will probably work as well. There isn’t any adhesive holding the front panel in. It just snaps in and out. If you have a cracked screen and no screen protector, it may be hard to get a good suction seal. If that’s the case, someone else here suggested applying clear tape to the front glass to get a good surface for applying the suction cup. In my case, I already had a screen protector that was still intact so the suction cup sealed easily.
fiftysomething -
WORKED PERFECTLY… easy, no harm at all…. thanks a lot
carlos restrepo -
Opening my iPhone 6 was so easy using the iSchlack. Well worth it.
Raymond Rinaldi -