Werkzeuge

-
-
Power off your iPhone before beginning disassembly.
-
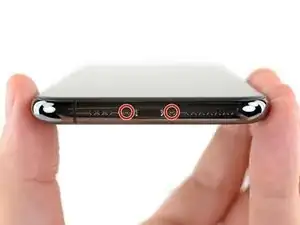
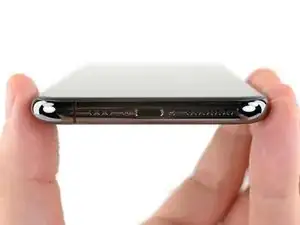
Remove the two 6.7 mm-long pentalobe screws at the bottom edge of the iPhone.
-
-
-
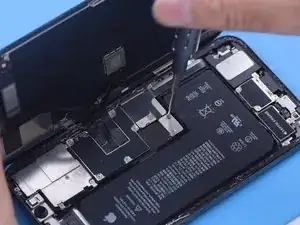
Then we disassemble the phone. Remove the shielding covers and disconnect the battery. Disconnect the front camera flex cable.
-
Get a new front camera flex cable. Install the new front camera flex cable. Connect the battery. Turn on the phone and open the camera. Both the rear and back camera work fine. It can be concluded that the failure of the front camera is caused by the damaged front camera.
-
-
-
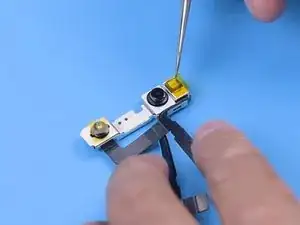
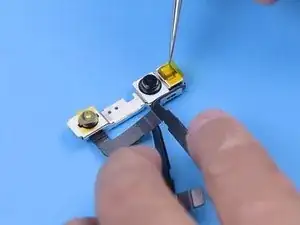
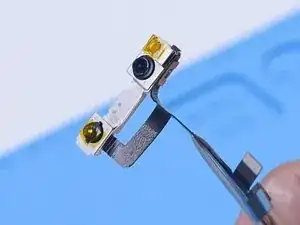
As the front camera is fixed together with the infrared camera and dot projector, we need to replace the front camera separately if we want to keep the Face ID function. Remove the front camera module.In order not to damage the infrared camera and dot projector, apply tapes to the infrared camera and dot projector.
-
The front camera flex cable and connector are good, which tells us that the failure of the front camera is not caused by flex cable and connector. The damaged front camera has caused the trouble.
-
-
-
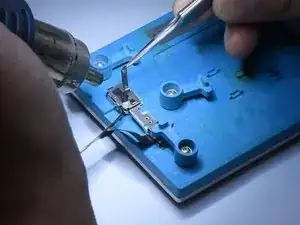
Then we need to replace the front camera. Attach the front camera module to the holder. Heat with Hot Air Gun at 100 °C to remove the tape.
-
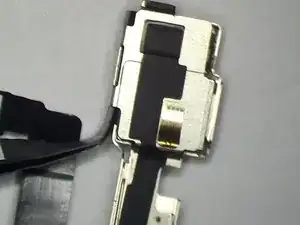
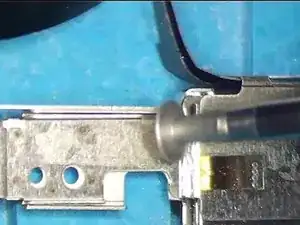
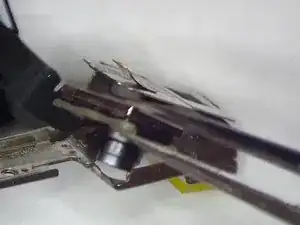
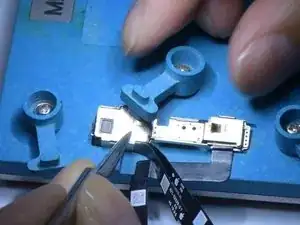
Grind the metal plate away with a Polishing & Grinding Pen.
-
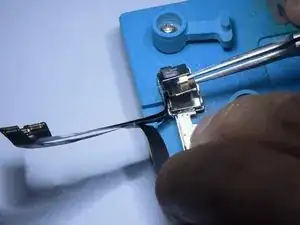
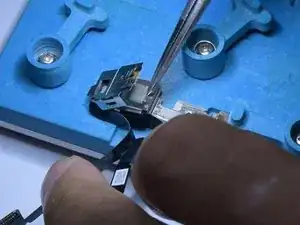
Pry up the metal plate with tweezers.
-
-
-
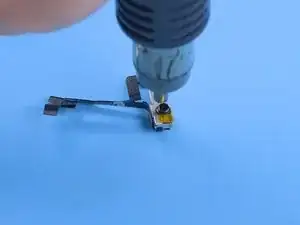
Heat the front camera with Hot Air Gun at 100 °C for 30s.
-
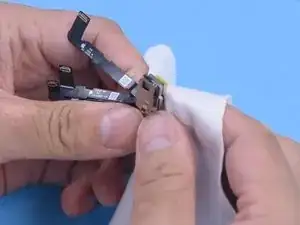
Cover the front camera with Dust-free wipe and press it gently.
-
Detach the damaged front camera.
-
-
-
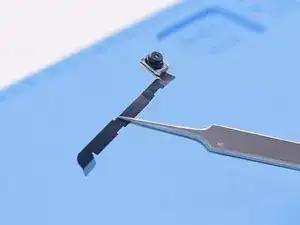
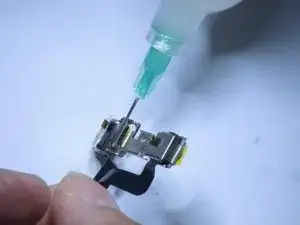
After an hour, remove the front camera module. The front camera has been successfully replaced.
-
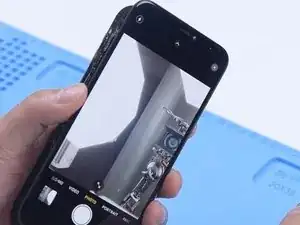
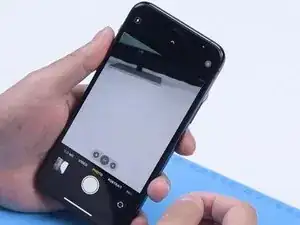
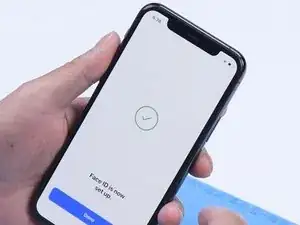
Then we install the front camera module to test. Turn on the phone. Both the front and rear cameras work fine. The Face ID functions well too.
-
We can see that the front camera replacement will not affect the function of the Face ID while the Face ID will be disabled for front camera module replacement.
-
To reassemble your device, follow these instructions in reverse order.