Einleitung
Rüste die RAM Module auf, um erheblich an Geschwindigkeit zu gewinnen.
Werkzeuge


Ersatzteile
-
-
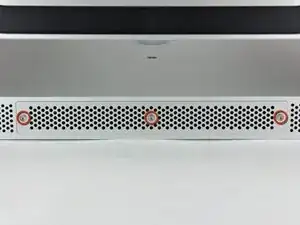
Löse die drei Kreuzschlitzschrauben, mit denen die Abdeckung auf der unteren Seite des iMac befestigt ist.
-
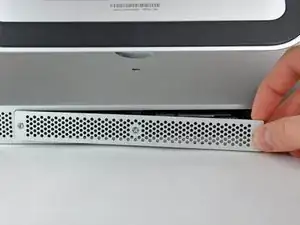
Entferne die Abdeckung des iMacs.
-
-
-
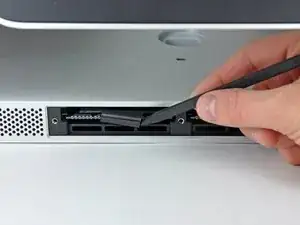
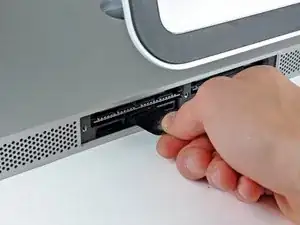
Schiebe mit den Fingern oder der Spudgerspitze die schwarze Zuglasche aus Plastik für die RAM Aufnahme aus der schmalen RAM Öffnung.
-
-
-
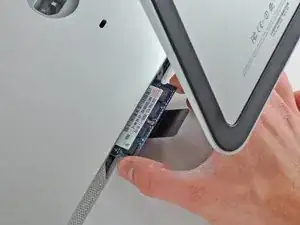
Ziehe die schwarze Lasche aus dem iMac heraus, um die RAM Chip aus ihrem Anschluss auszuwerfen.
-
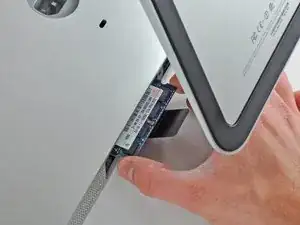
Schiebe den RAM Chip mit den Fingern aus seinem Anschluss.
-
Um dein Gerät wieder zusammenzusetzen, folge den Schritten in umgekehrter Reihenfolge.

6 Kommentare
Super easy! I'm not exactly an experienced fixer, but this replacement took no effort at all. (I also replaced the battery of my iphone 4S: that was much much much harder)
Tessa -
My wife's ageing iMac currently has 4x2GB, and it is creaking under even light use (on Mavericks... haven't dared upgrade any further yet).
I want to initially upgrade it to 2x8GB, which seems nice and easy. My question is is it then possible to add one more 8GB for a total of 24GB, or would I need to add 2x8GB for a total of 32GB? Will the iMac see and use 3 RAM modules, or does it need to be an even number, like in the old PC days?
Thanks!
Maximum memory: 16384MB. See crucial for more information :
Easy mode. Note that the bits is called PZ1 most screwdriver sets. Also known as Japanese Phillips, the bid comes to a + instead of to a point. A 2.0 flathead will also turn the screw.
Oh and, don't forget to check your black flats back in. Otherwise you'll get too funny little appendages sticking out the bottom when you reattach your access door :)
I am going to put a very important comment here. Before you start this process listen to the fans on your iMac do any of them sound obviously loud (think about how quiet your iMac used to sound as a reference) If you notice one or more of them sounding substantially loud compared to the others consider locating a replacement fan prior starting this process. After all if you are already “in the neighborhood” it is a shame to do all this work only to have to disassemble your imac a couple weeks later because you realize the fan is failing. I speak from my own personal learning experience of having to disassembly my iMac 3 weeks later because the HDD was failing and apparently the moving the fan around was just enough to push it to start really under performing.
Wizbang FL -
I’m not sure why it is necessary to remove the RAM. As far as I can tell, it can remain in place during this procedure.
gordonhamachi -