Einleitung
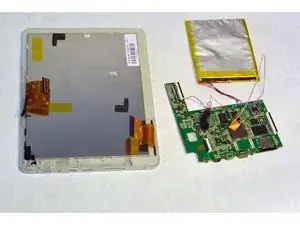
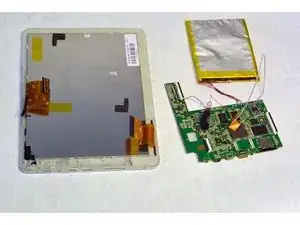
This guide is a step-by-step process of replacing the LCD screen. The screen is connected directly to the motherboard, and assembled with the front frame. Look at the teardown guide for instructions on general disassembly.
Ersatzteile
-
-
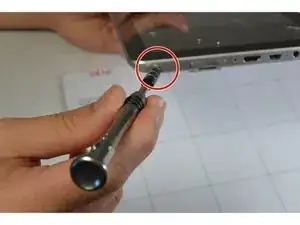
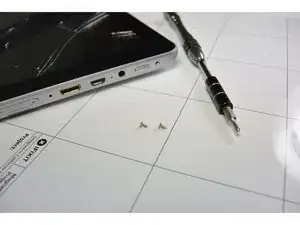
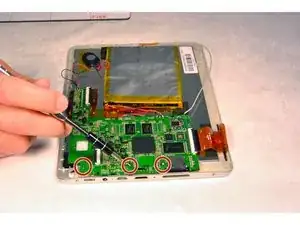
Remove the two screws from the end of the device where the ports are located using a Phillips #1 screwdriver.
-
-
-
Place the tablet down so that the screen is facing away from you.
-
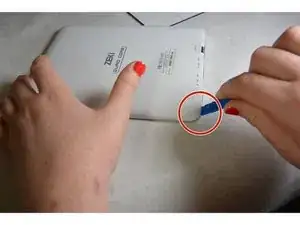
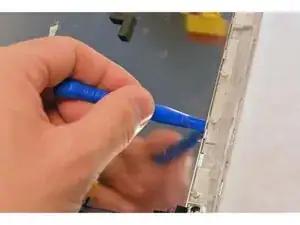
Insert the tip of your opening tool into the small gap between the gray and white plastic covering. Pry it open and you should hear the clips opening up.
-
Gently work your way around the perimeter of the tablet's edge.
-
-
-
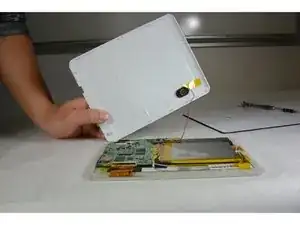
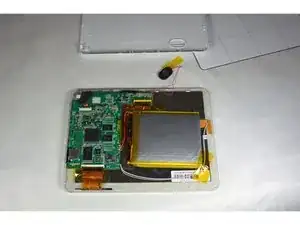
Remove the back cover
-
Remove any tape on the speaker and detach the speaker from the back plate.
-
-
-
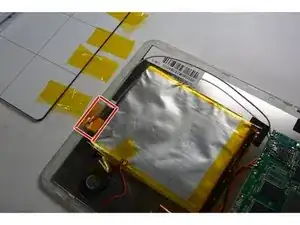
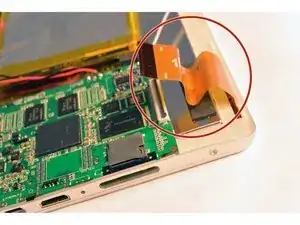
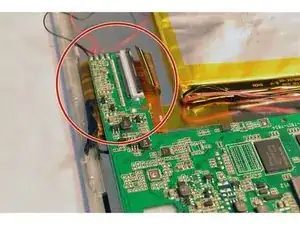
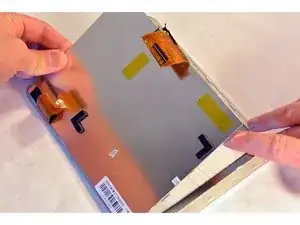
Open the ZIF connector. Then, remove the ribbon that connects the motherboard and the screen.
-
To reassemble your device, follow these instructions in reverse order.