Einleitung

In this guide we will be taking the components apart to reach the screen. When working with the screen be careful for broken glass.

  1. utCTU41QCFVcM4dx
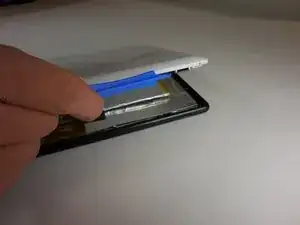
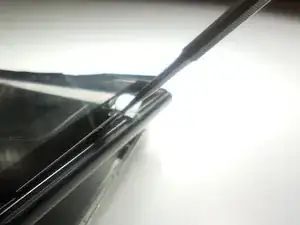
    • Remove the back casing by slowly popping each tab out with a plastic opening tool.

  2. USTC5cxEpVktCVbD
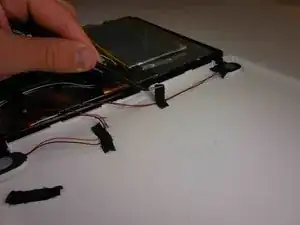
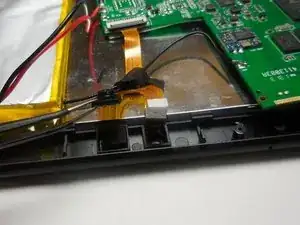
    • Remove the tapes one by one from the connecting wires with tweezers.

  3. wEeMEXxxpUHdNQUS
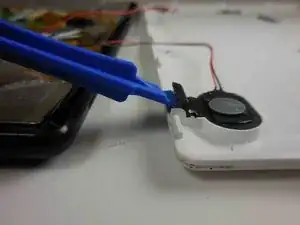
    • Remove the black clips from both sides of the casing with a plastic opening tool.

    • The clips should pop off separate from the speakers.

  4. Bg6evsAkAYPJLHhY
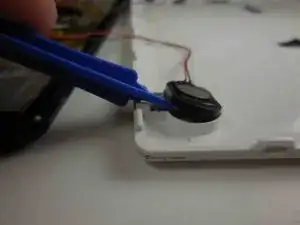
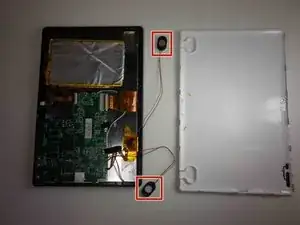
    • Remove the speakers from the back casing.

    • Do not tug on the speakers because they are connected to fragile wires.

  5. NruVgjSTRIXZLgry
    • Pull the speakers away from the back casing carefullly.

  6. W3XNAtWl1IHXUAre
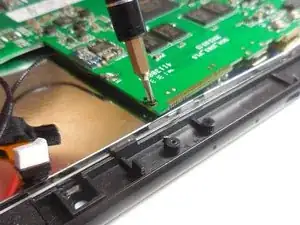
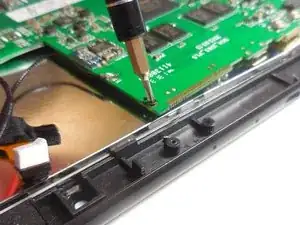
    • Unscrew all four screws around the mother board, this unattachs the board from the framing.

  7. DVF2OS5GDuF6FYN1
    • With tweezers, lift the camera and flash component from their fittings.

  8. IslrQh6HtusQ6LtO
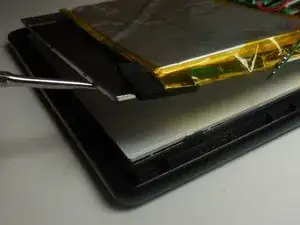
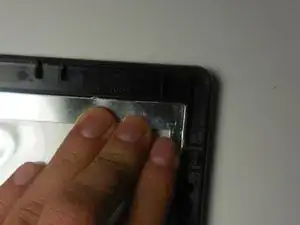
    • Slowly lift the metal framing to reach the components at the front of the device.

    • Do not pull the framing completely off. There is a zift connecter that hold it in place at one end.

  9. GWG3qouQBsjAMoJR
    GWG3qouQBsjAMoJR
    qR1Q14aGrXIArYQo
    • Pop out the screen pushing it forward.

Abschluss

To reassemble your device, follow these instructions in reverse order.

Kyla

Mitglied seit: 11/03/15

156 Reputation

0 Kommentare