Einleitung
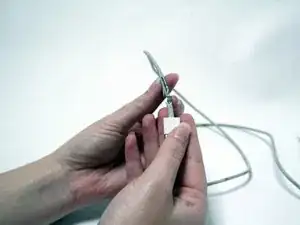
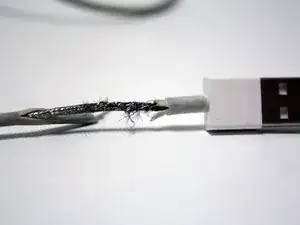
Apple Ladekabel wie das Lightning auf USB Kabel fransen sehr leicht aus. Häufig wird das durch die Nutzung des Geräts beim Laden verursacht. Die Kabel werden so extremen Knickwinkeln ausgesetzt, die dafür sorgen, dass sich die äußere Isolierung ablöst, reißt und letztendlich die inneren Drähte austreten lässt. Freigelegte Drähte sind für Gerät und Nutzer gefährlich, und können Kurzschlüsse oder sogar Elektroschocks verursachen. Ein ausgefranstes Kabel mit Schrumpfschlauch zu reparieren ist eine einfache und günstige Alternative, die es dem Nutzer wieder erlaubt sein Gerät sicher zu laden.
Werkzeuge


-
-
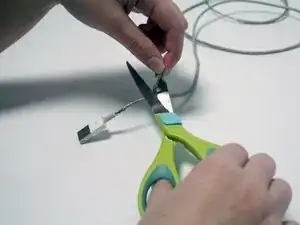
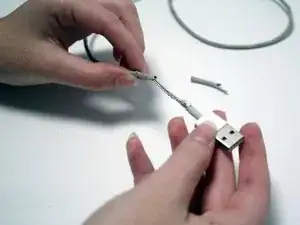
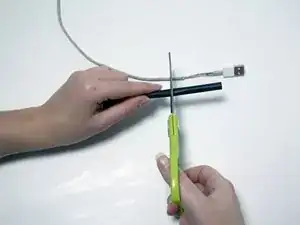
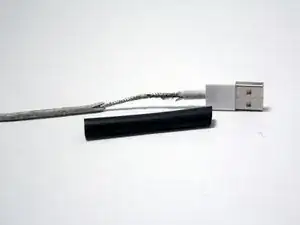
Entferne die überschüssige Isolierung von der ausgefransten Stelle, indem sie mit einer Schere abgeschnitten wird.
-
-
-
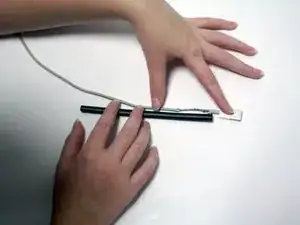
Messe die ungefähre Länge vom benötigten Schrumpfschlauch ab, um die ausgefranste oder freigelegte Stelle abzudecken.
-
-
-
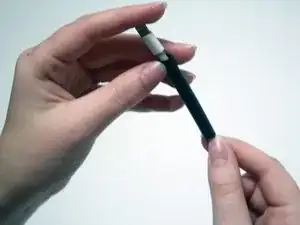
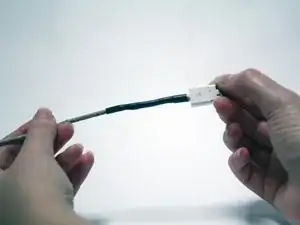
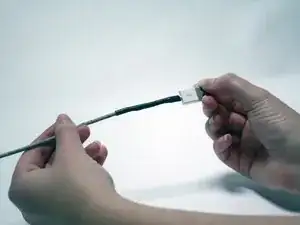
Schiebe den Schrumpfschlauch über das Kabel, so dass er die ausgefranste oder freigelegte Stelle abdeckt.
-
-
-
Prüfe, ob der Schrumpfschlauch fest sitzt, indem das Kabel in verschiedene Richtungen gebogen wird.
-
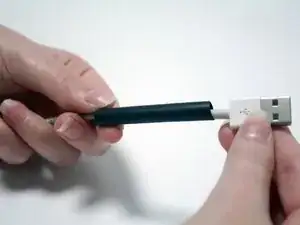
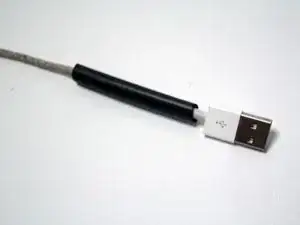
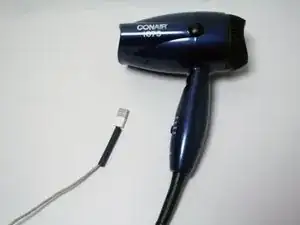
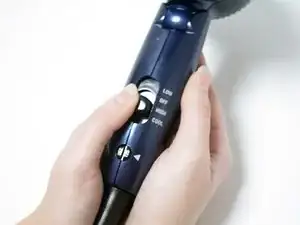
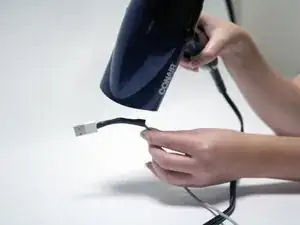
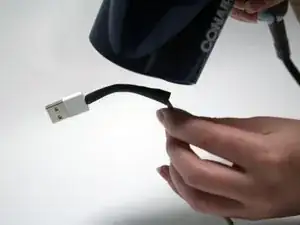
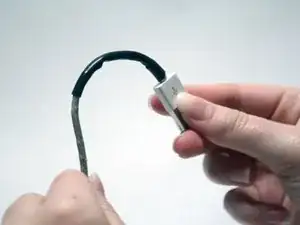
Um das Gerät wieder zusammen zu bauen, folge der Anleitung in umgekehrter Reihenfolge.

7 Kommentare
Thank you for taking the time to post your pictures and the steps to repair a lightening cord. I plan to do this repair, and also, apply heat shrink to the other end BEFORE that one frays. Thanks!!
I have cables that do not work anymore due to the fraying at the lightning port end. Are there instructions on how to fix this?
The wiring is too intricate, Christine. It’s not worth the time it would take, IMO.
Dave -
Kills me as I recently fixed 3 separate lighting cables at the power converter end, but took no pictures! You have to razor the seam around the outside of the case, split the case apart by pulling out with pliers in the cord-wrap flap area (careful don’t split it) and then attach a new cord to the solder spots on the circuit board, or just to the wire stubs. Best to just order a replacement cord as these include the little stopper that fits into the case between the halves. If you’re good at solder-joining cables you can just do this and shrink-wrap ‘em, but I prefer to use a little crimp joiner, and then fill the crimp with solder before sliding the shrink-wrap down over it. It’s tricky because the join has to fit a small space inside the case. You can get replacement cords at AliExpress. I use duct-tape to tightly close the case in case of more repairs.
Does this work with plastic straws instead of heat shrink?
Plastic straws cause several issues: it will be difficult to push the Lightning connector through, they won’t shrink as easily or uniformly compared to shrink tubing, and they’re rigid so there will be a hard edge at the end, likely creating a strain point where the cable will fray. Heat shrink tubing is readily available at hardware stores and it’s not expensive.