Einleitung


-
-
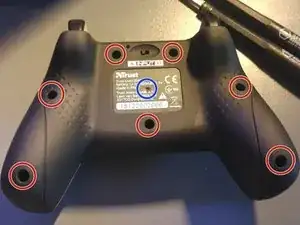
Flip over the controller.
-
Then, unscrew the 7 screws holding it together.
-
There are no screws hiding under the sticker, so there is no need to rip it off or punch a hole in it (like i tried to do in a previous attempt)
-
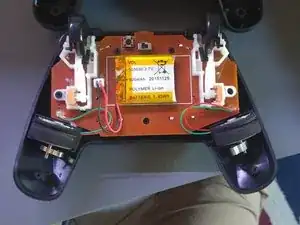
After removing the screws, just pull the back off of the controller. There aren't any cables attached to it.
-
-
-
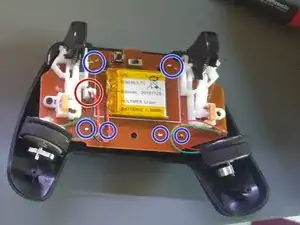
First, unplug the battery connector
-
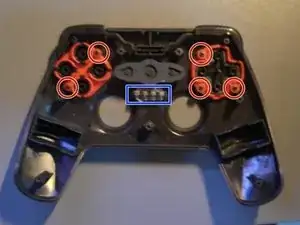
Then, undo the 8 clips that hold the board to the front casing with the flathead driver.
-
After that, just lift the board up.
-
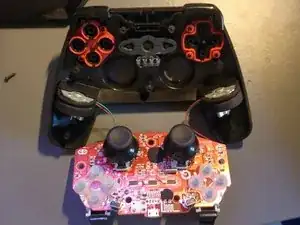
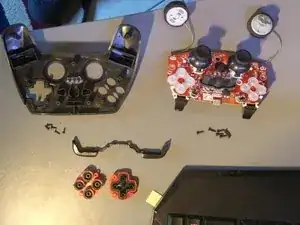
To remove the vibration motors, just pull them out, being careful not to break the wires.
-
-
-
Remove the screws holding the D-pad and buttons to the front case, carefully prying them out with your flathead. To remove the shoulder buttons, just pull them out.
-
Unfortunately, the clear lenses through which the status LEDs shine are glued onto the case and are not removable.
-
To reassemble your device, follow these instructions in reverse order.
