Einleitung
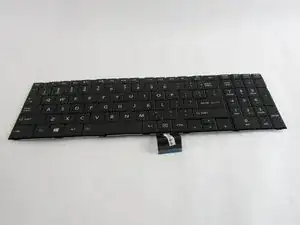
If your keyboard is inoperable, use this guide to remove and replace the keyboard.


-
-
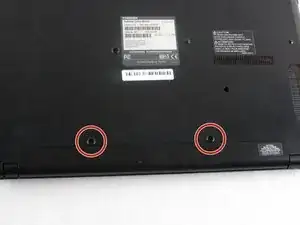
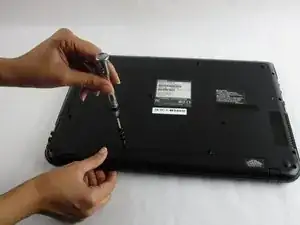
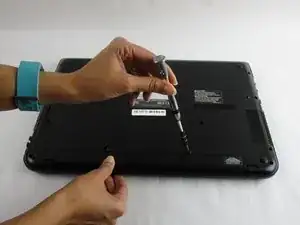
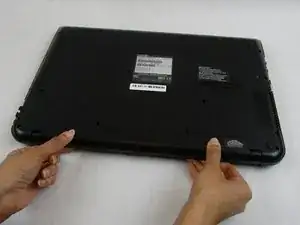
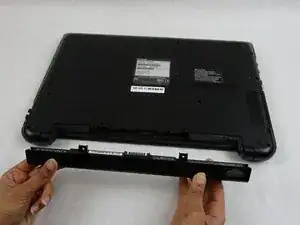
Use a Phillips #1 screwdriver (PH1 bit) to remove the two 7 mm screws that secure the battery.
-
-
-
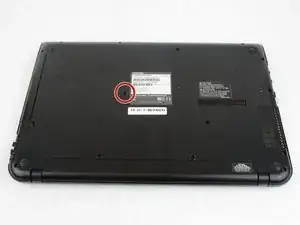
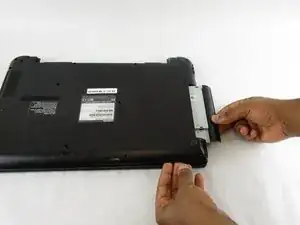
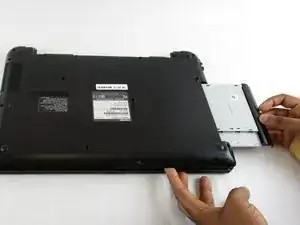
Use a Phillips #1 screwdriver (PH1 bit) to remove the single 7 mm screw that secures the CD/DVD drive.
-
-
-
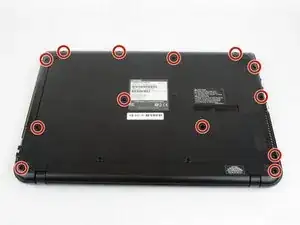
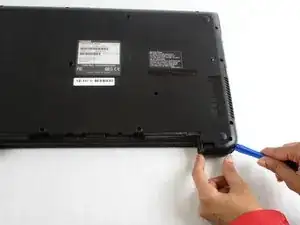
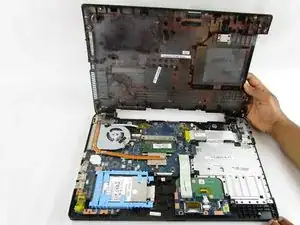
Remove the remaining thirteen 7 mm Phillips screws holding the back cover using the PH1 bit and Magnetic Driver.
-
-
-
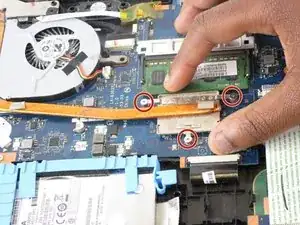
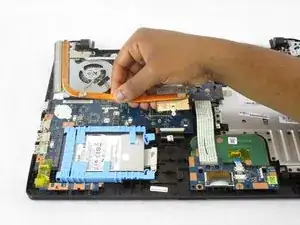
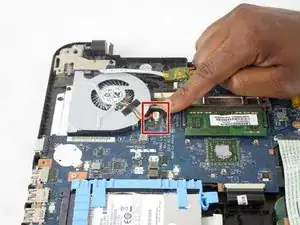
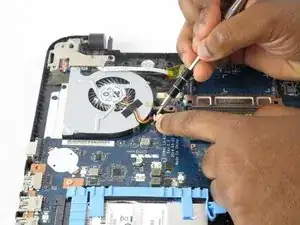
Remove the three 3 mm Phillips screws holding the fan cable in place using the PH1 bit and Magnetic Driver.
-
Lift the fan cable connector from the fan.
-
-
-
Remove the fan from the plug by releasing the clamps located on each side of the socket.
-
Slide the connector out of the socket.
-
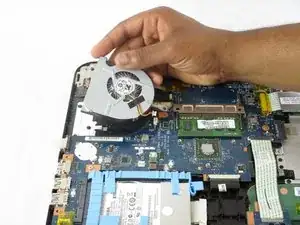
Lift the computer fan from the motherboard.
-
-
-
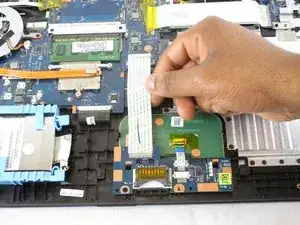
The white touchpad ribbon must be disconnected from the motherboard connection socket.
-
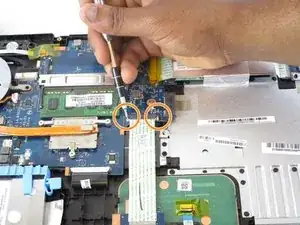
Release the two clamps holding the ribbon in place.
-
Slide the ribbon from the motherboard connection socket.
-
-
-
Remove the white ribbon connecting the USB ports to the motherboard.
-
Release the two holding clamps.
-
Slide the ribbon out of the motherboard holding socket.
-
-
-
Remove the 7 mm Phillips screw holding the USB Driver to the motherboard using the PH1 bit and Magnetic Driver.
-
-
-
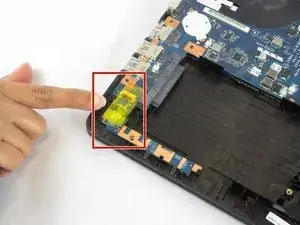
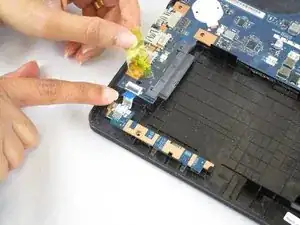
Remove the blue ribbon connecting the hard drive hardware to the motherboard by first lifting the yellow protective tape.
-
Slide the blue ribbon from its connection socket.
-
-
-
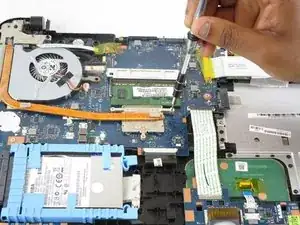
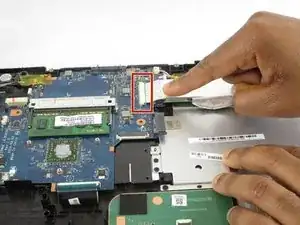
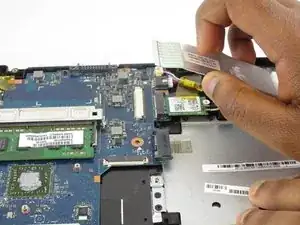
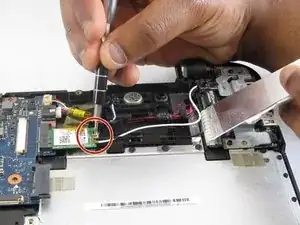
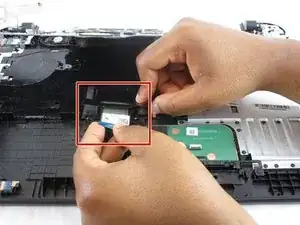
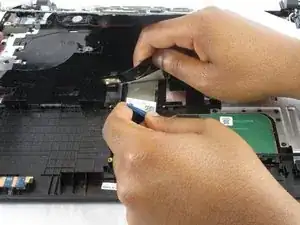
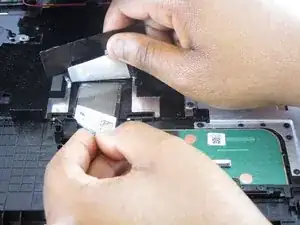
Carefully separate the securing tape from the ribbon attaching the keyboard to the motherboard.
-
-
-
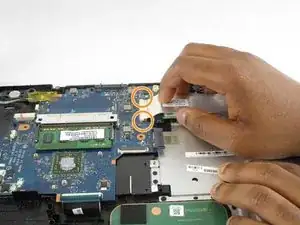
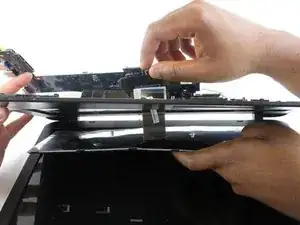
Slide the keyboard ribbon through its holding slot, completely releasing it from the laptop.
-
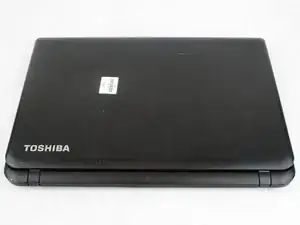
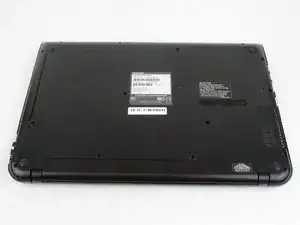
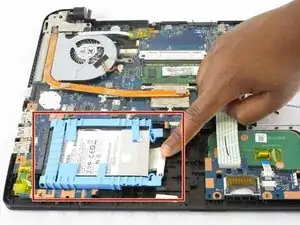
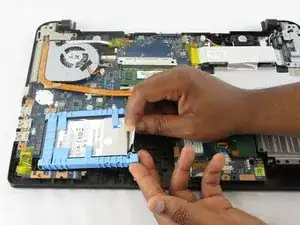
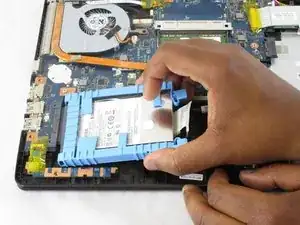
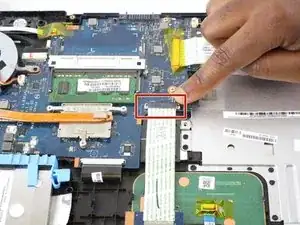
To reassemble your device, follow these instructions in reverse order.