Einleitung

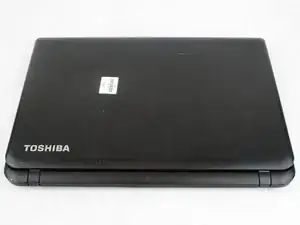
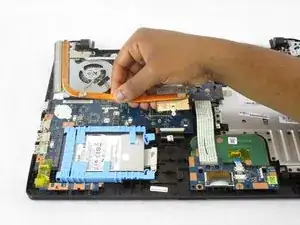
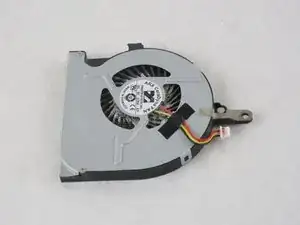
If the fan is excessively noisy or non-operational, use this guide to remove and replace the fan.

  1. RnbWapDTJLp2DWG6
    RnbWapDTJLp2DWG6
    bau6hlKh3oCrGO64
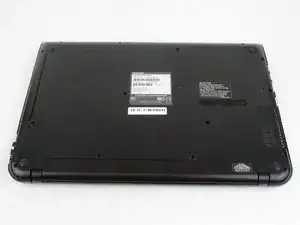
    • Turn off your laptop before starting.

    • Flip the laptop over so the model stickers face the ceiling.

  2. f3qYARdJhbsyX6w6
    f3qYARdJhbsyX6w6
    ITiV1CS1FImQFEkQ
    gqUIRVeQUIkLatEd
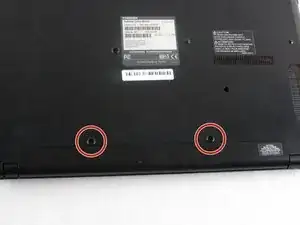
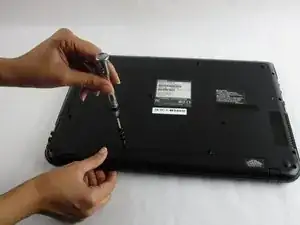
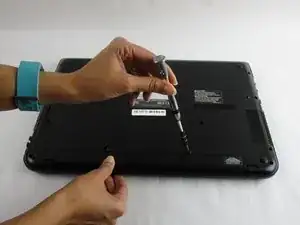
    • Use a Phillips #1 screwdriver (PH1 bit) to remove the two 7 mm screws that secure the battery.

  3. hsAdhrkoUXrUi5jx
    hsAdhrkoUXrUi5jx
    tOV2DSBJdr6DLXos
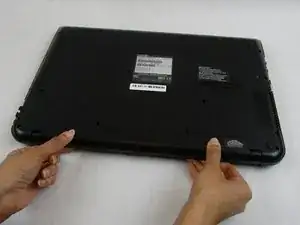
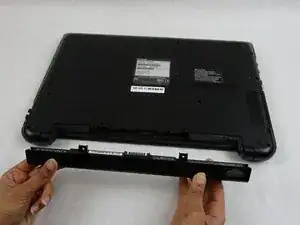
    • Carefully slide the battery out of the laptop.

  4. p1BZC54WbQZFulvY
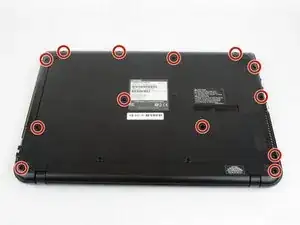
    • Remove the remaining thirteen 7 mm Phillips screws holding the back cover using the PH1 bit and Magnetic Driver.

  5. HfLa3GArCVLcFVXg
    HfLa3GArCVLcFVXg
    hY2rJ1M1LPGuQYVN
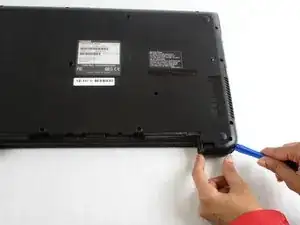
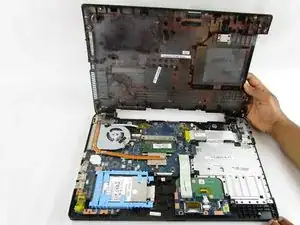
    • Using the plastic opening tools, separate the back cover from the laptop.

    • It is recommended that you start from a corner and run the tool along the edge of the cover.

    • Be careful not to bend or crack the plastic back cover.

  6. wAKfgXL3VQY3IuUc
    wAKfgXL3VQY3IuUc
    WblE1n2AdMc4UI1O
    Ikt2SqdAJRODQwcl
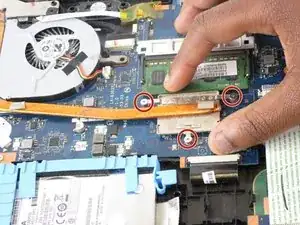
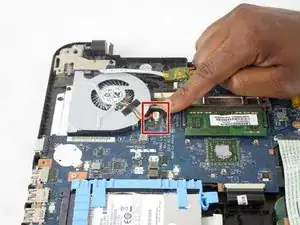
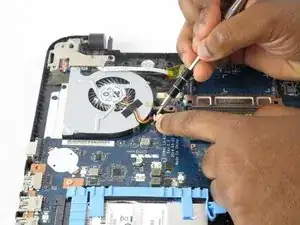
    • Remove the three 3 mm Phillips screws holding the fan cable in place using the PH1 bit and Magnetic Driver.

    • Lift the fan cable connector from the fan.

  7. SwVC3NfmEZMHFypK
    SwVC3NfmEZMHFypK
    wQQfSssxHRNlhXud
    Kvy1KSjtQH5Mmchg
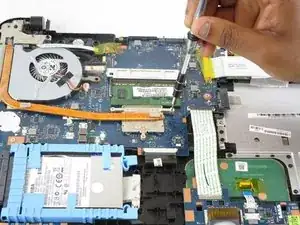
    • Remove the fan from the plug by releasing the clamps located on each side of the socket.

    • Slide the connector out of the socket.

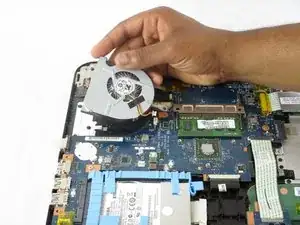
    • Lift the computer fan from the motherboard.

Abschluss

To reassemble your device, follow these instructions in reverse order.

Crystal Loomis

Mitglied seit: 22/01/18

702 Reputation

0 Kommentare