Einleitung

In this guide, you will learn how to disassemble the broken/damaged screen from the rest of the laptop, allowing you to replace it for a new one. This guide will also teach you what the proper and necessary tools are for this repair.

  1. GkCHPCjQU1gwRuwa
    GkCHPCjQU1gwRuwa
    DQXnKAIAMAGUGDpD
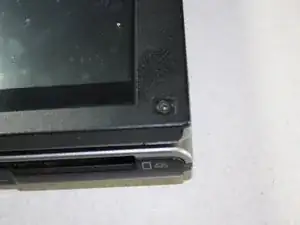
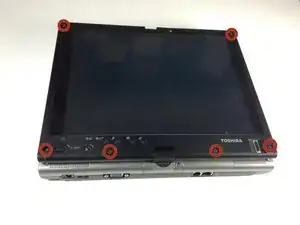
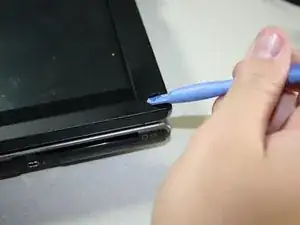
    • Using a plastic opening tool, remove all stickers covering the screws.

    • Note: There are 6 locations; 2 at the top corners, 2 at the bottom corners, and 2 more at the bottom, towards the center of the screen.

  2. JTFDdWTrDPEAjESl
    JTFDdWTrDPEAjESl
    we2WO2wOilZ2y1aV
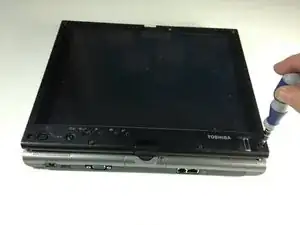
    • Remove all six 3.8mm screws from the screen using a #1 Phillips screwdriver.

  3. PVbcbAAPbExdOcG1
    PVbcbAAPbExdOcG1
    MFUo6UJXURmFfm5B
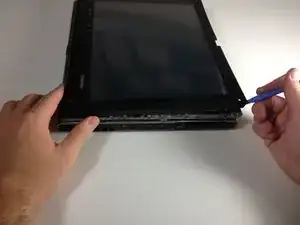
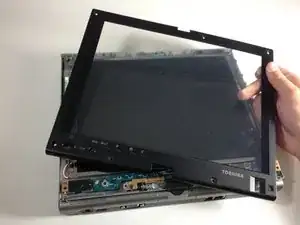
    • With a plastic opening tool, prop the plastic panel up to separate it from the rest of the laptop.

    • Slowly pull the plastic panel from the entire laptop.

  4. HZgutIDpqVPMLDF2
    HZgutIDpqVPMLDF2
    pM5BA3HAgMXygXLv
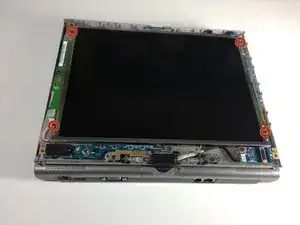
    • Remove the four 5 mm screws with a Phillips #1 screwdriver, each located at the four corners of the screen.

  5. Vx15PGAHyNwnMpOK
    Vx15PGAHyNwnMpOK
    nTNRKXUYc1aRR5io
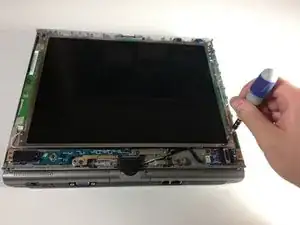
    • Carefully lift up the screen from the rest of the laptop and let it lean towards you, as it is still attached to cords and other wirings.

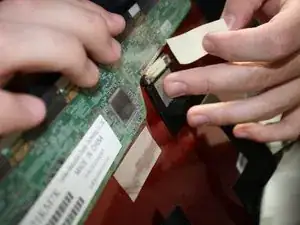
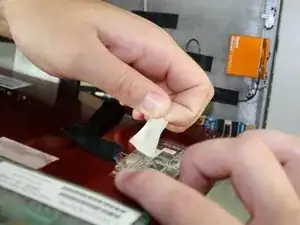
    • Remove all white tape that hold the cords and wirings together.

  6. ZBI31yspu3NxPCCp
    ZBI31yspu3NxPCCp
    JSPtx1SGsOZbHYlY
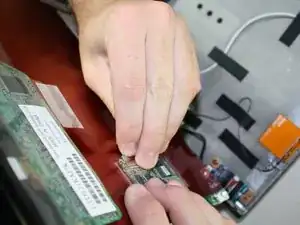
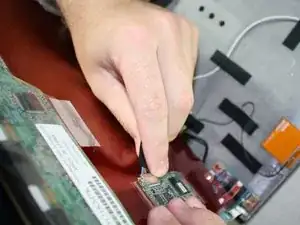
    • Note: Some parts need unplugging. Slowly and carefully unplug each of the components.

  7. f2xm1nlCRWjmi2OR
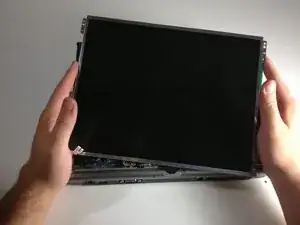
    • At this point, the screen should be completely disconnected from the rest of the laptop.

Abschluss

To reassemble your device, follow these instructions in reverse order.

Varsha Roopreddy

Mitglied seit: 19/04/13

37 Reputation

0 Kommentare