Einleitung
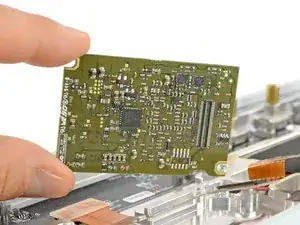
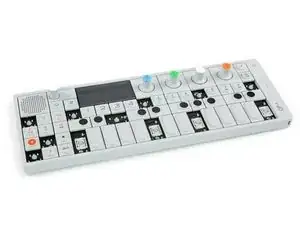
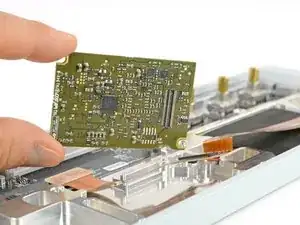
Die DSP-Einheit ist praktisch das Gehirn dieses kleinen Rackers. Glücklicherweise lässt sich diese Art von Hirn austauschen, falls es irgendwann nicht mehr funktionieren sollte.


-
-
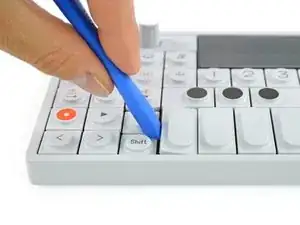
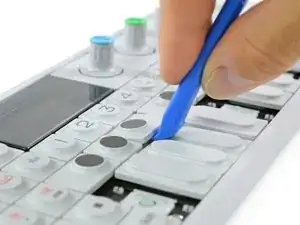
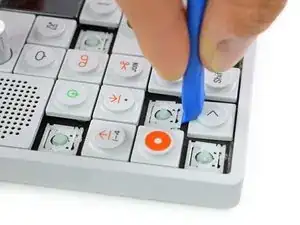
Die vier länglichen Tasten der Klaviatur kannst du von links her lösen.
-
Die acht kleineren Tasten löst du von unten.
-
-
-
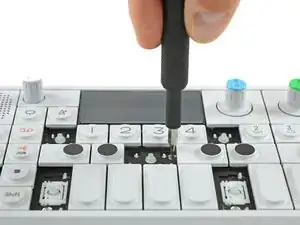
Der Scherenmechanismus der acht kleinen Tasten blockiert die darunter liegenden Schrauben.
-
Wieder mit einem Opening Tool oder einem Opening Pick kannst du diese einfach herausheben.
-
-
-
Löse die zwölf Schrauben mit einem Phillips #00 Schraubendreher.
-
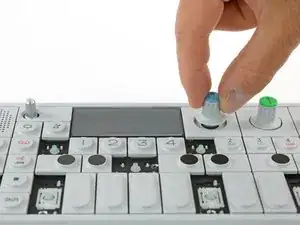
Dann ziehe einfach die vier Drehknöpfe und den Lautstärkeregler ab.
-
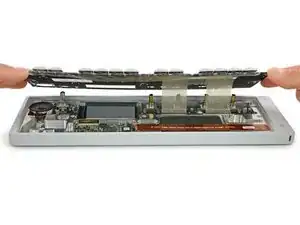
Jetzt kannst du das Keyboard leicht anheben und versetzt nach hinten ablegen.
-
-
-
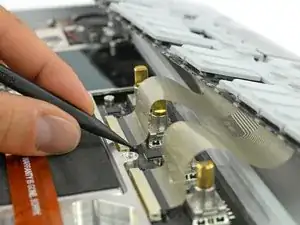
Entriegele die Flachbandkabel indem du die beiden schwarzen Kunststoffnasen auf jeder Seite der Anschlüsse wegdrückst.
-
Nun kannst du die Kabel herausnehmen und das Keyboard vollständig entfernen.
-
-
-
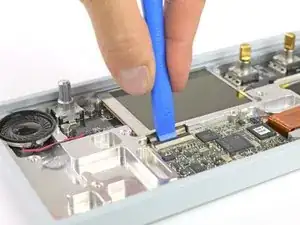
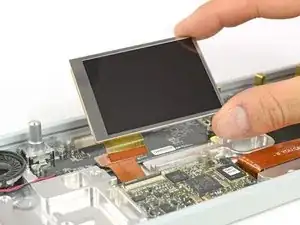
Öffne die Verbindung des Displaykabels mithilfe eines Plastic Opening Tools indem du die Lasche nach open klappst.
-
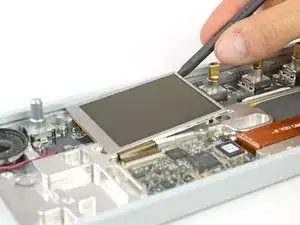
Das Display ist mit einem sanften Kleber befestigt. Ein Spudger hilft dir, es zu befreien.
-
Jetzt kannst du das Kabel lösen und das ganze Display heraus nehmen.
-
-
-
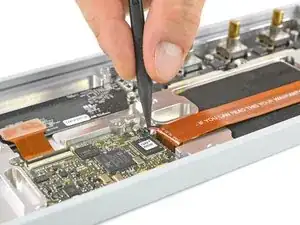
Löse den Stecker der Batterie vom DSP Board.
-
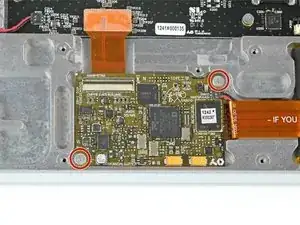
Entferne die beiden Phillips #00 Schrauben, mit denen das DSP Board befestigt ist.
-
-
-
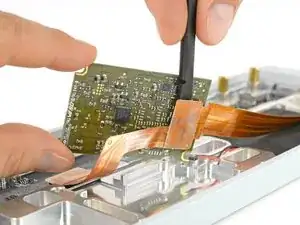
Nun kannst du vorsichtig das DSP Board anheben, um an das Flex-Kabel darunter zu gelangen.
-
Löse das Flex-Kabel mit einem Spudger und entferne das DSP Board.
-
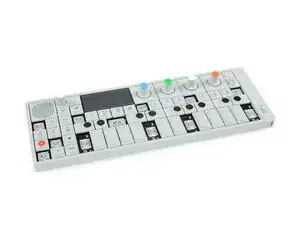
Arbeite die Schritte in umgekehrter Reihenfolge ab, um dein Gerät wieder zusammenzubauen.

8 Kommentare
Can you advise me where I can order DSP board?
Hi Ju-seok Jang, unfortunately we don’t sell this spare part. You might be able to reach Teenage Engineering directly and get an answer from them where to purchase that part.
I reached out to teenage engineering a month ago about ordering a replacement but they still haven’t responded. Pretty unacceptable seeing as they have a “do it yourself!” ethos for their $1,000 device…
Hi! Did you find a solution? I have the same issue. Thanks!
My OP-1 wouldn’t go into boot mode, and TE told me it was probably the DSP board, and they would look at it for a fee since it was out of warranty. Now I can’t find the DSP board anywhere to do this repair. I then found out this was a common problem, a manufacturing defect. I wonder if there are enough people with these problems the EU 2 year warranty rule can be invoked, or a class-action suit of some sort. TE has basically left those who have these problems without an option to repair the TE manufacturing defect.
Rob
I have the same problem! Did you find a solution? Thanks a lot!