Einleitung

  1. 5Y2QBubgjuqieDOS
    5Y2QBubgjuqieDOS
    qTpVcVUWgSBPMY3X
    NdoNDZiXf6Ca3AMy
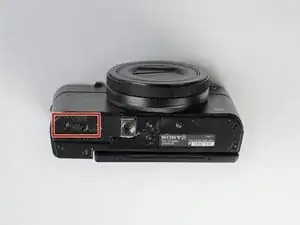
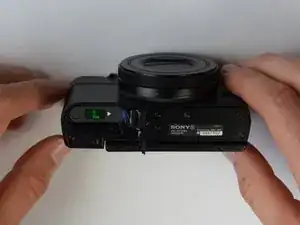
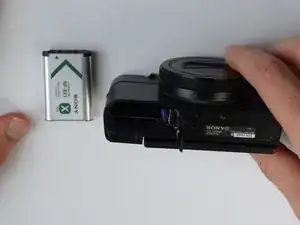
    • Remove battery by sliding the tab to open the cover

  2. Z3KEOwyuBVtSEtx6
    Z3KEOwyuBVtSEtx6
    vMvnSSMe5R5kUY3M
    MlnwUdLYcgHPyeGb
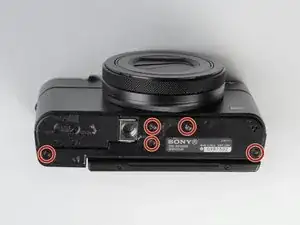
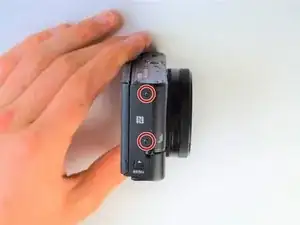
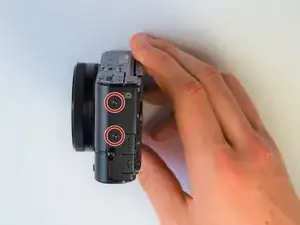
    • Using the screwdriver, remove all screws (black 2.5mm) from outermost layer of the assembly.

    • All screws in the camera can be removed with the PH 0 driver head.

    Split this step up into multiple steps based on where screws are being removed from or specify how many screws are removed in this step

    Alberto Rodriguez -
  3. GG2aQQtS1CsNUUhJ
    GG2aQQtS1CsNUUhJ
    IwUu5k2QkIRbVrCy
    3yZCDQOcYkUHrBLs
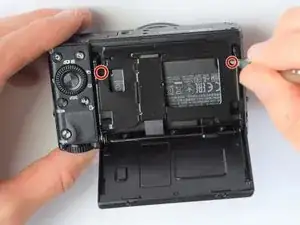
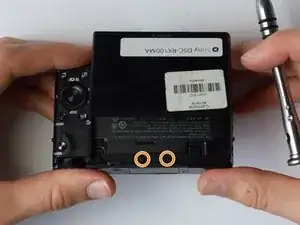
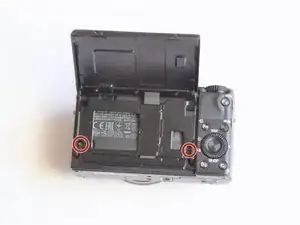
    • Also using the screwdriver, remove screws (black 1mm) underneath articulated LCD screen.

    • Remove the marked 2.5 mm screws with the screwdriver

    2 different types of screws are removed in this step: specify the types

    Alberto Rodriguez -

    It is not necessary to remove the hinge screws. It is much easier to remove the back panel with the LCD still attached and not flopping about everywhere.

    cheez -

  4. Xr6yoceDwVfYLRHB
    Xr6yoceDwVfYLRHB
    GniLMdDCx3nG4ohr
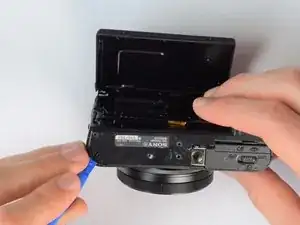
    • Using the plastic opening tools, carefully pry off the bottom plate.

    • Do not pull too hard as you may break the plastic casing.

  5. JU6eJ5bmNvjDbREs
    JU6eJ5bmNvjDbREs
    VWIhdEEYGZMxWIxe
    16QlMwHqRJSrm6xt
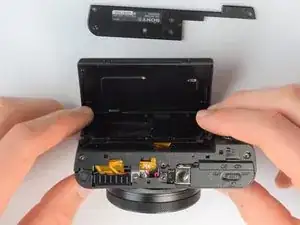
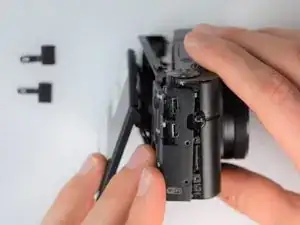
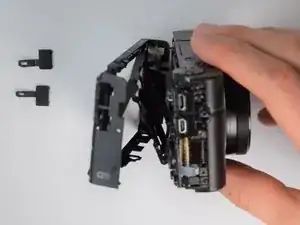
    • Using the same plastic opening tools, separate the screen and back assembly from the front portion of the camera

    • Once the back assembly is slightly detached, pull the media covers for the HDMI and Multimedia ports

  6. XEbRkOZPBxegUcI5
    XEbRkOZPBxegUcI5
    YxBiZDRVQfEZAWue
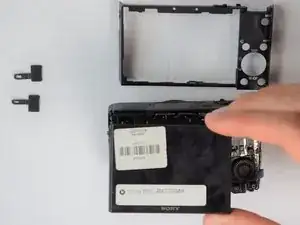
    • Remove the back cover

  7. R4bXWIwmhBJgMINV
    R4bXWIwmhBJgMINV
    ngWyBMQRcC14gTJE
    FGnWSQGTtR2LEmx6
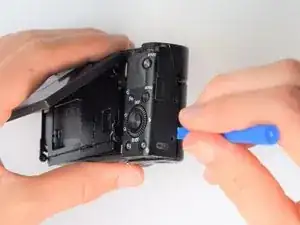
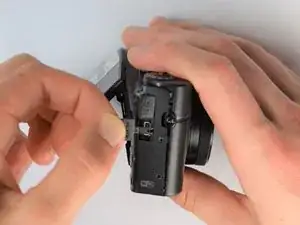
    • Move side panel to get access to screws

    • Remove two screws (black 2.5mm) with PH #0 screwdriver

    In the second picture of the side, it is not the upper screw by the USB that needs removing, but the lower one by the SD/battery door

    James Robinson -

  8. 6UMcTZqlJBVbAXAx
    6UMcTZqlJBVbAXAx
    jykx1qJPqRsSoEUt
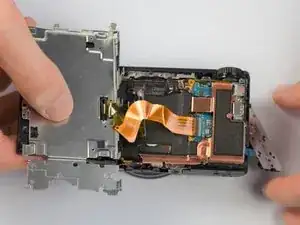
    • Remove back panel assembly while still keeping ribbon cable attached

    • Be very gentle and care not to tear the gold ribbon cable. This will be a common theme throughout these replacement guides.

  9. HmdEQsABVKCQx5HE
    HmdEQsABVKCQx5HE
    lTOnRX1jBGnwPAM3
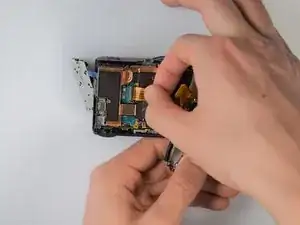
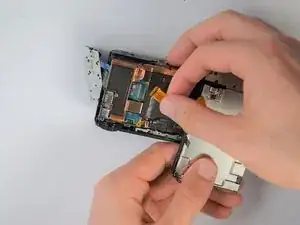
    • Carefully unplug ribbon connector to fully detach LCD screen assembly from camera

    It is worth saying that the grey line on the left-hand edge of the flex connector flips up to release the flex.

    And Rew -

  10. PjmAwNAG1xByjwWQ
    PjmAwNAG1xByjwWQ
    pcOdRLlYU4C4Byov
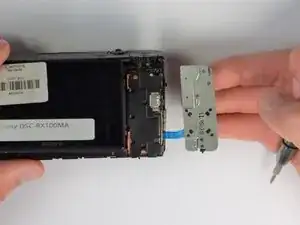
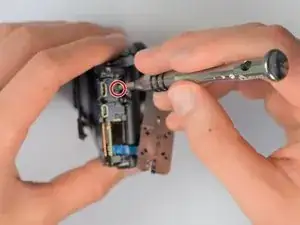
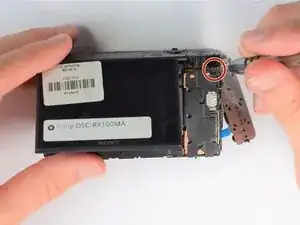
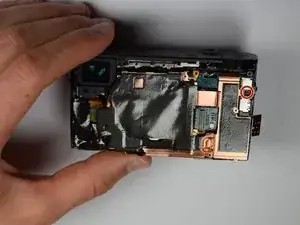
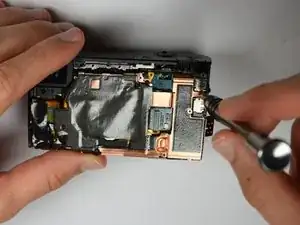
    • Remove remaining screw which holds the copper casing in the camera

    this is the HDMI cover

    James Robinson -

  11. S4GI26YYVQQrCrJd
    S4GI26YYVQQrCrJd
    mUSyBTjDZbMk2GZ1
    UmoFmIX2w1TkXMuA
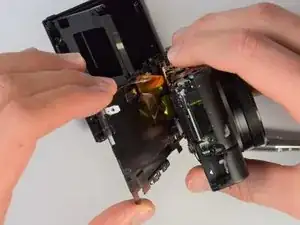
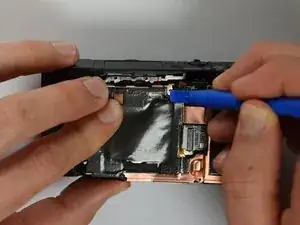
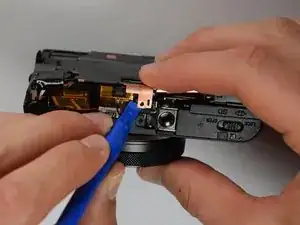
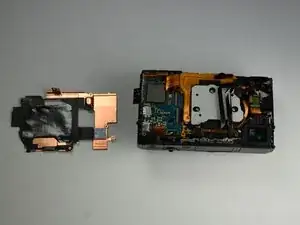
    • Using the plastic opening tools, carefully pry off the copper casing at the two pictured points.

    • Remove casing

  12. B6XWEHFHjTs6Sp3T
    B6XWEHFHjTs6Sp3T
    TZEfJTL2jctbLfbe
    uPx1SZB1SRoKTJwj
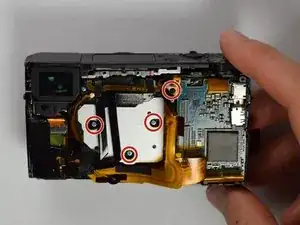
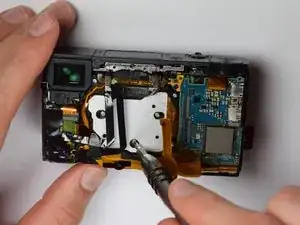
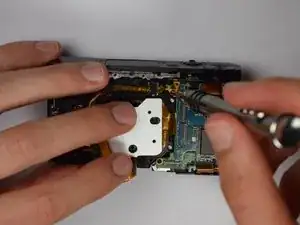
    • Using Philips Screwdriver, remove the four screws as marked on the picture

  13. WRfg3xZ6AWQgRYlf
    WRfg3xZ6AWQgRYlf
    M6edGyMvEsi6q3Bp
    UG6SYyBQE3LrGmCy
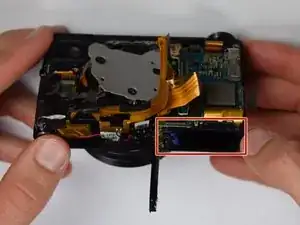
    • Place your finger into the battery port and push up on the SD card holder to push it out of its socket.

    • Give it a little wiggle and you should feel the SD card holder come out.

  14. JPTKSBBOsoheHPFR
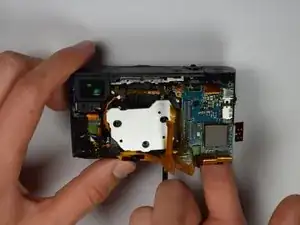
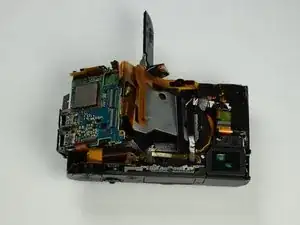
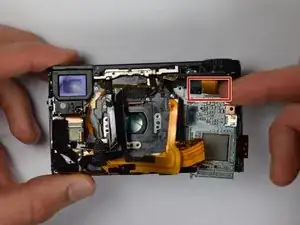
    • Carefully remove the gold ribbons from the ports of the motherboard by lifting the gray tabs and pulling away the ribbon

    • You may want to use tweezers to remove the gold ribbons as a more delicate and safe approach, but this is not required

    • Do not pull away motherboard too hard as the ribbons are very fragile

  15. FOAowNAq5iMWCRoh
    • Remove the SD card holder. It should easily come out because all of the prerequisite screws were already removed.

  16. HAnmKaYZR12iPuRc
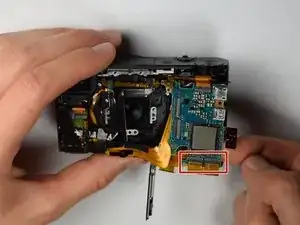
    • Carefully remove the last gold ribbon by lifting the gray tab and sliding out the ribbon.

    • Be sure to use extreme caution because if this ribbon breaks, you will need to buy a new camera.

  17. yNLkjDVI6yV4rlZO
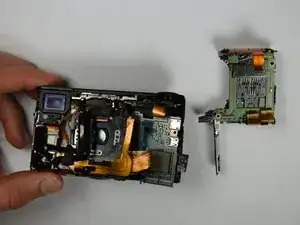
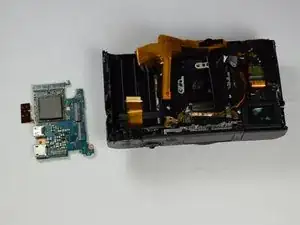
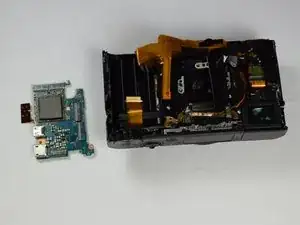
    • Viola! The motherboard is now removed and can be replaced with a new one.

Abschluss

To reassemble your device, follow these instructions in reverse order.

Isaiah De Leon

Mitglied seit: 30/01/17

397 Reputation

0 Kommentare