Einleitung
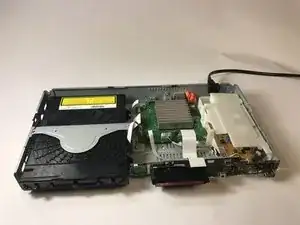
This guild will guide you through removing and setting the motherboard.
Werkzeuge

-
-
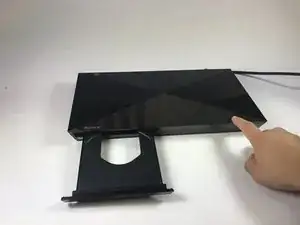
Power on the device, eject the disk tray, and power off the device.
-
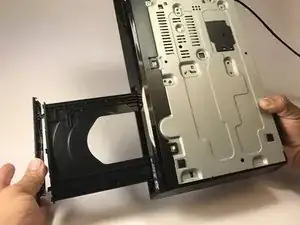
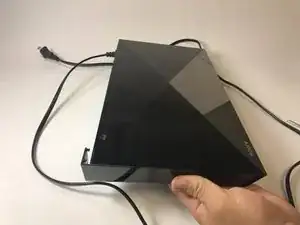
Turn the device over.
-
Lightly apply downward pressure on the black covering on the disk tray until it snaps off.
-
-
-
Turn the device around.
-
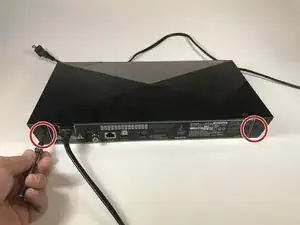
Using a Phillips screw driver, remove the screws on both ends of the device circled red in the image.
-
Slide the side covers on either side towards the back of the device.
-
-
-
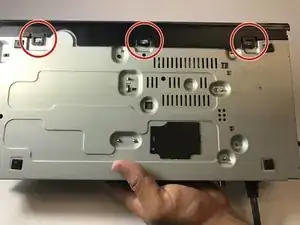
Turn the device so that the bottom is facing up.
-
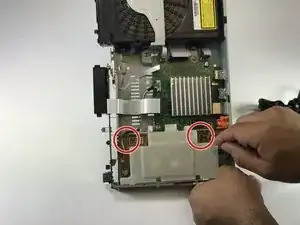
In the bottom, unclip the three plastic clips circled in red.
-
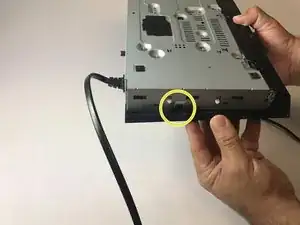
On either side, unclip the plastic clip circled in red
-
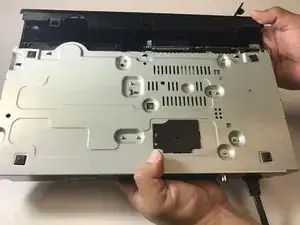
Slide the black covering forwards to remove.
-
-
-
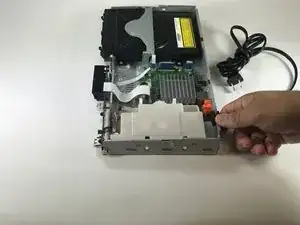
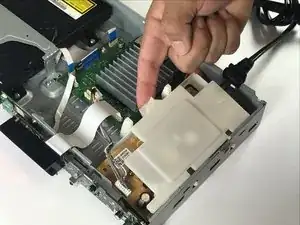
Lift the Power Module up from the side located inside the device.
-
Pull up and away to remove the Power Module
-
-
-
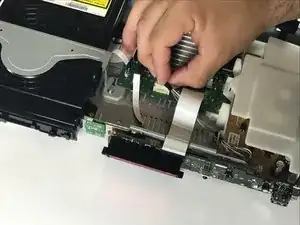
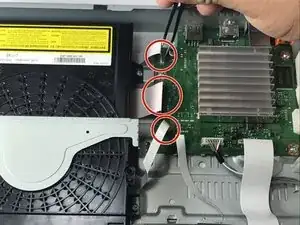
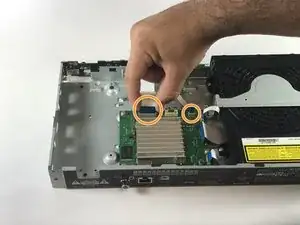
Remove the white bands connecting the motherboard to the display. The thick white band in the middle needs the release button to br pressed down to release the band.
-
Remove the white bands connecting the motherboard to the disk drive this should not be done with much force.
-
-
-
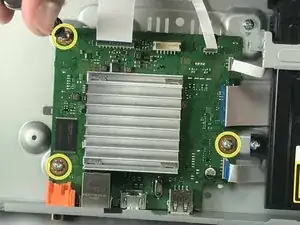
Once the bands are removed remove the three screws holding the motherboard to the surface of the player.
-
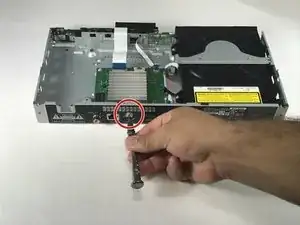
Finally remove the screw from the back of the player holding the motherboard in place.
-
To reassemble your device, follow these instructions in reverse order.

Ein Kommentar
OK, but here’s the next step. I’m trying to get to the CPU now under that aluminum fin cooling plate. However, I can’t for the life of me find how to unhook those 4 hooks holding it down on the CPU. Any suggestions? Preferably without having to buy equipment, but if I must, what should I get?