Einleitung

Replace the right driving wheel of your POWERbot to end movement problems . To resolve the C 03 error code, replace the right driving wheel.

  1. Jey3JUgsKTqUQDA2
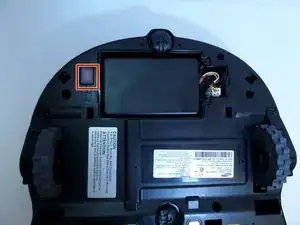
    • Turn the emergency switch off.

  2. fnJATdcpgHeIjLYs
    fnJATdcpgHeIjLYs
    KuX2SroW5S5m5P13
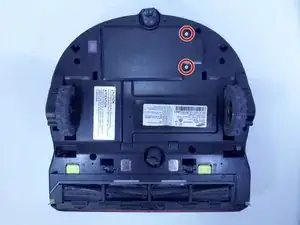
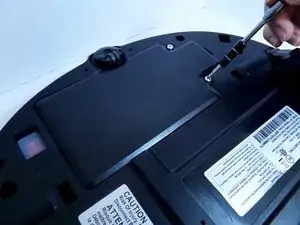
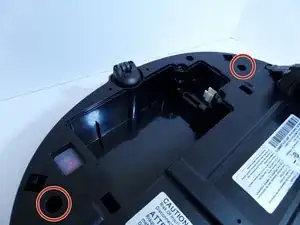
    • Remove the two exposed screws on the top right of the device.

  3. LoqZFmAbFTpVVNAb
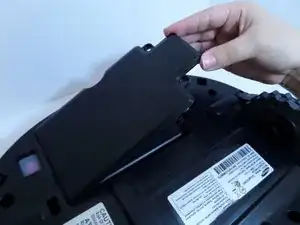
    • Lift the cover plate to expose the battery.

  4. mAORAQmChOWaqUgO
    mAORAQmChOWaqUgO
    dXJtaOXPX5QEau6d
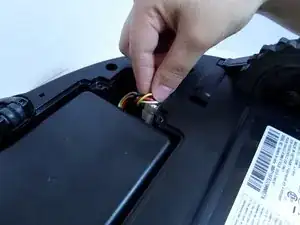
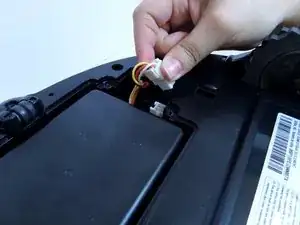
    • Using one hand, pinch the white plastic connector where the battery's wiring connects the POWERbot. Pull up to disconnect.

  5. EHiXDicFlGFbYjmw
    EHiXDicFlGFbYjmw
    UCyaThQKipIgotPB
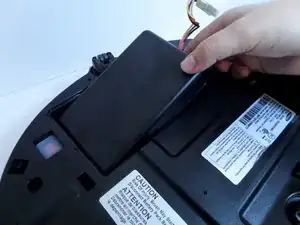
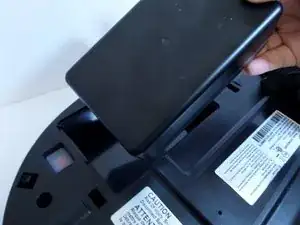
    • Lift the battery from the right side, up and out of its compartment.

  6. KIVmSKb2DjDGueU4
    KIVmSKb2DjDGueU4
    YTN6yqWkgKcil5ny
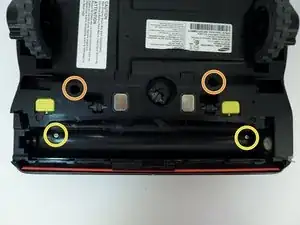
    • Unscrew the two silver 1.5 cm screws on the left and right side of the battery compartment.

    • Remove the two 1.5 cm screws above the yellow sliding lock tabs.

    • Remove the two 1.2 cm screws in the brush compartment.

  7. yW5UwAWr4pESwram
    yW5UwAWr4pESwram
    iHjRSHNnZLbXbCkq
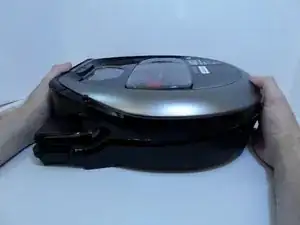
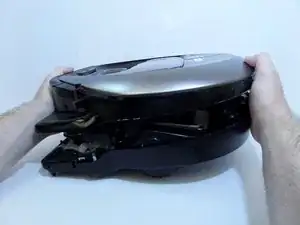
    • With moderate force, separate the silver top from the black bottom of the vacuum.

    • The cover will only separate a few inches as the two halves are connected by wires.

  8. i1nZBYhSGLNxlTJk
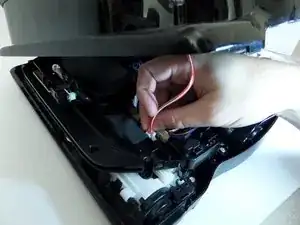
    • Disconnect the white and red wired connector attached to the top half of the base of the vacuum by squeezing the connector and pulling up.

  9. Y4aXE5pOvKcRbxe3
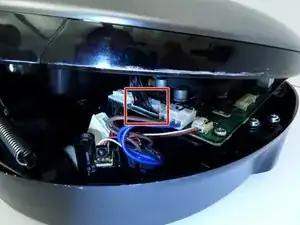
    • Pinching the top and bottom of the black wired connector, pull outward, fully detaching the top from the bottom of the device.

  10. ikjl6IVKZkqiOgNV
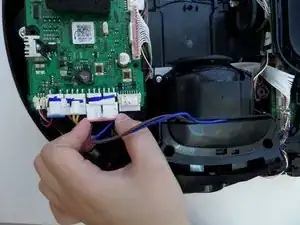
    • Detach the wide circuit connector on the left side by pinching and pressing down on the right and left side of the clip, pulling the connector out.

    • Pull the connector out by the left and right side of the white clip and not by the wires.

  11. fPCG2BuoOWmLOcSi
    fPCG2BuoOWmLOcSi
    4AOKElT2Eaa4knNy
    • Remove the four 1.2 cm screws.

    • Remove the single 0.8 cm screw.

  12. ZmjEsXvg5EYLHxsf
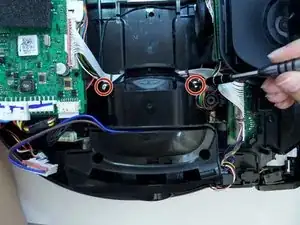
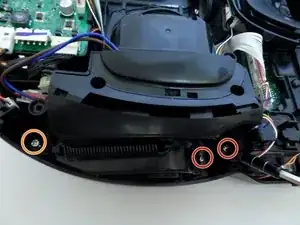
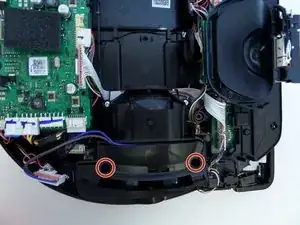
    • Remove the two 1.5 cm screws on the motor chamber.

  13. quDk2gUQqqTibvMW
    quDk2gUQqqTibvMW
    CC6poJhB6kBUvZld
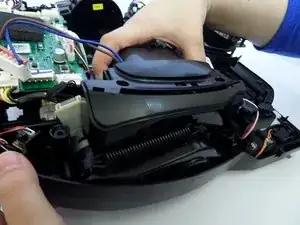
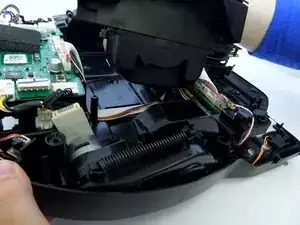
    • Lift the motor by grabbing the body of the motor, lifting upward.

    • With the screws removed from the motor chamber the top of the motor chamber will pop open.

  14. AGJnXFwVBgMI6ESr
    AGJnXFwVBgMI6ESr
    qlRWG6eevRmTFgFr
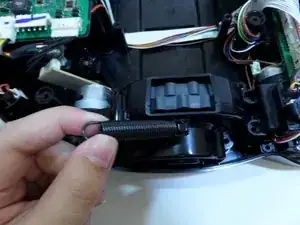
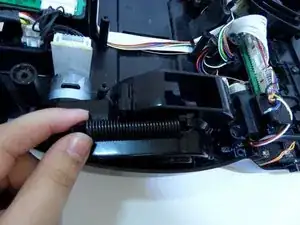
    • With the spring fully retracted, unhook the spring from the wheel casing.

  15. CD21J1YV3iU5QUoS
    CD21J1YV3iU5QUoS
    HHeHoei6RVvrPI6a
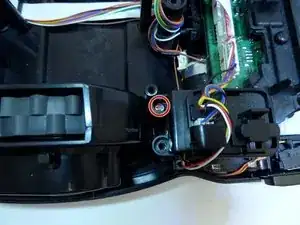
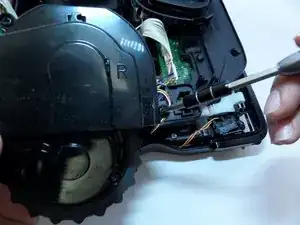
    • Remove the screw securing the black plastic piece to the right of the wheel casing.

    • This piece is not part of the wheel casing but must be unscrewed to remove the wheel casing.

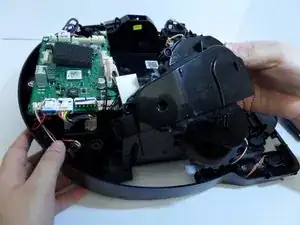
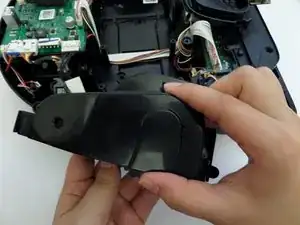
    • Lift wheel and wheel casing out of vacuum base.

  16. XitlJQ1IHeELFuQD
    XitlJQ1IHeELFuQD
    C6vC5HoWjAXesDuZ
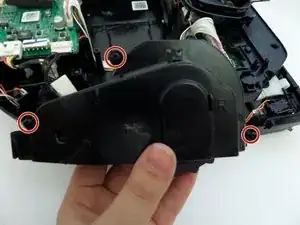
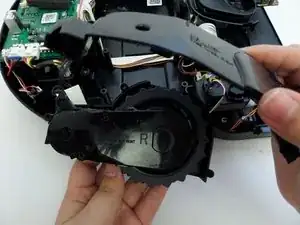
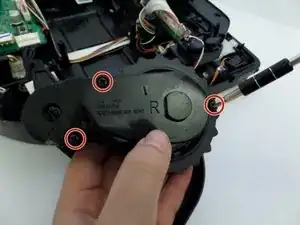
    • Remove the three screws fastening the two halves of the wheel casing together.

  17. uYDGc4BINnWbVX1R
    uYDGc4BINnWbVX1R
    K2OlnrcUMUMwkaJj
    • Separate the unsecured half of the wheel casing, exposing the wheel.

  18. aRfaOeTqGfE46I4V
    • Remove the three screws on the remaining half of the wheel casing.

  19. tHfUZQSCJsTNNfwb
    tHfUZQSCJsTNNfwb
    XS4hxfKodUYnJlRQ
    dv1oLprJLFyGwUoK
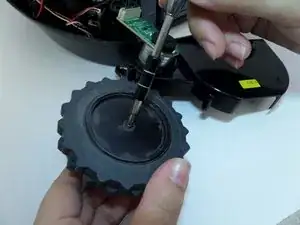
    • Unscrew the black 1 cm screw securing the center of the wheel.

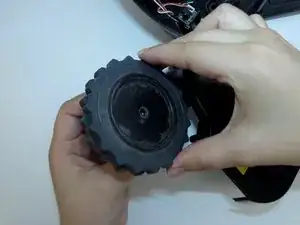
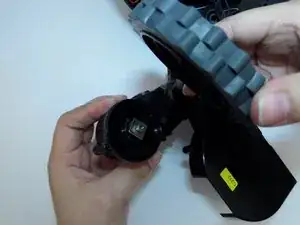
    • Remove the wheel.

Abschluss

To reassemble your device, follow these instructions in reverse order.

Lauren Nubla

Mitglied seit: 11/09/17

261 Reputation

3 Kommentare

Where can you find the replacement left driving wheel? are all the model the same?

ghvolleyball -

Very helpful, thank you.

Just beware of the rubber vacuum part and it’s placement after taking apart the vacuum.

James MacKenzie -

Very clear and helpful. Thank you

Able to replace the wheel quickly. Did not need to do steps 16-19 because new part came complete with new wheel.

Andy -