Einleitung
This guide requires opening up your Samsung Pl200 to access and replace the lens unit. You will need a #000 Phillips Screwdriver, a Plastic Opening Tool, and a set of Tweezers.


Ersatzteile
-
-
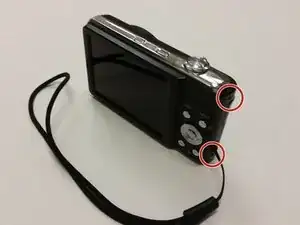
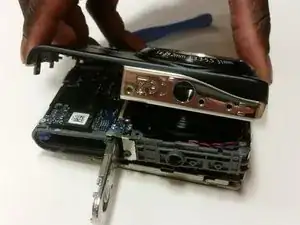
Remove the two black 3mm external screws from the side of the camera using a #000 Phillips Screwdriver.
-
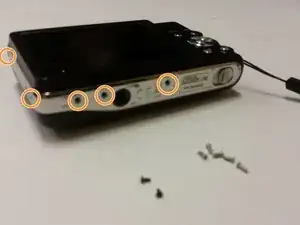
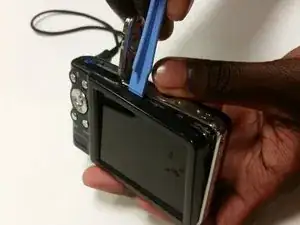
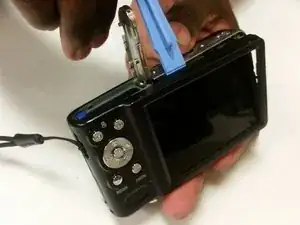
Remove five of the silver 3mm external screws from the camera's side and bottom using a #000 Phillips Screwdriver.
-
-
-
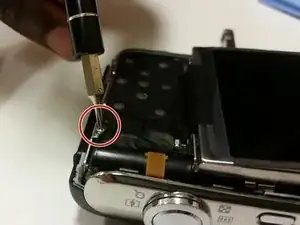
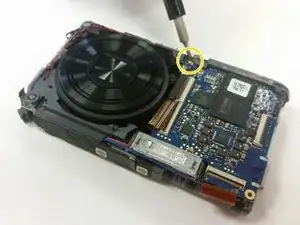
Remove the 3mm screw holding the circuit board in place using a #000 Phillips Screwdriver.
-
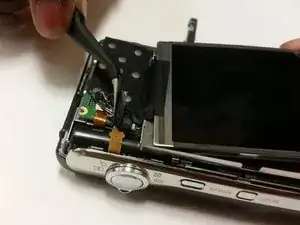
Remove any leftover tape on the circuit board and screen.
-
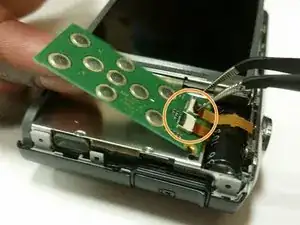
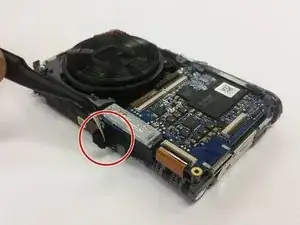
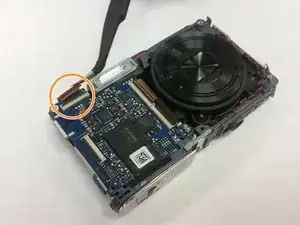
Unplug and remove the wires from the circuit board using a set of Tweezers.
-
-
-
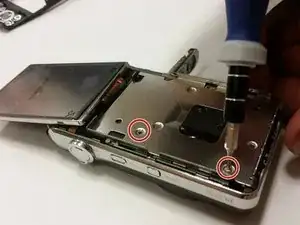
Flip the LCD screen forward. Using the #000 Phillips Screwdriver, remove the two 3mm screws beneath the LCD screen.
-
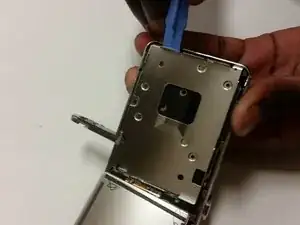
Remove the metal brace using the Plastic Opening Tool.
-
-
-
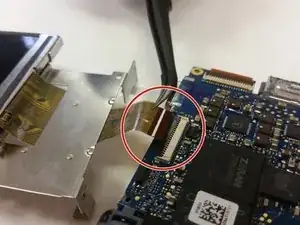
Locate where the screen plugs into the motherboard to lift the black latch and pull the cord to remove the screen.
-
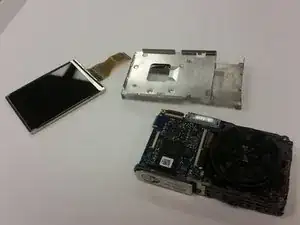
Separate the screen and the metal brace from the camera body.
-
-
-
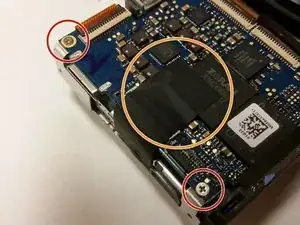
Remove the two 3mm corner screws holding the motherboard in place with the #000 Phillips Screwdriver.
-
Remove any leftover tape if it is still on the motherboard.
-
-
-
Use Tweezers to remove the tape from the bottom of the camera.
-
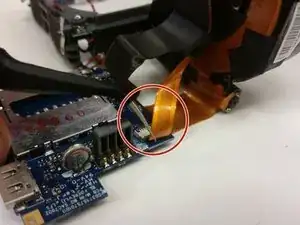
Use the Tweezers to disconnect the lens unit cord at the bottom of the camera from the motherboard.
-
Remove the last 3mm screw that holds the motherboard in place.
-
-
-
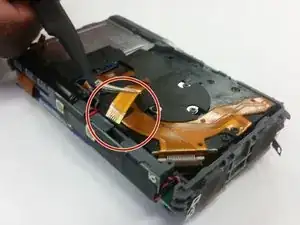
Use Tweezers on the backside of the camera to unplug the small lens unit cord from the camera frame.
-
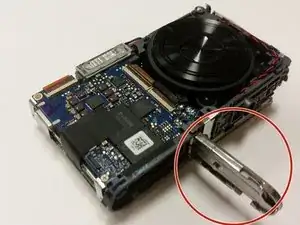
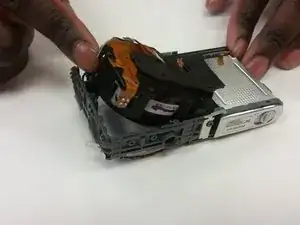
Gently lift the lens unit from the frame.
-
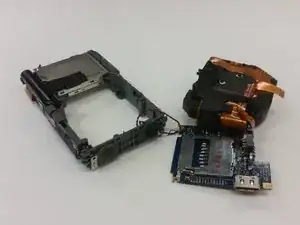
Separate the lens unit, motherboard, and camera.
-
-
-
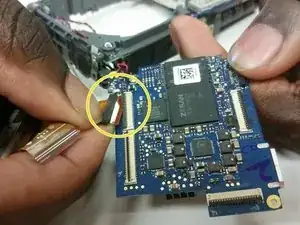
Use Tweezers to remove the small cord from the motherboard.
-
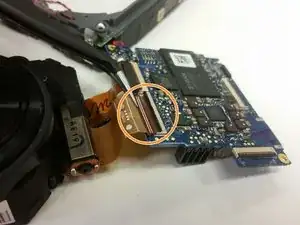
Use Tweezers to remove the first large lens unit cord from the motherboard.
-
Use Tweezers to remove the second large lens unit cord from the motherboard.
-
-
-
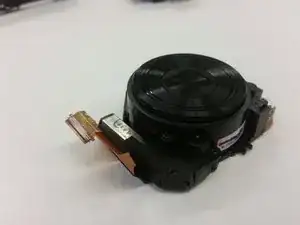
You have now separated the lens unit. Replace it with a functional lens unit at this stage, and reassemble the device.
-
To reassemble your device, follow these instructions in reverse order.
