Einleitung
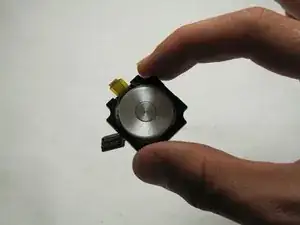
This guide outlines how to replace the click wheel on the front of the Samsung Juke.


-
-
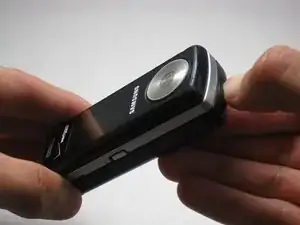
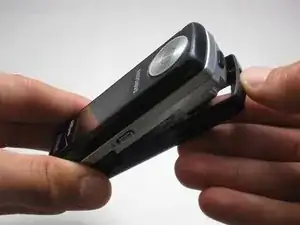
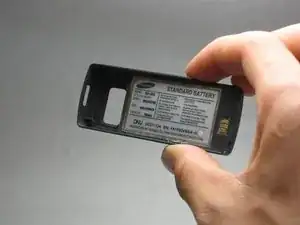
Locate the button on the bottom of the phone. Once located, press and hold the button down.
-
-
-
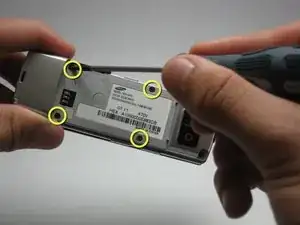
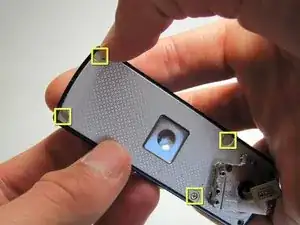
Use the size 00 Phillips screwdriver to remove the four screws located on the back of the phone. These screws are circled in yellow in the given image.
-
-
-
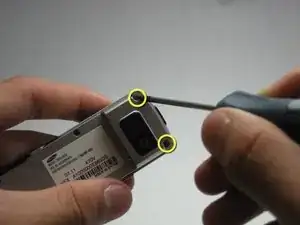
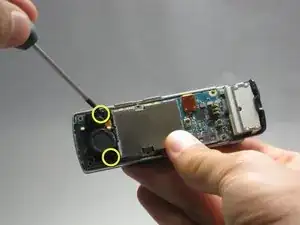
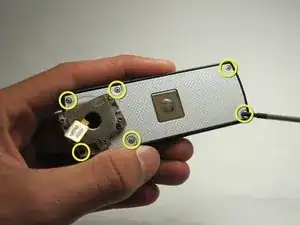
Using the same 00 Phillips screwdriver, remove the two screws at the bottom back plate of the phone near the camera and the speaker.
-
-
-
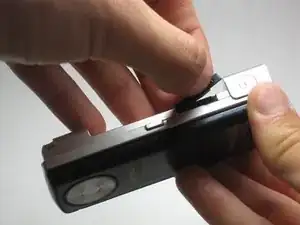
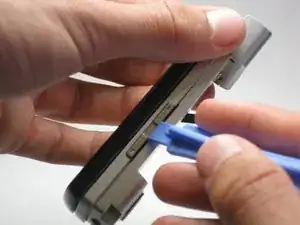
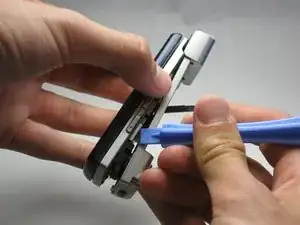
Before proceeding, locate the USB port (where the charger can be plugged in) and open it using the iFixit Opening Tool.
-
-
-
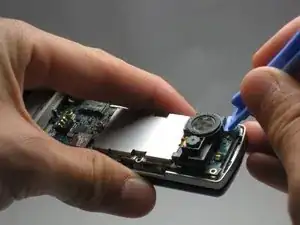
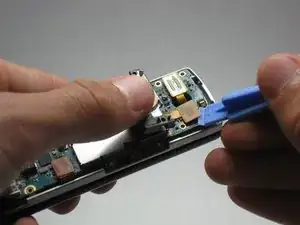
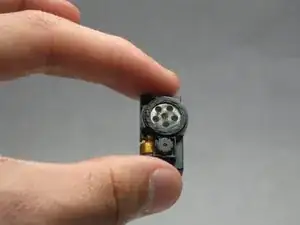
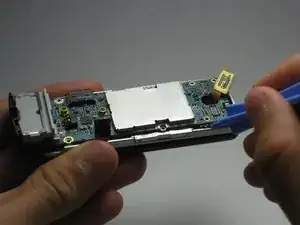
To completely remove the camera/speaker, locate the orange attachment beneath it (as shown in the image).
-
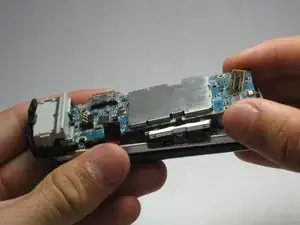
Then, use the iFixit Opening Tool to gently pry the camera/speaker off.
-
-
-
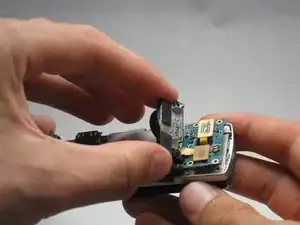
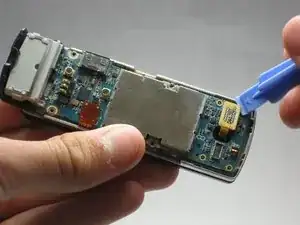
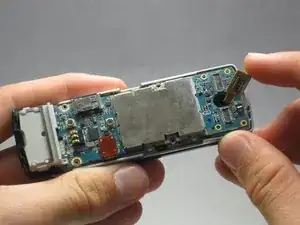
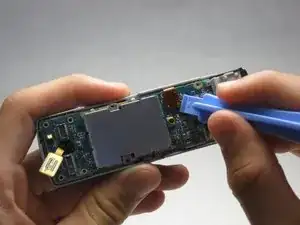
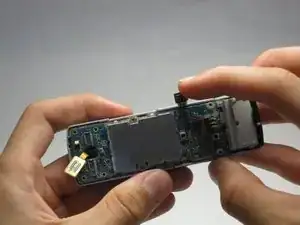
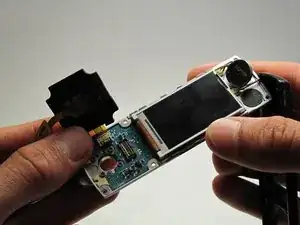
To completely remove the logic board, use the iFixit Opening Tool to pop it up, then use your fingers to pull it out.
-
-
-
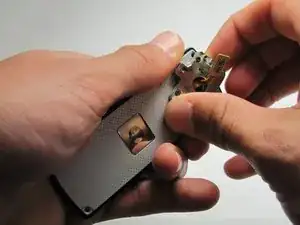
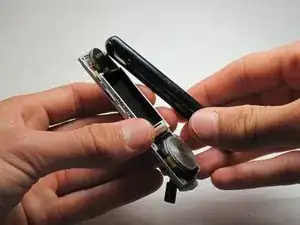
Open/swivel the phone so the back of the LCD panel is visible.
-
Use the iPod opening tool to pry the keypad from the hinge on the back of the device.
-
-
-
Using your fingernail, remove the stickers covering the screws on the back of the LCD casing.
-
Using a phillips 00 screwdriver, remove all six screws on the back of the device.
-
-
-
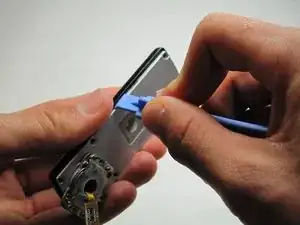
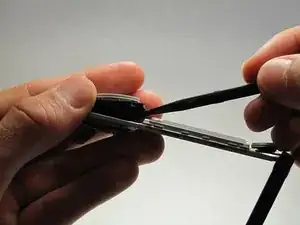
Using a generous amount of force, use your hands to pry loose the casing from the LCD panel.
-
If necessary, use the iPod opening tool to completely free the casing.
-
-
-
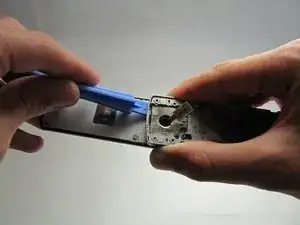
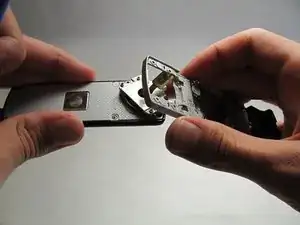
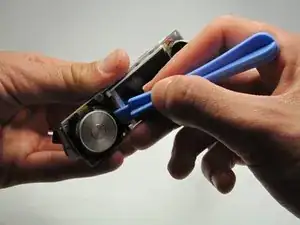
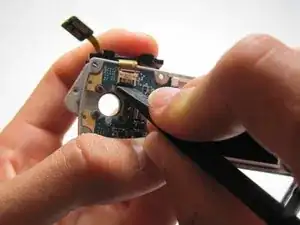
Using the iPod opening tool, remove the click wheel from the board.
-
After you have freed the edges, use the spudger to release the clip holding it flush to the board.
-
-
-
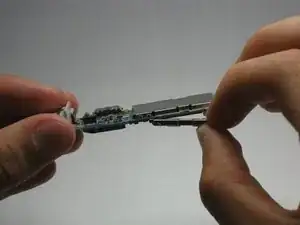
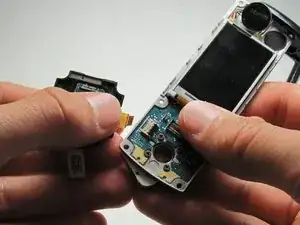
Unlock the ribbon connection by pressing down on the black clip.
-
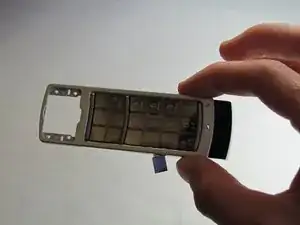
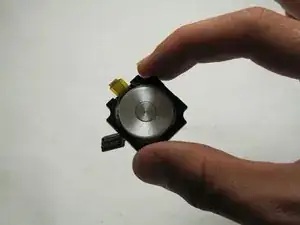
Carefully pull the click wheel away from the device.
-
To reassemble your device, follow these instructions in reverse order.

Ein Kommentar
All I have to say is: THANK YOU!
My juke's click wheel got stuck, which was draining my battery. I followed the incredibly easy to understand instructions and pictures and was able to free my click wheel. I cleaned the wheel and put my phone back together by going backward though the instructions, turned on my phone, and IT WORKED PERFECTLY. This saved my from having to buy a new, large and extremely expensive phone.
Thank You so much for these great, step-by-step instructions!