Einleitung

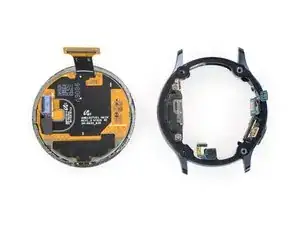
Diese Anleitung zeigt, wie das Display in der Samsung Galaxy Watch Active2 getauscht werden kann.

  1. PpZOv4HwIXocgyLa
    PpZOv4HwIXocgyLa
    URGisUyoLxnnOdxd
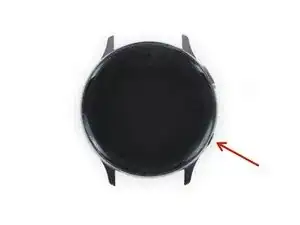
    • Drücke und halte die untere Taste an der Samsung Galaxy Watch Active2 etwa 3 Sekunden lang, bis sie sich ausschaltet. Du solltest ein kurzes Vibrieren spüren.

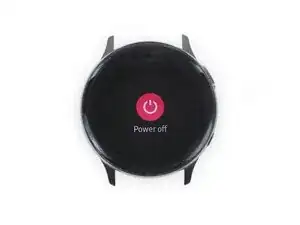
    • Wenn das "Ausschaltsymbol (Power off)" erscheint, dann drücke auf die Mitte des Displays, bis die Uhr herunterfährt. Diesmal solltest du zur Bestätigung ein längeres Vibrieren erhalten.

  2. uu5BVXM3mPVqtxCV
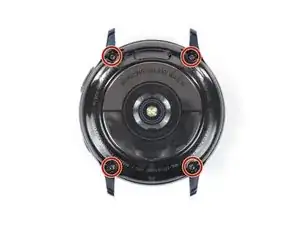
    • Entferne die vier 4 mm langen Tri-Point-Schrauben Y00 auf der Rückseite der Uhr.

  3. gaLLXZL6PtTfeKTr
    gaLLXZL6PtTfeKTr
    R12EOStuFS1gSrnJ
    pEvRLZfPye6TlF5x
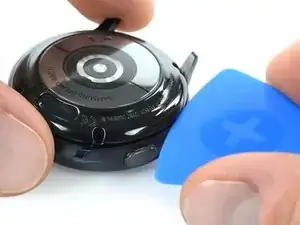
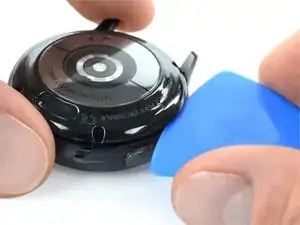
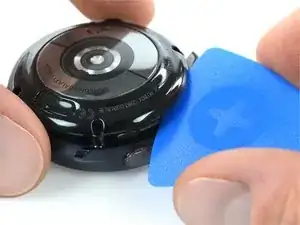
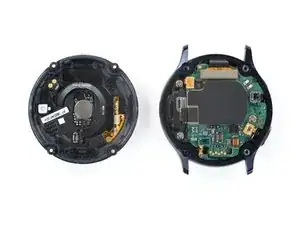
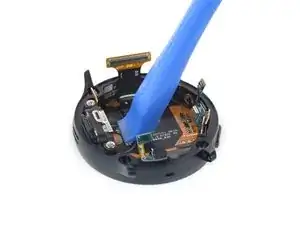
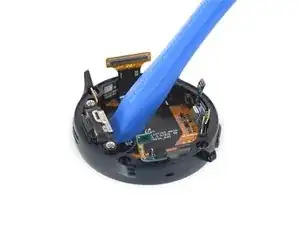
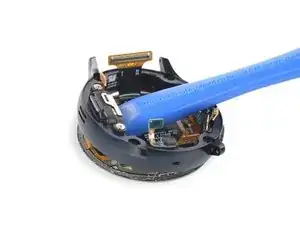
    • Setze ein Plektrum in der Nähe der Tasten zwischen die Kunststoffrückseite und das Metallgehäuse.

    • Drücke das Plektrum hinein, bis sich die Rückseite vom Gehäuse löst.

    • Entferne die Rückseite jetzt noch nicht. Sie ist noch mit einem Kabel am Motherboard angeschlossen.

  4. bpWZC4dQSQhyoeRG
    bpWZC4dQSQhyoeRG
    HBeHnBVjm3DQi5vK
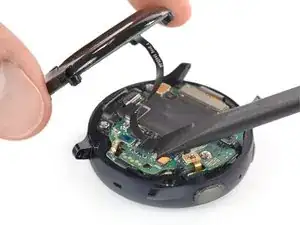
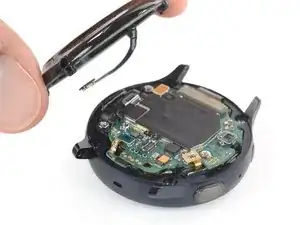
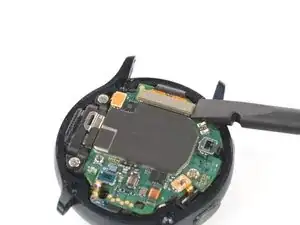
    • Hebe die Rückseite vorsichtig hoch, um an den Stecker der Sensorgruppe heranzukommen.

    • Trenne den Stecker der Sensorgruppe mit einem Spudger vom Motherboard ab.

  5. IgBIqAvjWTgdSyaX
    • Entferne die Rückseite.

  6. hLMRrQcln2F44EQC
    hLMRrQcln2F44EQC
    nO2YThO42whDToCV
    J1U56kAhiy32Q3hP
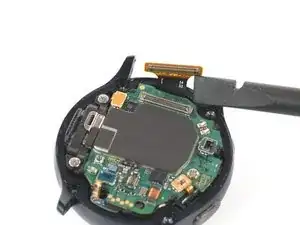
    • Trenne das Display und den Lautsprecher mit einem Spudger ab.

  7. ZyS3IXZroO6LiUpm
    ZyS3IXZroO6LiUpm
    vZEaGvB25hI1MnBW
    edFTAGtRlQHABfbw
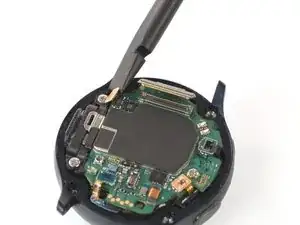
    • Trenne den Luftdrucksensor, die Tasten und das Mikrofon mit dem Spudger ab.

  8. 4qX2lhcADWyrkPW6
    4qX2lhcADWyrkPW6
    Ti3ToIYjPAZSBcck
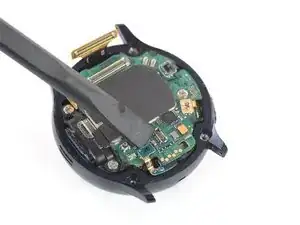
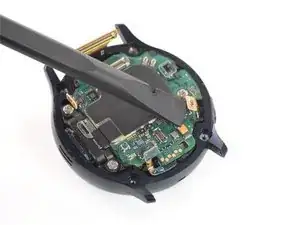
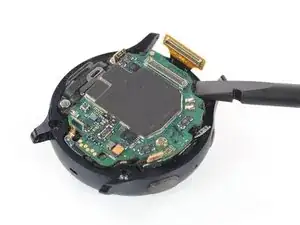
    • Setze einen Spudger oben rechts, nahe beim Displaystecker, unter das Motherboard ein.

    • Verdrehe und hebe den Spudger ein wenig, um die Haupteinheit zu lösen.

  9. yUc2Y4nQihhPqWvT
    yUc2Y4nQihhPqWvT
    QNKTxIJwKFhonAco
    sdqNalvtlsoNgOk3
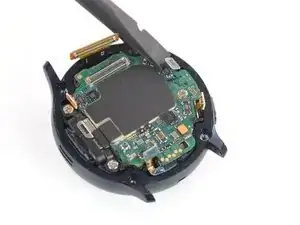
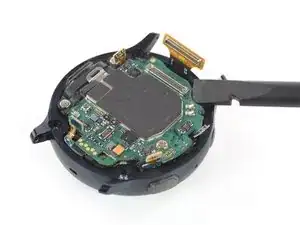
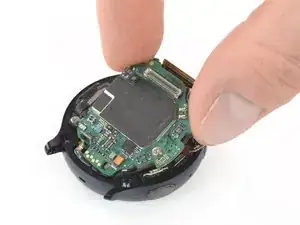
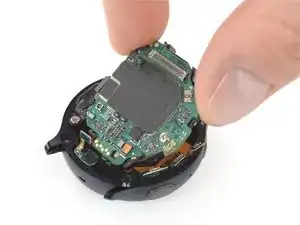
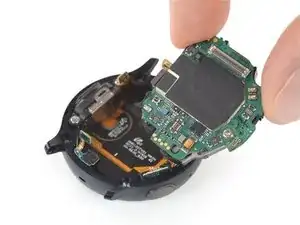
    • Fasse die Haupteinheit behutsam an und schiebe sie unter den Kabeln heraus.

    • Entferne die Haupteinheit.

    I had to remove that screw on the core assembly using a Phillips 000. When I initially tried lifting, the core assembly started to bend. Mine also has a connector under the core assembly near the thumb in the picture. The connector goes from the underside of the core assembly to the screen/body. It prevents me from removing the core assembly as I'm not sure how it should be removed examining it

    Louis Finney -

    This step is really difficult, and I'm still not sure it was necessary. The core assembly is really packed in there, and it took me several attempts, lifting from various corners. Don't pull by the circuit board. It will bend if you're not careful. You've got to get under the core assembly. I had the most luck starting next to the display connector at the top, then moving to the sensor on the other end of the board (barometric sensor), then moving to the speakers on the left, and finally lifting from multiple points once it was out far enough. In really hoping I didn't damage anything.

    Karl Arp -

  10. iHZbVYpOq3nDEBAH
    iHZbVYpOq3nDEBAH
    RFpKRMagEIaOorgP
    1D1kHhL5QeSustKL
    • Setze die Kante eines Öffnungswerkzeugs unter die Lautsprechereinheit.

    • Drücke das Werkzeug nach unten, um das Display vom Rahmen abzulösen.

  11. XDCZyBDWS3IZuvUv
    XDCZyBDWS3IZuvUv
    jga2qysRqQJQV1Cd
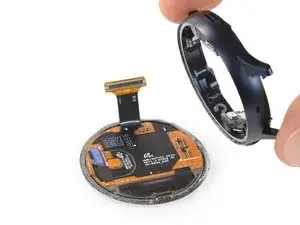
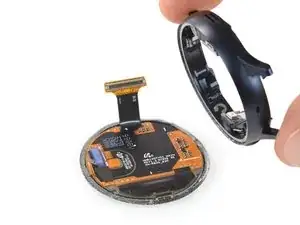
    • Entferne den Rahmen vom Display.

    • Achte beim Zusammenbau darauf, dass du alle Kleberreste mit Isopropylalkohol (mindestens 90%ig) vom Rahmen beseitigt, bevor du neuen Kleber oder das neue Display befestigt.

    Bonjour, mon écran c'est d'écolé mais fonctionne toujours. Comment je peux le recoller ou avec quoi ?

    Yannick Babin -

Abschluss

Schalte dein Gerät ein, wenn möglich, und teste alle Funktionen, bevor du es wieder zuklebst.

Bringe neue Klebestreifen an den notwendigen Stellen an, nachdem du diese mit hochkonzentriertem Isopropylalkohol (mindestens 90%ig) gereinigt hast. Eventuell musst du Schutzfolien vom Neuteil ablösen, bevor du es einbauen kannst.

Um dein Gerät wieder zusammenbauen, folge den Schritten in umgekehrter Reihenfolge.

Die Reparatur verlief nicht wie geplant? Versuche erst einige grundsätzliche Lösungen, ansonsten findest du Hilfe in unserem Forum.

Tobias Isakeit

Mitglied seit: 31/03/14

98264 Reputation

7 Kommentare

Does anyone know where to buy the replacement screen for Active 2? Or what keywords should I search for (SKU or model)?

Angelo Sembrano -

SM-R830 for the 40mm version, SM-R820 for the 44mm one. People on ebay resell them but they cost upwards of $100. I’d look into broken watches of the same type that maybe the battery is dead and they’re selling it for cheap, then do a swap job on the (hopefully) working screen.

Justin Collins -

Seconding the question on where to buy a replacement screen

Arjun Ramakrishnan -

You could be lucky on rounded.com

Tobias Isakeit -

What adhesive would be best to use?

Kelsey Crank -

This E600 adhesive could work for you if carefully applied not spilling it over the back of the display.

Tobias Isakeit -

I broke my 40mm Active1 screen, anyone know if I can put in a 40mm Watch 4 screen in and get the better resolution?

Kevin Vågen -