Einleitung
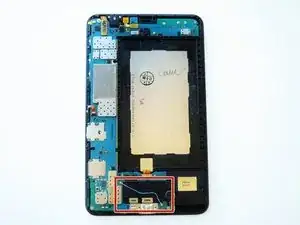
The replacement of the vibration motor in the Samsung Galaxy tab 4 8.0 should take no more than 15 minutes.
Werkzeuge


-
-
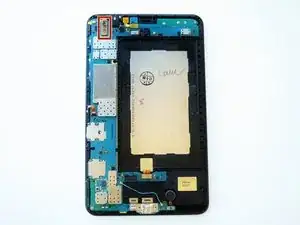
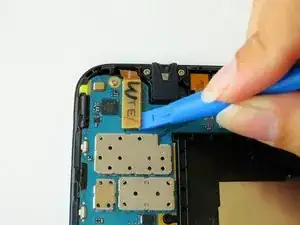
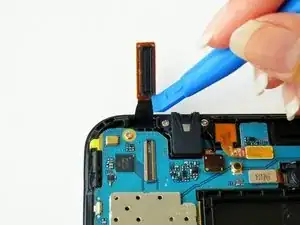
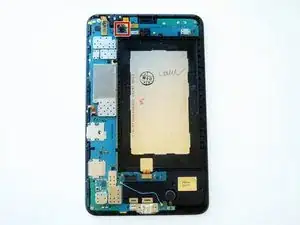
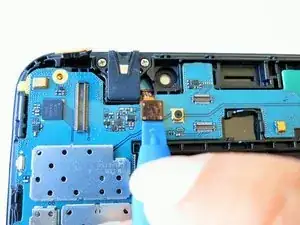
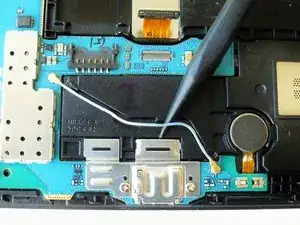
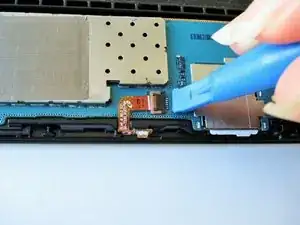
Slightly apply pressure and move the blue plastic opening tool downwards to pop the metallic rectangular connector from its socket on the mother board.
-
-
-
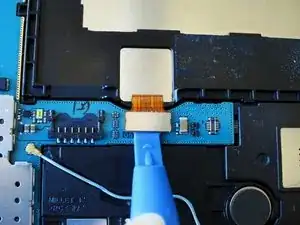
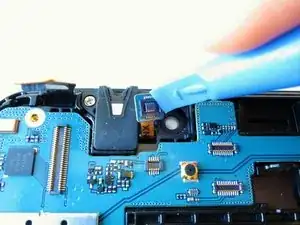
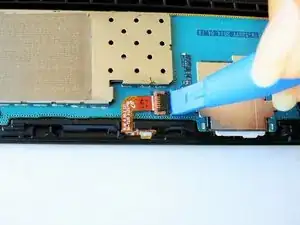
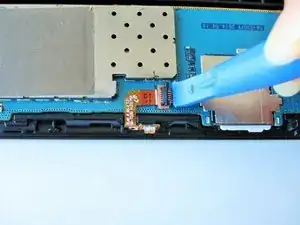
Slightly apply pressure and move the blue plastic opening tool downwards to pop the gold rectangular connector from its socket on the mother board.
-
-
-
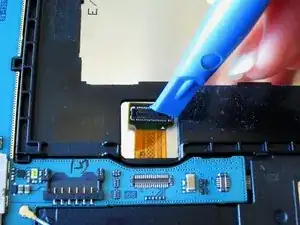
Slightly apply pressure and move the blue plastic opening tool downwards to pop the gold square connector from its socket on the mother board.
-
-
-
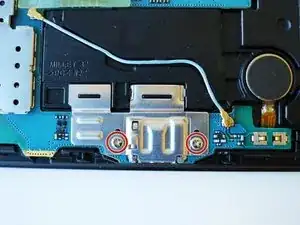
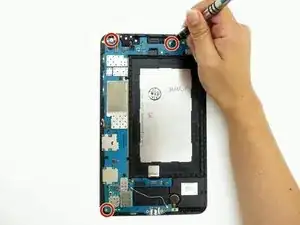
Remove two 2 mm #000 Phillips screws securing the metallic charger port cover to both the logic board and the front panel.
-
-
-
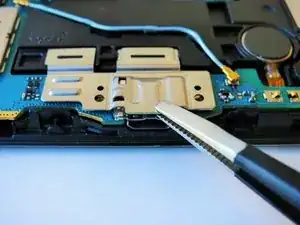
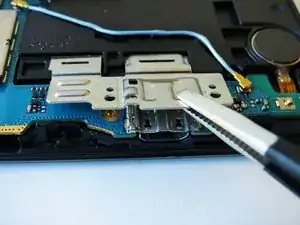
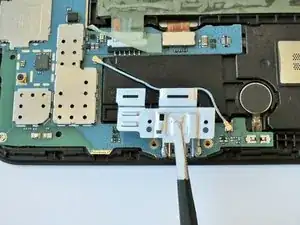
Squeeze the metal charger port cover piece with the tweezers to gently lift it from it's place.
-
-
-
Carefully insert the flat end of the blue plastic opening tool under the black plastic fastener and lift.
-
-
-
Squeeze the golden cable with the tweezers and gently pull the cable to the left to free the end of the golden cable.
-
-
-
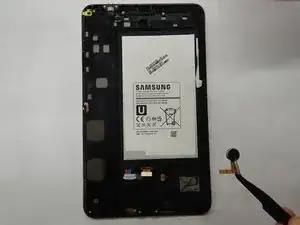
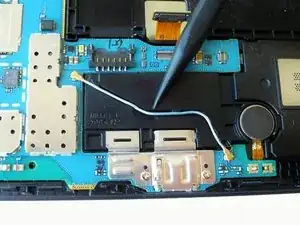
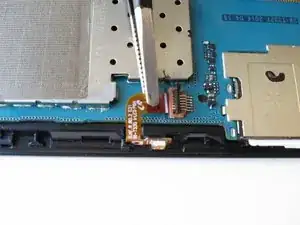
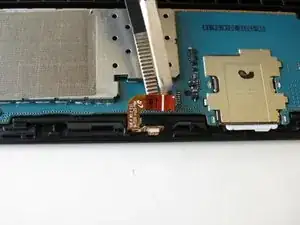
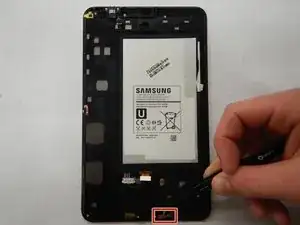
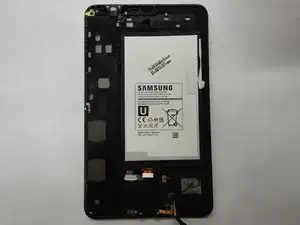
Use the angled tweezers to lift up the orange rectangular electrical connector, this will disconnect the vibration motor from the motherboard.
-
-
-
Slide one arm of the angled tweezers beneath the orange electrical tape and the motor.
-
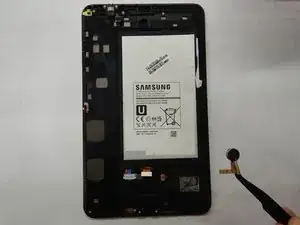
Gently pull upwards on the motor and electrical tape and remove the speaker from the device.
-
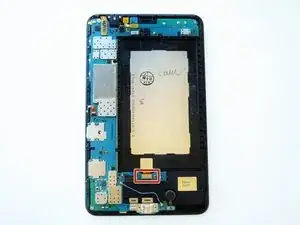
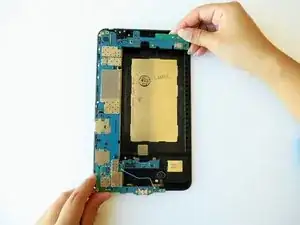
To reassemble your device, follow these instructions in reverse order.

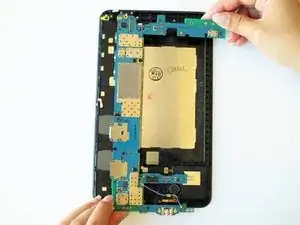
Disconnect battery first! (In this photo the battery has already been removed).
Gregg Stanley -
There is also another connector directly to the right (in this photo) that needs to be disconnected as well (this picture shows it under the logic board, so this has already been removed and replaced before the photo was taken).
Gregg Stanley -