Einleitung
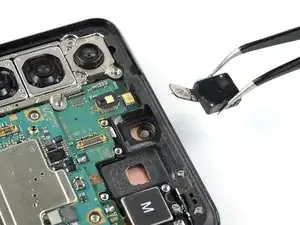
Use this guide to replace the front facing camera on your Samsung Galaxy S21 Plus.
This guide was performed on the SM-G996B/DS (international) model. Other models have an additional antenna cable sitting in the edge of the midframe.
If you do not replace the adhesive seals when reassembling, your device will function normally, but will most likely lose its water protection.
You’ll need replacement adhesive to reattach components when reassembling the device.


-
-
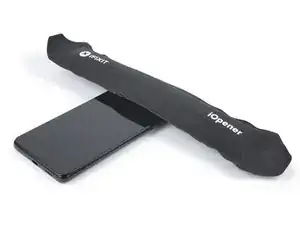
Prepare an iOpener and apply it to the rear glass for at least three minutes to loosen the adhesive underneath.
-
-
-
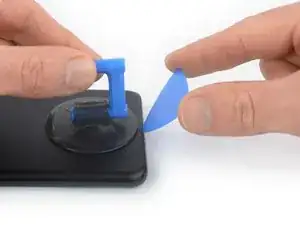
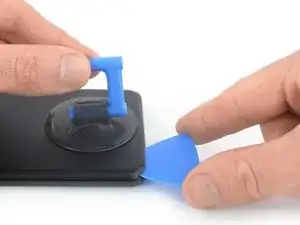
Secure a suction handle to the bottom edge of the rear glass, as close to the edge as possible.
-
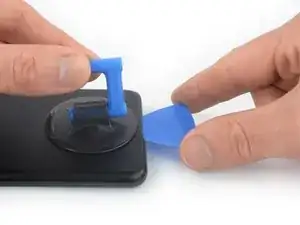
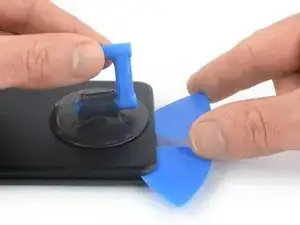
Lift the rear glass with the suction handle to create a small gap between the rear glass and the frame.
-
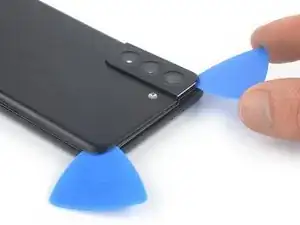
Insert an opening pick into the gap you created.
-
Slide the opening pick to the bottom left corner to slice the adhesive.
-
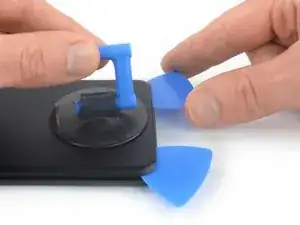
Leave the opening pick in place to prevent the adhesive from resealing.
-
-
-
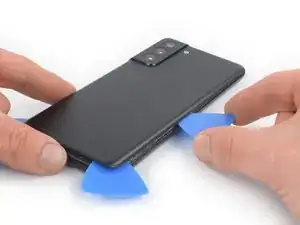
Insert a second opening pick at the bottom edge of your phone.
-
Slide the opening pick to the bottom right corner to slice the adhesive.
-
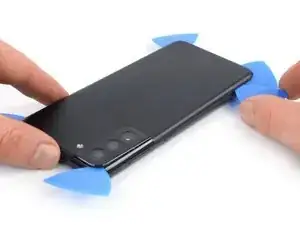
Leave the opening picks in place to prevent the adhesive from resealing.
-
-
-
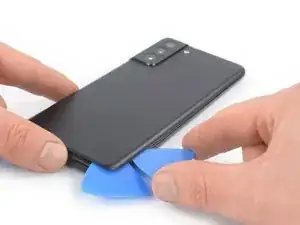
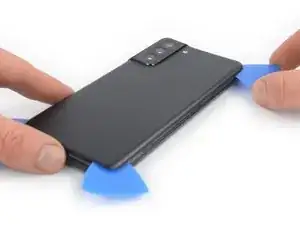
Insert a third opening pick at the bottom right corner of your phone.
-
Slide the opening pick along the right edge of your phone to slice the adhesive.
-
Leave the opening pick in the top right corner to prevent the adhesive from resealing.
-
-
-
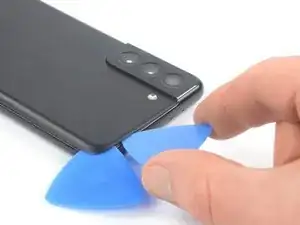
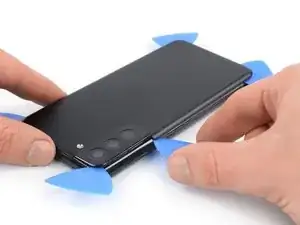
Insert a fourth opening pick underneath the top right corner of your phone.
-
Slide the opening pick along the top edge to slice the adhesive.
-
Leave the opening pick in the top left corner to prevent the adhesive from resealing.
-
-
-
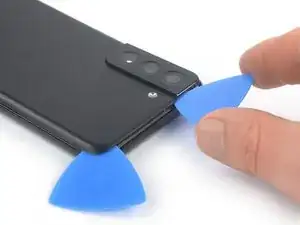
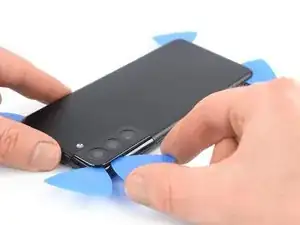
Insert a fifth opening pick underneath the bottom left corner.
-
Slide the opening pick along the left edge of the rear glass to slice the remaining adhesive.
-
-
-
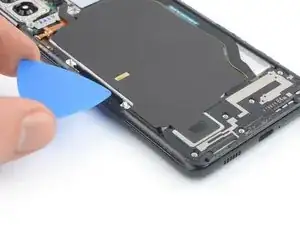
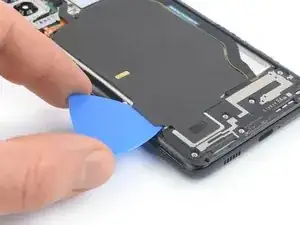
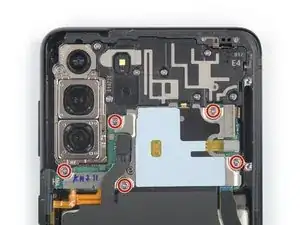
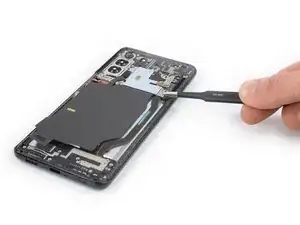
Insert an opening pick underneath the left bottom end of the NFC antenna and charging coil assembly.
-
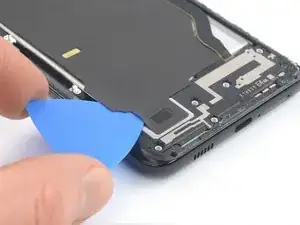
Carefully slide the opening pick along the bottom left edge of the assembly to separate it from the battery.
-
-
-
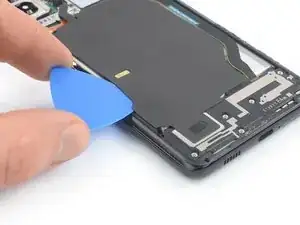
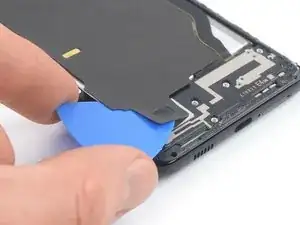
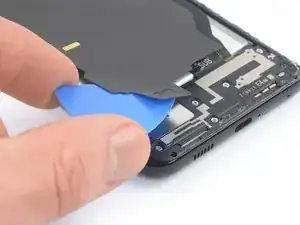
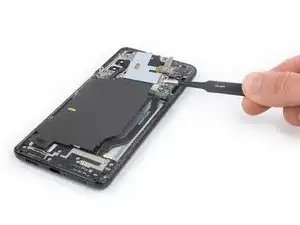
Insert an opening pick underneath the bottom end of the NFC antenna and charging coil assembly.
-
Carefully slide the opening pick along the bottom of the assembly to separate it from the loudspeaker.
-
-
-
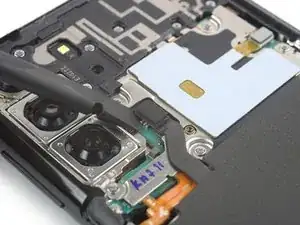
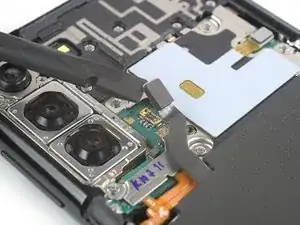
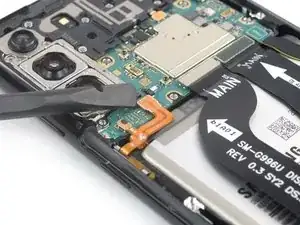
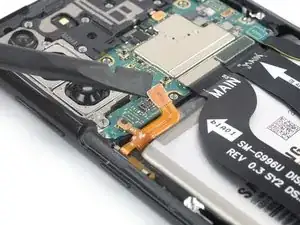
Use a spudger to disconnect the charging coil by prying the connector straight up from its socket.
-
-
-
Use a spudger to disconnect the NFC antenna by prying the connector straight up from its socket.
-
-
-
Use a Phillips screwdriver to remove the five 3.9 mm-long screws securing the NFC antenna and charging coil assembly.
-
-
-
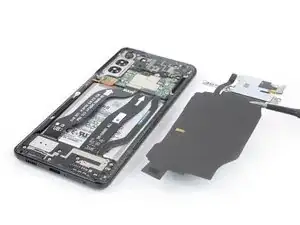
Use a pair of tweezers or your fingers to carefully remove the NFC antenna and charging coil assembly.
-
-
-
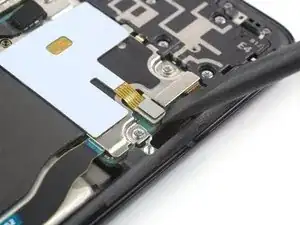
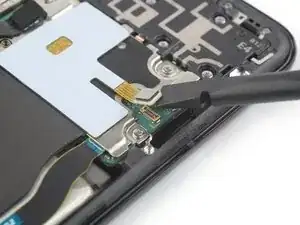
Use a spudger to disconnect the battery cable by prying the connector straight up from its socket.
-
-
-
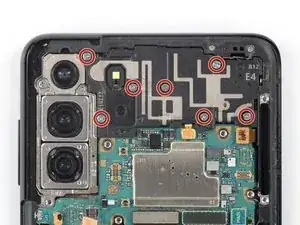
Use a Phillips screwdriver to remove the seven 3.9 mm-long screws securing the earpiece speaker assembly.
-
-
-
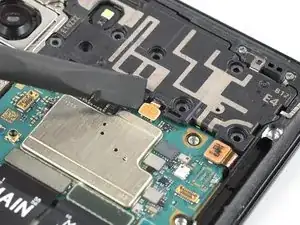
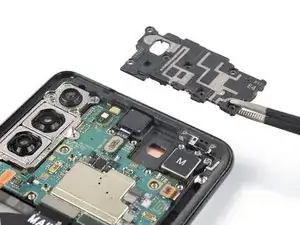
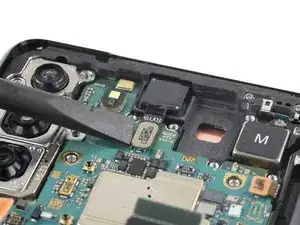
Use a spudger to disconnect the earpiece speaker cable by prying the connector straight up from its socket.
-
-
-
Insert a spudger underneath the bottom left edge of the earpiece speaker assembly.
-
Use your spudger to pry up the earpiece speaker assembly.
-
-
-
Use a pair of tweezers or your fingers to carefully remove the earpiece speaker assembly.
-
-
-
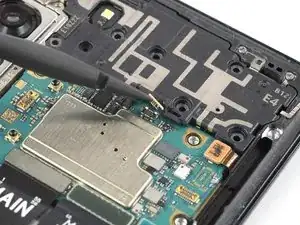
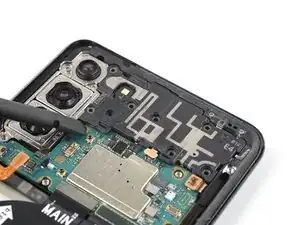
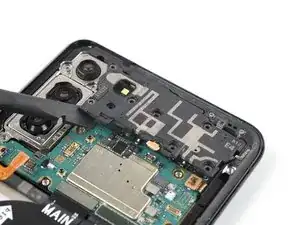
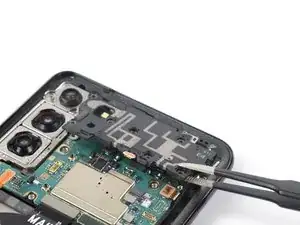
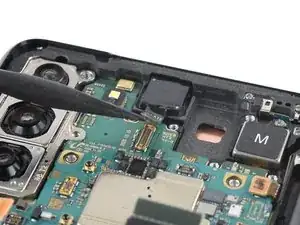
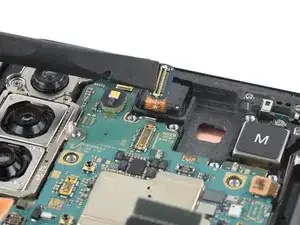
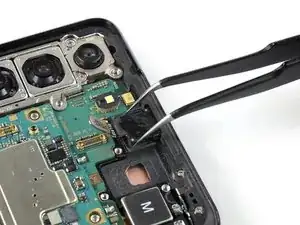
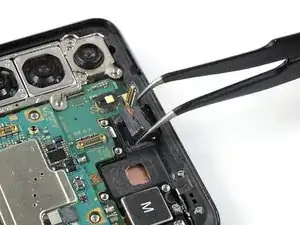
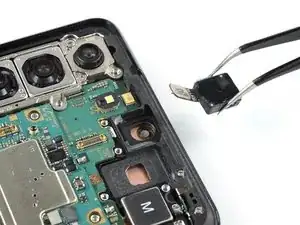
Use a spudger to disconnect the front facing camera cable by prying the connector straight up from its socket.
-
-
-
Prepare an iOpener and apply it to the screen where the front facing camera is located for at least two minutes to loosen the adhesive underneath.
-
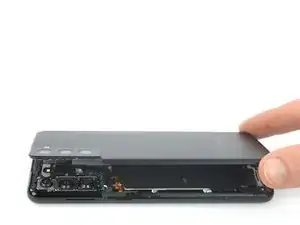
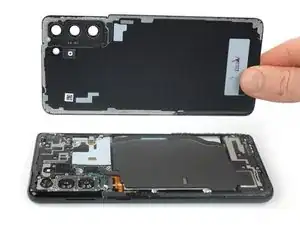
If possible, turn on your device and test your repair before installing new adhesive and resealing.
Compare your new replacement part to the original part—you may need to transfer remaining components or remove adhesive backings from the new part before installing.
To reassemble your device, follow these instructions in reverse order.
Take your e-waste to an R2 or e-Stewards certified recycler.
Repair didn’t go as planned? Try some basic troubleshooting, or ask our Answers community for help.