Einleitung

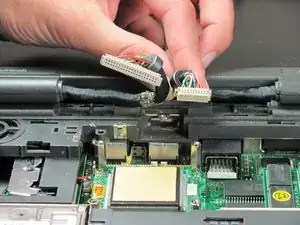
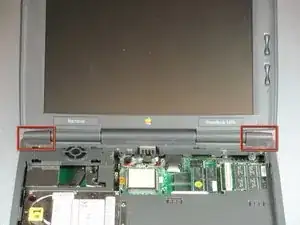
This repair guide will give you step by step instructions on how to remove the Macintosh PowerBook 1400c Monitor.

  1. XVAjiLMmxRXuHSmW
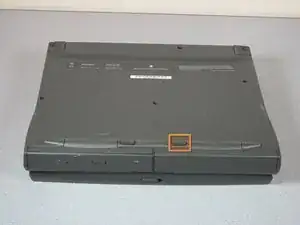
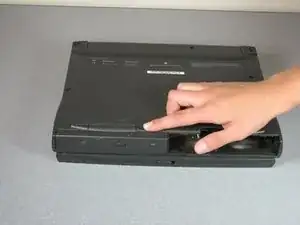
    • Turn the device upside down and then locate the battery latch near the front of the device.

  2. dLUXPTVOAU4pYtVU
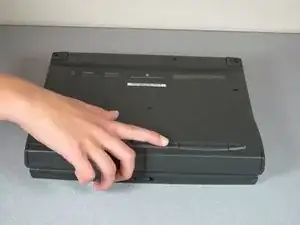
    • Slide the latch to the left to release the battery.

  3. 3LuoltEuugDvNDSF
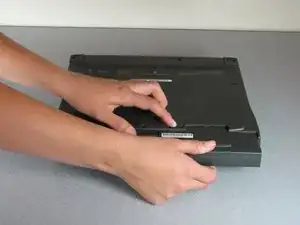
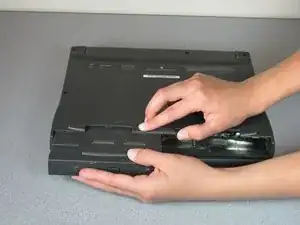
    • Continue holding the latch then gently pull the battery out of the device.

    • Place the battery in a safe location.

  4. hRA3HSjpbRUWlpWN
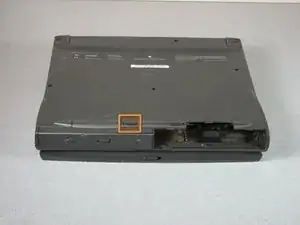
    • Locate the CD-ROM Drive latch.

  5. BlGGHxEdruloOLIV
    • Slide the latch to the right to release the CD ROM drive.

  6. 3OaZpuklxpUX4rJ1
    • Continue holding the latch then gently pull the CD-ROM Drive out of the device.

    • Place the CD ROM drive in a safe location.

  7. YFIrtSXImJAwNkmj
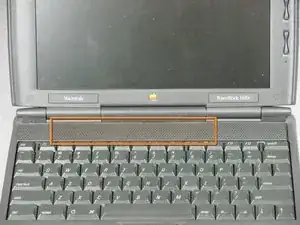
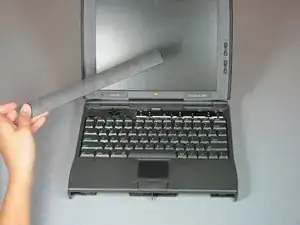
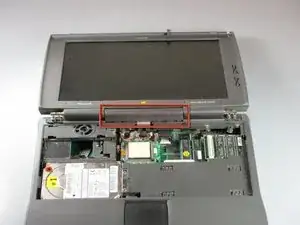
    • Locate the speaker cover.

  8. nNcsR2lJCMVrGvt3
    • Press firmly on each end of the speaker cover and slide it to the left.

    I found it was easy to get a spudger over the left edge and lift it up a bit, then push the bar to the left, It pops right off after that.

    Jimmy James -
  9. x3QgobWR63reVXVT
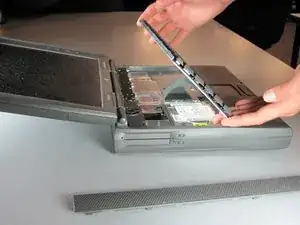
    • Gently lift the speaker cover to remove it.

  10. uosT2HIInk23dG33
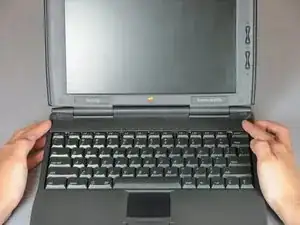
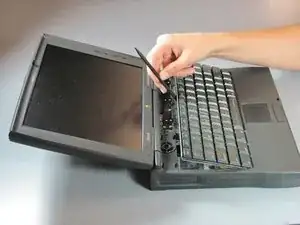
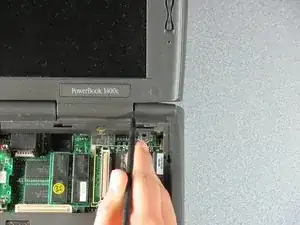
    • Lift the keyboard up from the back using a spudger(wedge side).

  11. IAgnbYMCFNIB24Po
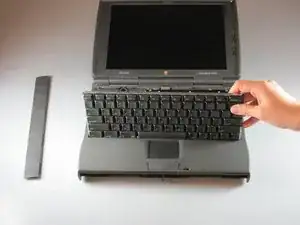
    • Gently lift the keyboard until only the ribbon cable remains attached.

  12. 5oCdjmXGO2hKbjJd
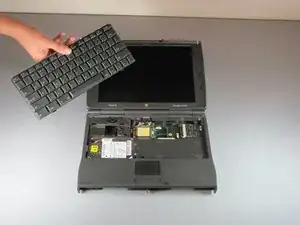
    • Tilt the keyboard away from the screen.

  13. e6I4FsEKSJMAtjKa
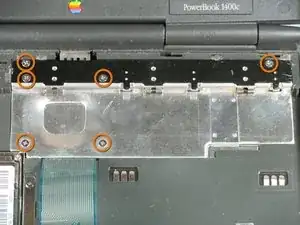
    • Locate the six screws that secure the heatsink.

    This is not necessary to remove the HDD. Go directly to step 20.

    Kenneth DeVries -

    That isn't the HDD!

    Dix Dox -

  14. LHEYU4obieJPAYp3
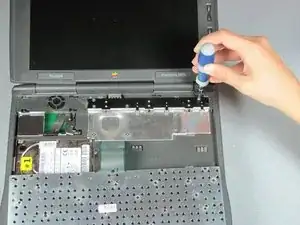
    • Remove the six screws from the heatsink using the Philips #1 screwdriver.

  15. yw4JrxuPW1SkTVtQ
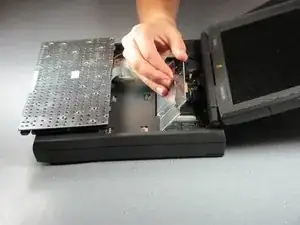
    • Lift the heatsink from the side closest to the laptop screen.

  16. f6bZEM6RUY3fHtbG
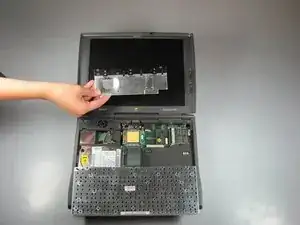
    • Remove the heatsink.

  17. GVUYJc4vowI4kT2j
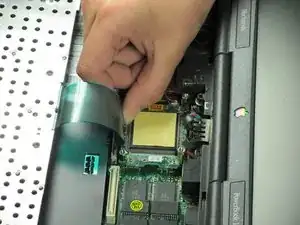
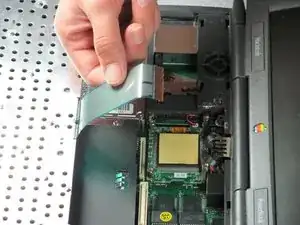
    • Gently pull up on the beige ribbon lock until it moves a short distance on both sides to separate the ribbon cable from the connector.

  18. URASOaRtCqmEcdCU
    • Detach the ribbon cable.

  19. wBfC1SBksvdDshMV
    • Remove the keyboard.

  20. UVr4nfx5OUKMyNQv
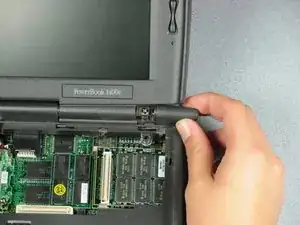
    • Identify the right and left monitor end caps.

  21. c4gEda2i4MdsVsqK
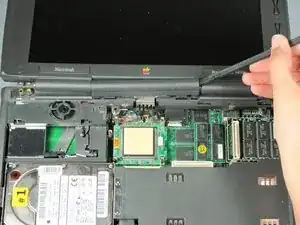
    • Pry off the end caps by putting a spudger between the monitor hinge and the end cap and prying outwards.

  22. gjKa2BwUOMGSLLL4
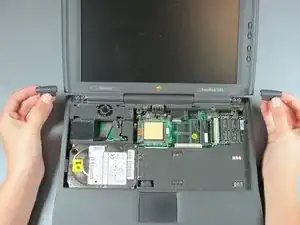
    • Once the end cap has been loosened by the spudger, pull outwards on the end caps.

  23. IWMesOs11AGCmOxQ
    • Completely remove both end caps.

  24. pbERaYiRxNtAyYBs
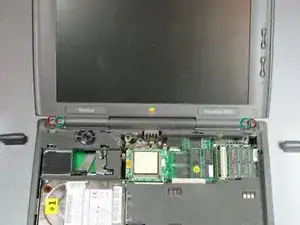
    • Identify the 4 total screw under the end caps (2 under each end cap).

    • The two outside 16mm long screws

    • The two inside 5.4mm long screws

  25. ltLYdhf24FG4u36j
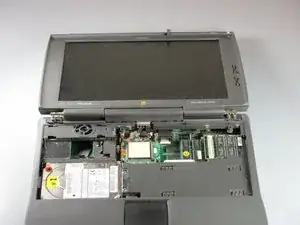
    • Lay the monitor all the way back.

  26. nNoJ3PMHINsffMR2
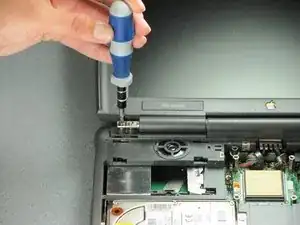
    • Remove the 4 screws using the Phillips #0 screwdriver.

  27. JXJPQKPPMumQyH4c
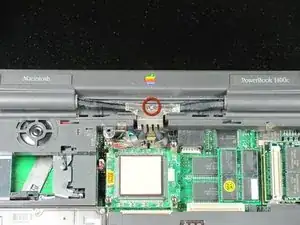
    • Identify the center cap of the monitor.

  28. tFDQDqGNuZCPoD1K
    • Pry the center cap off by placing the spudger between the hinge and the center cap and prying upwards.

  29. iMp6DlhxMXABDdLL
    • Detach the center cap completely.

  30. r6SiVRNZ5pEQeMCt
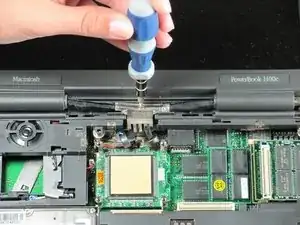
    • Identify the one 12.6mm long screw under the center cap.

  31. MoB4H3mcSMsBaBlN
    • Remove the center screw with a Phillips #0 screwdriver.

  32. UXgEo4dLJjPMTZUh
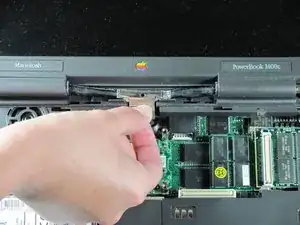
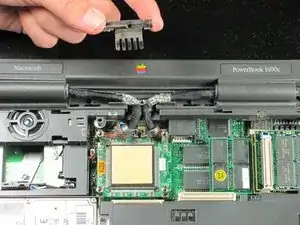
    • Lift upwards on the metal cover under the screw.

  33. sKjDattIIKGdMOE3
    • Completely remove the metal cover.

  34. aCMTFw4NaPpTxUca
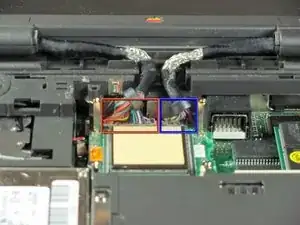
    • Identify where the left and right monitor cords are attached to the logic board

    • The base of the left monitor cord

    • The base of the right monitor cord

  35. pa3PihBAMeBVJbHf
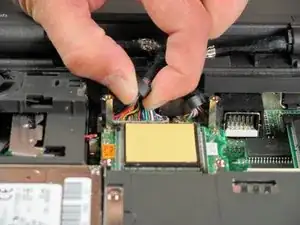
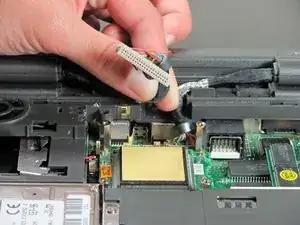
    • To detach the left monitor cord grab the left monitor cord at the base of the cord and pull vertically up.

    On my CS/133, the connector on the left has an integral pull loop to lift the connector.

    prreitz -

  36. qmIH3h6NTSfeZ4XU
    • Completely detach the left monitor cord from the logic board.

  37. JOYCLm2ONwqYUeNa
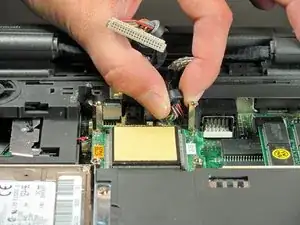
    • To detach the right monitor cord grab the right monitor cord at the base of the cord and pull vertically up.

  38. k6soVupwDmLSVaGC
    • Completely detach the right monitor cord from the logic board.

  39. 3aWJbmJ3Pve2pOqR
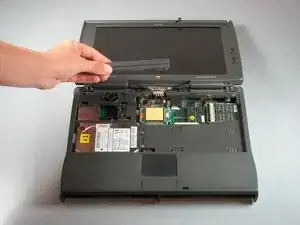
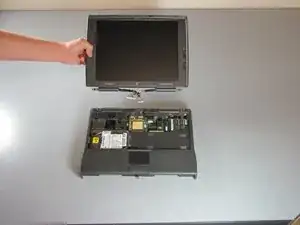
    • Completely remove the monitor from the computer.

Abschluss

Once the monitor has been removed, to attach the new monitor follow these instructions in reverse order.

Taylor Chris

Mitglied seit: 01/04/11

154 Reputation

0 Kommentare