Einleitung

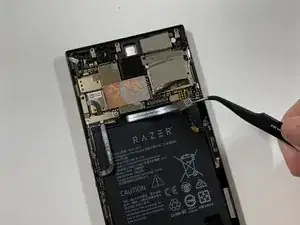
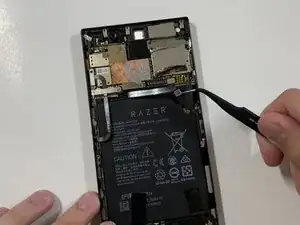
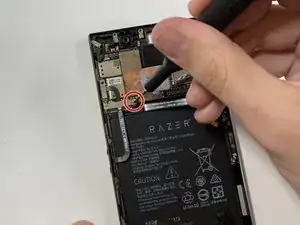
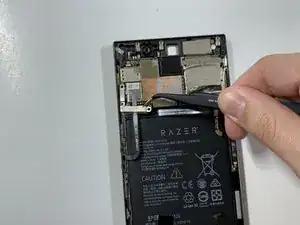
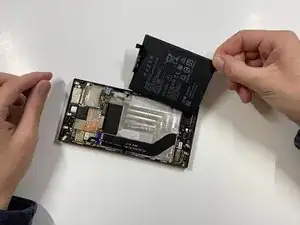
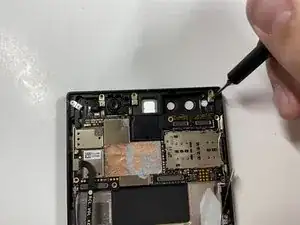
Is your Razer Phone's speaker blown? If so, here is the guide to replacing it.

  1. UHmbEJTDN2OLfWs3
    UHmbEJTDN2OLfWs3
    u1xtOwggObEMIAuM
    YJGuxIfmDN63eHJa
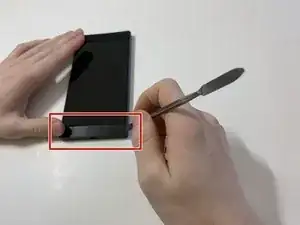
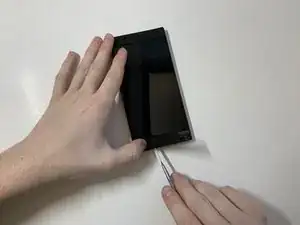
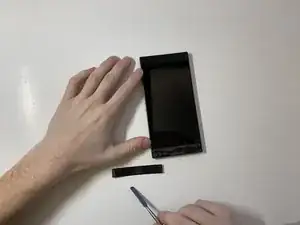
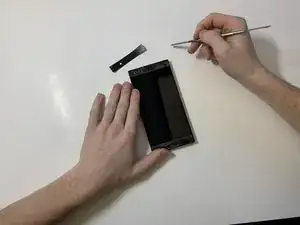
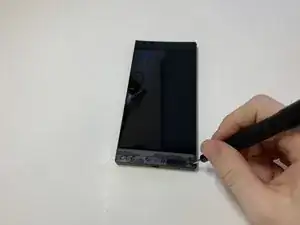
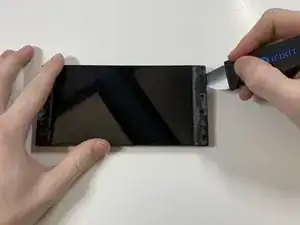
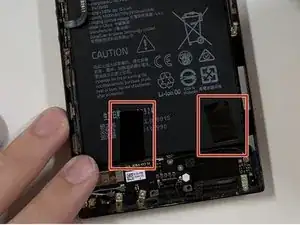
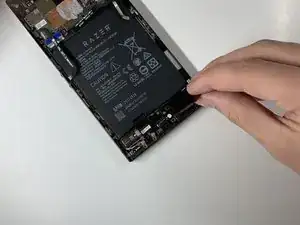
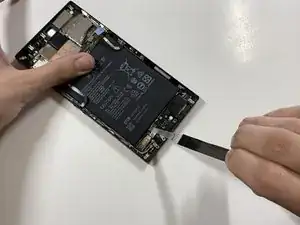
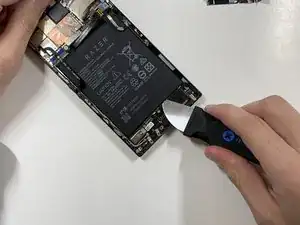
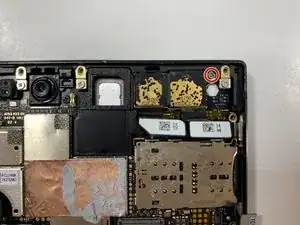
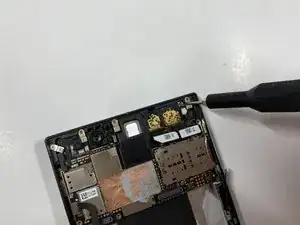
    • Remove the plastic speaker grills by using the metal spudger to pry underneath the strips.

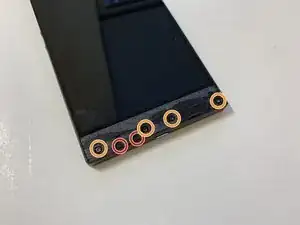
    • Peel off the plastic speaker grill to reveal the screws.

    • Heating up the plastic grills make them easier to remove.

    • Peeling off the plastic speaker grill will ruin the adhesive used to keep it in place. A new adhesive must be used to put the grill back on the device.

    Double sided tape can be used to adhere the grills in place.

    Lucano -
    How to make the Another adhesive??? Plz rply

    My razed Phone Speaker grills can't put again Perfectly

    Ferdi Pongbubun -
    Where can i find a Charging Connector for Razer Phone 2 to buy….becouse the only place i când find IT is in India and they only delyver to

    curteanuice13 -

  2. H14TwgyqMIkJmnDX
    H14TwgyqMIkJmnDX
    BkDNN5kKyRSldTnN
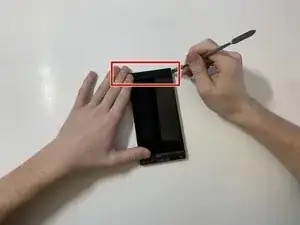
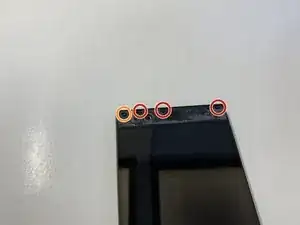
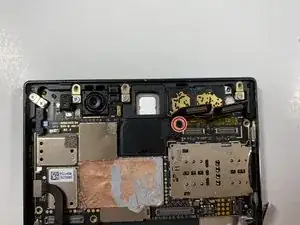
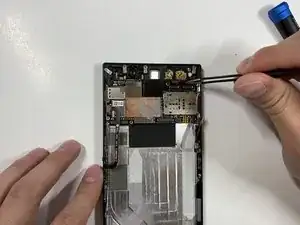
    • Pry the top plastic grill off with the metal spudger and reveal the screws.

  3. FFYYjPyDbPq1XdZJ
    FFYYjPyDbPq1XdZJ
    QyYAxMTteSFoIuUj
    3EEnv6vZHOU1MwwI
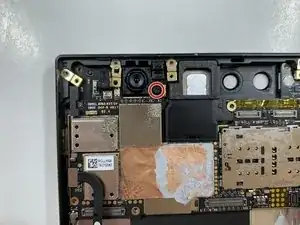
    • Remove five (two bottom, three top) 2.5 mm screws with the Phillips #000 screwdriver.

    • Remove five (four bottom, one top) 5.5 mm screws with the Torx Head T5 screwdriver.

  4. kcwmZhNLNg6vWoam
    kcwmZhNLNg6vWoam
    xsVG5oZj6x6Pbt1Y
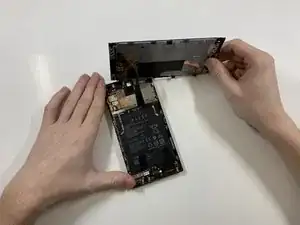
    • Remove the display assembly by using the Jimmy to separate the assembly from the phone's frame.

    • Lift the display assembly away from the other half of the phone.

  5. 1XCCgfH2iSyUxOI6
    1XCCgfH2iSyUxOI6
    Y4juEudwmO43TcqZ
    reHbXBVY5VddEVBk
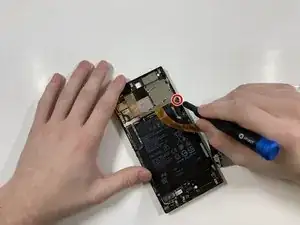
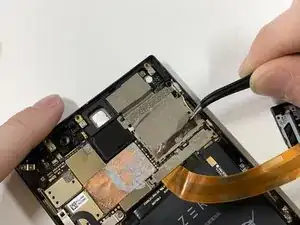
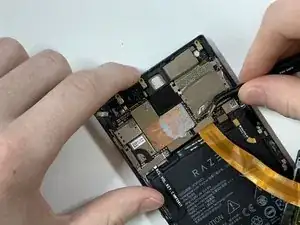
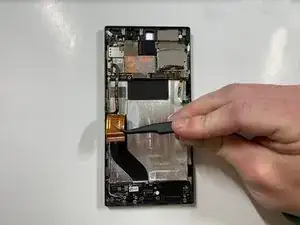
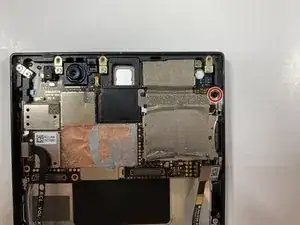
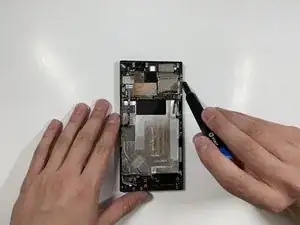
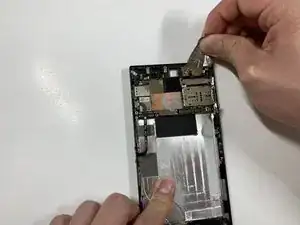
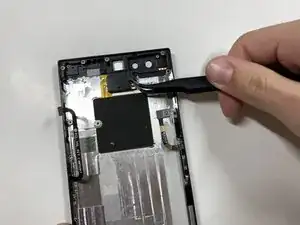
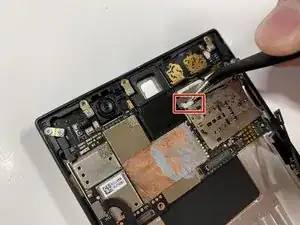
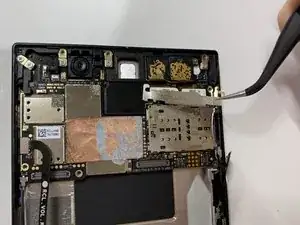
    • Remove one 2.5 mm screw holding down the metal bracket connector using the Phillips #000 screwdriver.

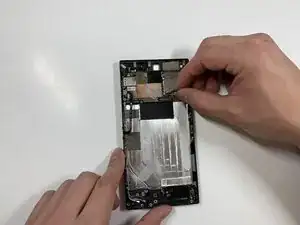
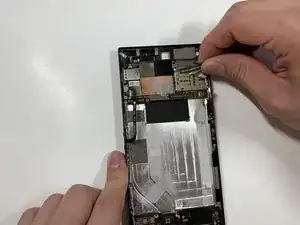
    • Peel back the metallic shielding over the connector using tweezers.

    • Remove the metal bracket connector.

    Hi you got any screen for sale thanks

    anwarhussain21786 -

  6. tasuVE43LOrXjn2I
    tasuVE43LOrXjn2I
    ed6WKXEFH2uA2upy
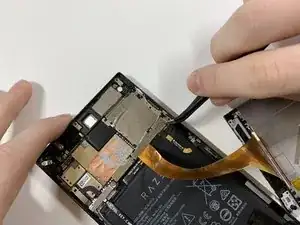
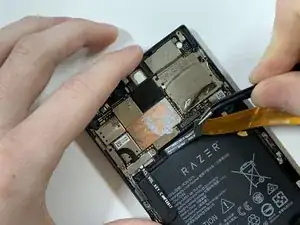
    • Grab hold of the the screen ribbon with the tweezers and remove it from the rest of the phone to free the assembly display.

  7. vXlZX43Orgn5toc1
    vXlZX43Orgn5toc1
    GISVkm6S3UnDnHMZ
    AxKpLX6SfwdBHdjS
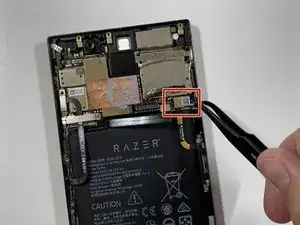
    • Grab hold of the connector on the right side of the phone (just above the battery) using the tweezers.

    • Remove the connector.

  8. aQh6CGAQVy6yk4oh
    aQh6CGAQVy6yk4oh
    tteNHDomSD41gGpF
    • Remove the 2.5 mm screw holding down the bracket with a Phillips #000 screwdriver.

    • Grab the bracket with the tweezers and remove it.

  9. VlqHdj4inUgNZoKG
    VlqHdj4inUgNZoKG
    euYCMEMALhuZbGDc
    rjOflBATp4HmiMea
    • Peel off and pull out the elastic tabs at the bottom of the battery.

    It isn’t necessary to remove the battery.

    Lucano -

  10. tisNMDmoYGMOQNpQ
    tisNMDmoYGMOQNpQ
    YjDjvKDBdakkDRsd
    • Carefully use the Jimmy to wedge the battery out of the phone.

    It isn’t necessary to remove the battery

    Lucano -

    Thank you very much.

    familykeepers.ca -

    battery razer phone 1 and 2 is the same type?

    my phone is razer phone 1, and only see online shop selling the battery for razer phone 2

    Alpha Jon -

    Where I can get the design specs for the razer phone 1 battery? I think they are not producing it anymore…

    h_yilei -

    It is 376989 in size I brought a 396787 but without the BMS board specs still cannot fix it.

    And also what is the Panasonic 777156? It has 6 pins under it, it seems not like a capacitor and cannot find replacement on digi-key.

    h_yilei -

  11. mvsGnVnlcSqBjOPC
    mvsGnVnlcSqBjOPC
    brYmPTPfygLhTCgg
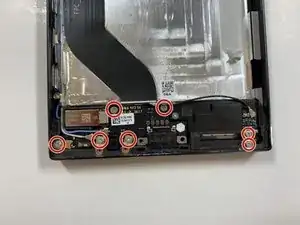
    • Using a Phillips #000 screwdriver, take out the seven 1 mm screws on the bottom panel of the device.

    • There are a few gold brackets under some of the screws. Make sure to remove these and keep them for reassembly.

    This step isn’t necessary.

    Lucano -

  12. Ie1SyrnGQjih22xE
    Ie1SyrnGQjih22xE
    olrpvYZJnqDABBdh
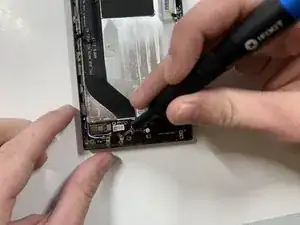
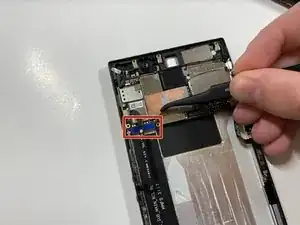
    • Grab hold of the blue connector on the upper left side of the phone with the tweezers.

    • Remove the connector.

    It isn’t necessary to peel the ribbon from the casing.

    Lucano -

  13. nQ1qJXucGWj5vqDh
    nQ1qJXucGWj5vqDh
    yxCDZeQYehRZmTJQ
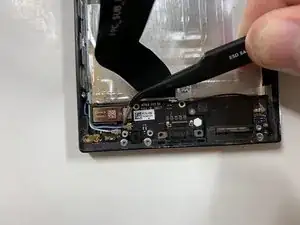
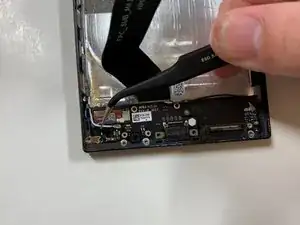
    • Use the tweezers to grab hold of the connector for the blue wire (bottom of the device), and remove the connector.

    • Use the tweezers to grab hold of the connector for the white wire, and remove the connector.

    This step isn’t necessary.

    Lucano -

  14. e1ooXLB1oOqyF4TH
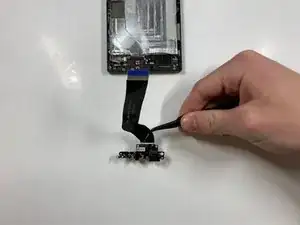
    • Using the tweezers, grab the detached charging port and ribbon.

    This step isn’t necessary.

    Lucano -

  15. AiYUOUXOFd24esM4
    AiYUOUXOFd24esM4
    6nM4y6S3mEO6TyEt
    • Remove the one 2.5 mm screw with the Phillips #000 screwdriver.

  16. 1BWyrIOHLtGS1Bnm
    1BWyrIOHLtGS1Bnm
    MXbQBULZDNTGTd4b
    mSEmgtdMlKPQCtUf
    • Remove the protective peel covering the rear cameras using your hands.

  17. SpSIrIFPaNuKkyBI
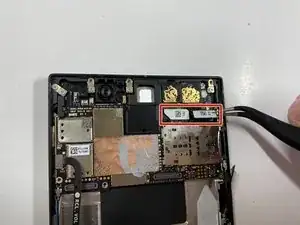
    • Use the tweezers to remove the white tab connector.

  18. u6XIeMsBIwecHBey
    • Grab and remove the metal tab with the tweezers.

  19. RCioXWZdgHmM2eoe
    RCioXWZdgHmM2eoe
    Y1DqHlyDdSfYi1wn
    YtbipDM1CmmvWLC4
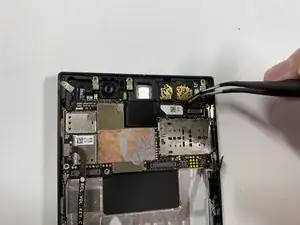
    • Grab the connectors with the tweezers and gently lift the connectors loose.

    It is only necessary to remove the left connector tab to reveal the screw beneath.

    Lucano -

  20. Wpk4KvcACx1jyHro
    Wpk4KvcACx1jyHro
    JTSYXHTolWhllG6V
    • Remove the one 2.5 mm screw with the Phillips #000 screwdriver.

  21. Dl1Ld1P2OEw6cZ1Q
    • Remove the one 2.5 mm screw underneath the connectors with the Phillips #000 screwdriver.

  22. bKEkSbHMpsdLC4kI
    bKEkSbHMpsdLC4kI
    biJQfDvjFUKZsbOX
    3KdB2uPHRKdgM1YQ
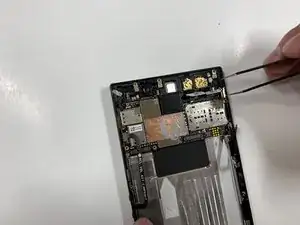
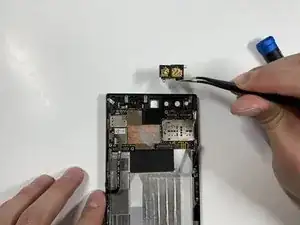
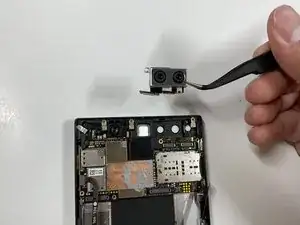
    • Grab the loose connectors with a tweezer and gently remove the rear camera unit from the phone.

    This step isn’t necessary.

    Lucano -

  23. GKPYeMCIY2Y5Pb2o
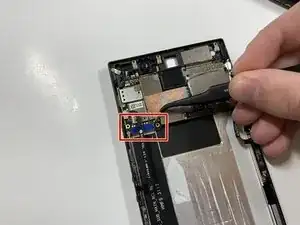
    • Grab and remove the blue connector with the tweezers.

    If you remember, this was done in step 12.

    Lucano -

  24. BtJPgkeGHqiIVHfN
    BtJPgkeGHqiIVHfN
    JUOHQXH4vGkCMrmu
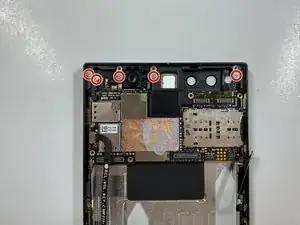
    • Remove the five 1 mm screws holding down the gold antenna line brackets to the motherboard using the Phillips #000 screwdriver.

  25. CGyqpN2Mq3dMWsbP
    CGyqpN2Mq3dMWsbP
    ASPHwsyYPTYBDRTM
    • Remove the 2.5 mm screw next to the front-facing camera with the Phillips #000 screwdriver.

  26. rSa5wuDAJDCJyNQv
    rSa5wuDAJDCJyNQv
    xCQWaEGFYMkmvlLF
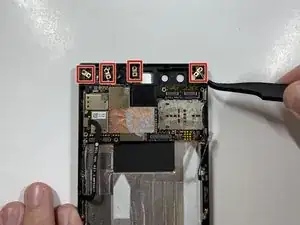
    • Remove the four gold antenna line brackets with the tweezers.

  27. IWAQI4nuMixMDaY1
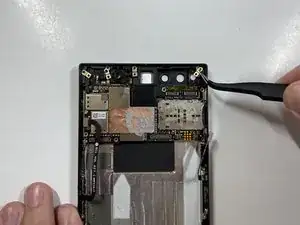
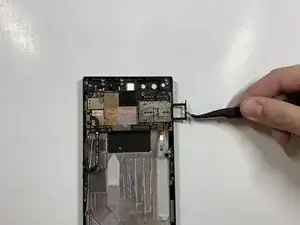
    • Using the tweezers remove the SIM card tray from the body of the phone.

  28. aYrF4AMbFSQSBNxR
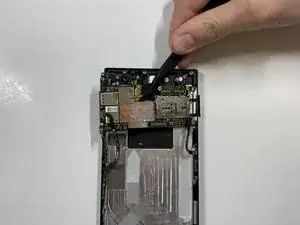
    • Carefully lift up the motherboard away from the device.

  29. jFpvPGW1jFYZvQcq
    jFpvPGW1jFYZvQcq
    JOHcWACOTPZMaZDn
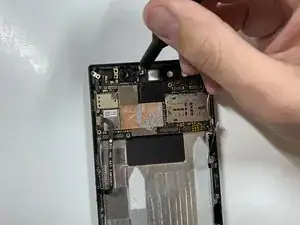
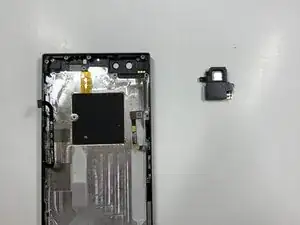
    • Lift earpiece speaker up with the tweezers.

Abschluss

To reassemble your device, follow these instructions in reverse order.

Guneet Kohli

Mitglied seit: 24/01/19

162 Reputation

Ein Kommentar

This job shouldn’t take more than an hour.

Lucano -