Einleitung


-
-
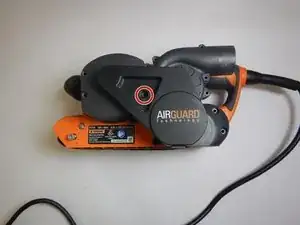
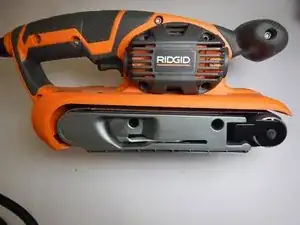
Orient the Rigid Sander to where the Air Guard logo is facing you.
-
Unscrew the initial screw with a Torx TR10 screw bit.
-
-
-
Remove the guard that is protecting the tread-line.
-
The guard below the wheels should be able to lift up out of place.
-
Remove the thread line of its tracks.
-
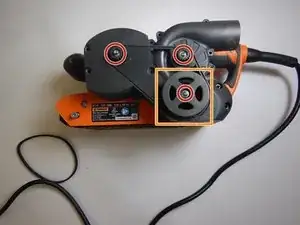
Unscrew the three screws with a Phillips #1 screwdriver.
-
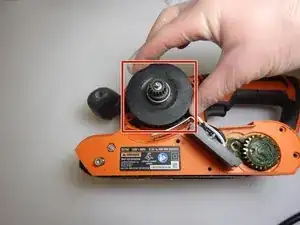
Remove the circular cog as well after removing the screw.
-
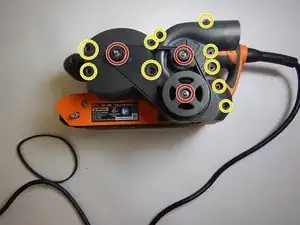
Using the Torx TR10 Bit, unscrew the 10 screws which hold the external casing in place.
-
-
-
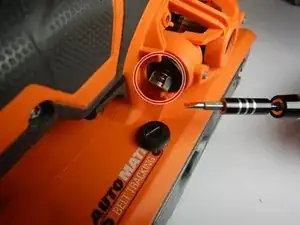
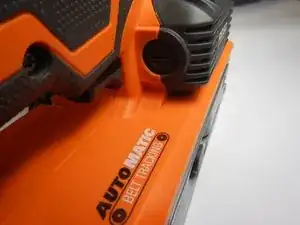
Remove the screws that are adjacent to the Rigid Logo. This can be done with a flat head screwdriver.
-
-
-
Remove the cover after removing the screw, then remove all components under the screw lid.
-
-
-
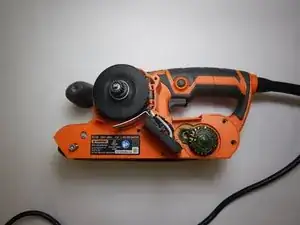
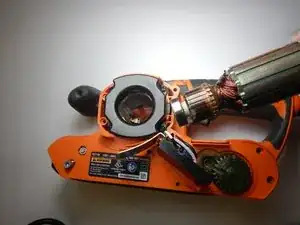
Now orient the Rigid Sander to the other side that shows the exposed motor.
-
The motor will be able to lift up out of place.
-
To reassemble your device, follow these instructions in reverse order.