Einleitung

  1. QaiIjH5j3GlQkKYQ
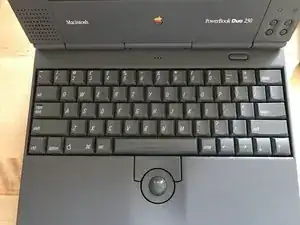
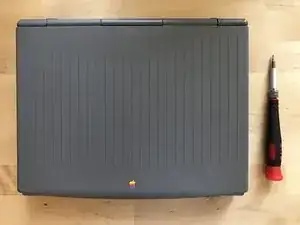
    • Nehmen Sie den PowerBook Duo 230 auf einen sauberen Tisch und vorbereiten Sie ein Troxschraubenzieher T-8.

  2. 5sZFqZaS5UVEIOJH
    5sZFqZaS5UVEIOJH
    ARTE6iB2F4irOUqF
    ZZxBUXfQRTooHRnD
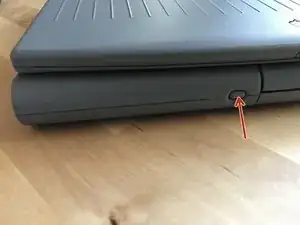
    • Drücken Sie den Knopf so weit hinein bis er ansteht.

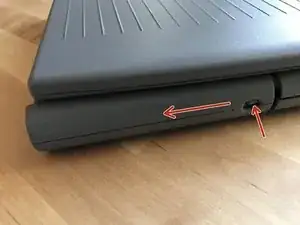
    • Behalten Sie den Knopf gedrückt und schieben Sie gleichzeitig die Akkuabdeckung nach Links.

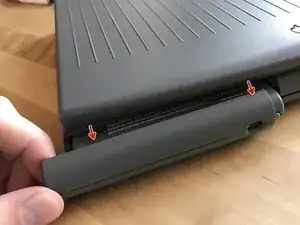
    • Sie können jetzt der Akku herausnehmen, dies dient als Sicherheit.

  3. teTDducWVCrn4sLS
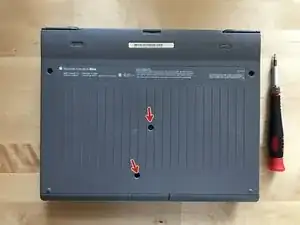
    • Lösen Sie die 2 Torxschrauben.

    • Die Schrauben sind gleich.

    This is incorrect and will result in severe damage to the keyboard and chassis! Three screws must be removed. in the picture, the two screws at the top near the edges must be removed. Also the screw in the middle must be removed. These machines are 28 years old. We don’t need help directing us how to break them. Thanks alot.

    charriscville -

    Just backing up charriscville here, I just tried to open my PowerBook Duo 230 and followed these instructions which were obviously wrong!

    Thank you for pointing out the correct screws to remove (top 2 plus very middle)… but can we somehow have this article updated?

    Steven Hoefel -

    Hi @charriscville and Steven Hoefel!

    I’m sorry for this error and I will fix it. It’s happening a mistake while showing which screws.

    Hopefully you did recognise in time before damage something. I could make more guide because I disassembled this Mac more than one time and it still works and nothing is (fortunately) damaged)

    Have a great time and thank you!

    Nils

    Nils -

  4. L1gWIG1efHlMOh5Z
    L1gWIG1efHlMOh5Z
    5f6NoVWcjcBky2eG
    vsa25InAOe221qwU
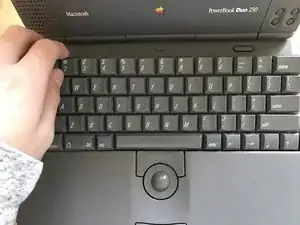
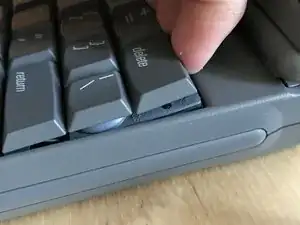
    • Drehen Sie ihr PowerBook um und klappen Sie ihn auf.

    • Jetzt müssen Sie die Tastatur hochheben. Heben Sie die Tastatur oben hoch.

  5. IRF24i2hLh4uAQfT
    IRF24i2hLh4uAQfT
    XNJPXHsPjrIabJTq
    RIJfZO3JGiEvDvAk
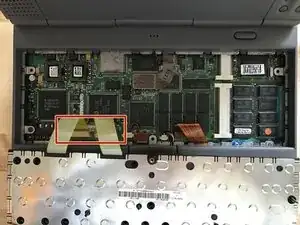
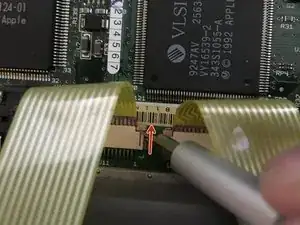
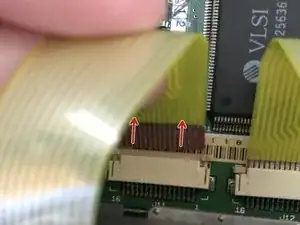
    • Trennen Sie die Tastatur vom Logicboard.

    • Jetzt müssen Sie die kleinen Hebeln je im Ecken oben, nach oben Scheiben. Passen Sie auf, kleine Teile können schnell Abbrechen!

    • Ziehen Sie das Flexkabel sanft heraus.

Abschluss

Arbeite die Schritte in umgekehrter Reihenfolge ab, um dein Gerät wieder zusammenzubauen.

Nils

Mitglied seit: 26/12/16

144 Reputation

0 Kommentare