Einleitung
Hier wird der Austausch des Festplattenträgers gezeigt. Diese Reparatur ist eine der leichteren an der PS4, ein Schraubendreher genügt.
Werkzeuge

Ersatzteile
-
-
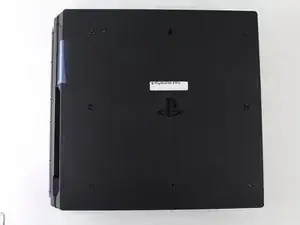
Drehe die Konsole mit der Unterseite nach oben.
-
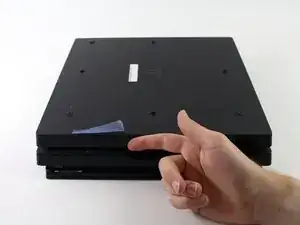
Ziehe mit den Fingern am Plastikdeckel der Festplatte und lasse ihn aufschnappen.
-
-
-
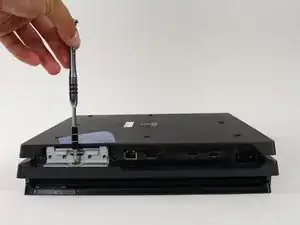
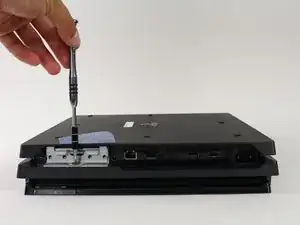
Drehe die Kreuzschlitzschraube #0 heraus, welche den Festplattenträger befestigt.
-
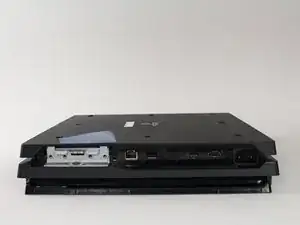
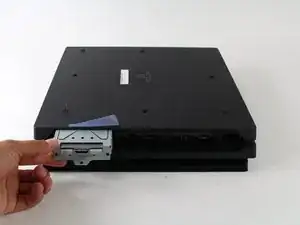
Ziehe den Festplattenträger gerade heraus.
-
Abschluss
Um dein Gerät wieder zusammenzusetzen, folge den Schritten in umgekehrter Reihenfolge.

DON’T FORGET TO HAVE THERMAL PASTE HANDY! It should be added to the “Tools Required” Section. You will NEED it!
Jaquell Chandler -
What if thermal paste is not applied again when remounting ? Will the playstation start and work anyway or not ?
Vincent Bee -
It will start and run normally until you put it under load. Then it will heat up and thermal throttle or it can overheat and destroy itself.
Jeremy Ivey -
I posted this down in another step too, but: if you have a very early North American PS4 Pro, with the exact optical drive shown here - the key way to tell is the very long data cable that’s folded a couple of times, see pictures in later steps - then the replacement drive iFixit offers WILL NOT WORK IN YOUR MACHINE. It has to be a very early model, apparently, but the model number isn’t enough to tell you.
Even if you swap the too-short cables in their replacement with the longer cables on your drive, it still will not work. At all. It’ll just sit there like the drive isn’t even getting power.
So if you do have this drive, what you probably need to do is get a replacement KES-496A Optical Pickup Assembly and replace that within your existing drive. That’s what I had to do after two different replacement drives sent by iFixit failed to work in my system. It worked immediately and I’m back online.
The optical pickup replacement is awfully fiddly, and adds a solid 20 minutes to the repair easily. But it does work.
Dara Korra'ti -