Einleitung

This guide will take you through all the steps to sucessfully install a new logic board to your Olympus D590 camera.

  1. tLRBDCXKkV3QFXxf
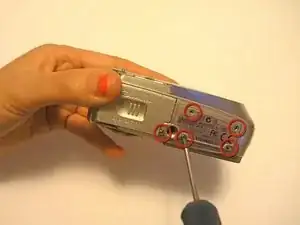
    • Flip camera so you are looking at the bottom.

    • Unscrew all 5 base plate screws.

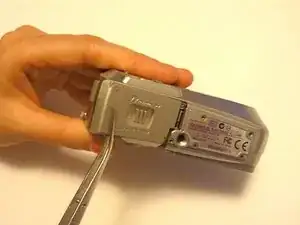
  2. xviXHOyDMDQNLxqv
    • Lift open retainer clip by sliding the clip to the left and letting the clip pop up.

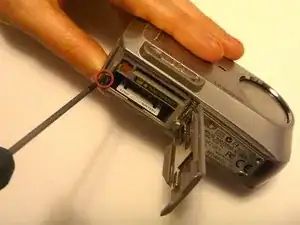
  3. HbI3KlmFdDtXiqWg
    • Unscrew the single screw located next to the battery slot.

  4. w6ZLPFeFtDTHba5h
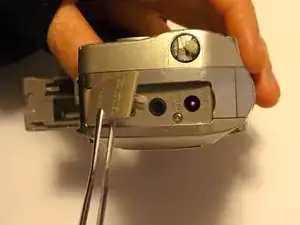
    • Turn the camera so that the USB, AV and DC in/out rubber plate it facing you.

    • Lift the rubber plate exposing the ports beneath.

  5. lWpwRWBLQLbGXt4r
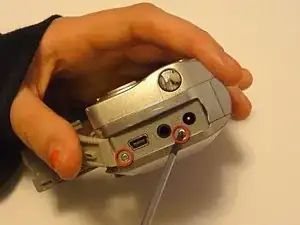
    • Unscrew the 2 screws next to the USB and AC ports.

  6. TrqgK4nV5sZBYJOi
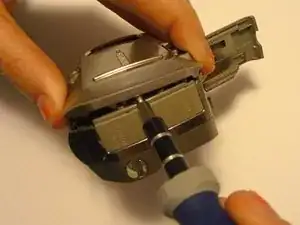
    • Use a flathead screwdriver or another flat opening tool to pry the faceplate from the whole device.

  7. cCr4mQVeNcIX6Qbl
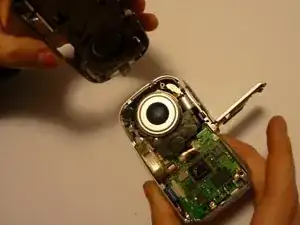
    • Pull off the faceplate to reveal the inside of the camera.

    • Be careful of the connector that goes from the faceplate to the motherboard . Disconnecting this line will cause the camera not not power on through the on/off switch anymore.

  8. DUugbvk5iiA1Z6h2
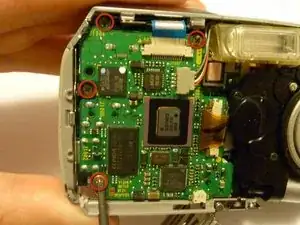
    • Unscrew all 4 circled screws.

  9. IdDWIH2BMOIaAs4Q
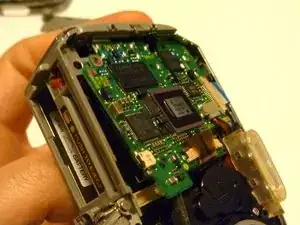
    • The logic board should now be loose and easily liftable.

    • DO NOT lift the board out completely the wiring that is still connected must be disconnected before proceeding.

  10. MyMF6odsMoWbHmMq
    MyMF6odsMoWbHmMq
    cVykpxcKZqiunVhw
    fKYSGf5yCrjwUsYX
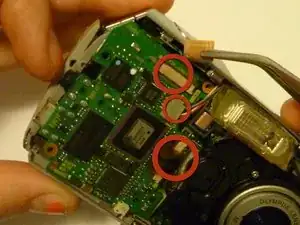
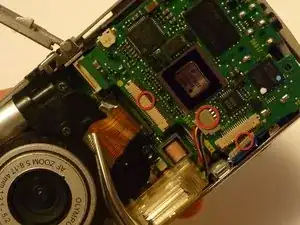
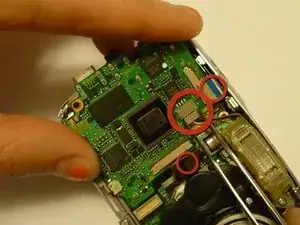
    • Disconnect the 3 wiring strips from the device by gently pulling with tweasers from the base of the strip.

    • Do not use sharp tweasers because the wiring might tear.

    • Make sure to use small force so the wiring is not damaged. It may help to gently wiggle the tape.

Abschluss

To reassemble your device, follow these instructions in reverse order.

Sara

Mitglied seit: 15/04/10

84 Reputation

0 Kommentare