Einleitung
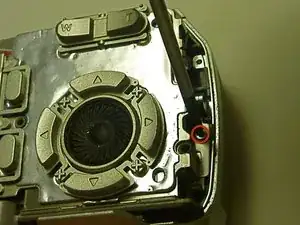
This guide will give step-by-step instructions on how to install a LCD screen in a Olympus D590 camera.


-
-
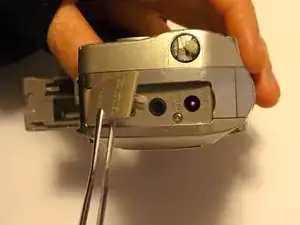
Turn the camera so that the USB, AV and DC in/out rubber plate it facing you.
-
Lift the rubber plate exposing the ports beneath.
-
-
-
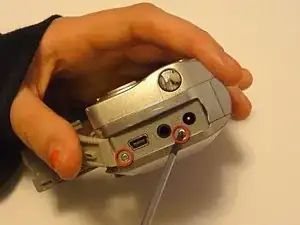
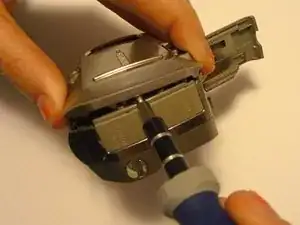
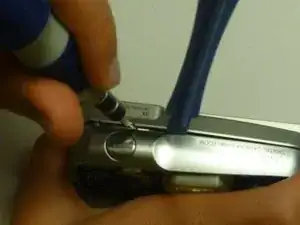
Use a flathead screwdriver or another flat opening tool to pry the faceplate from the whole device.
-
-
-
Get a flathead screwdriver or an iPod opening tool (both are shown in this picture).
-
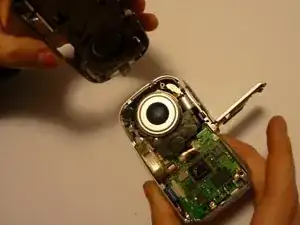
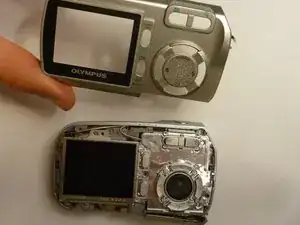
Carefully pry off the blackplate from the remaining part of the camera.
-
-
-
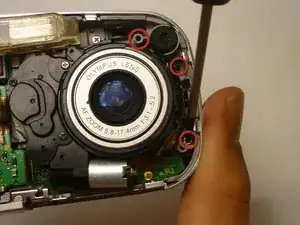
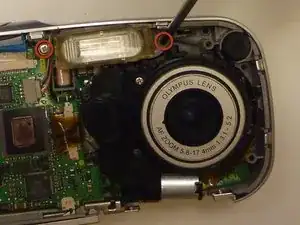
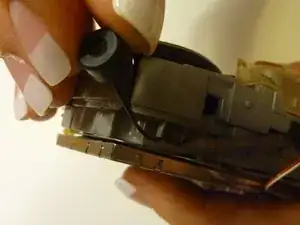
Remove the side pannel by sliding it off the body of the camera.
-
Lift the camera no more than 3cm to make sure all screws have been taken off.
-
-
-
Flip camera so you are looking at the front.
-
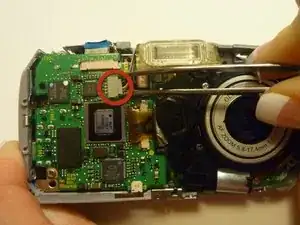
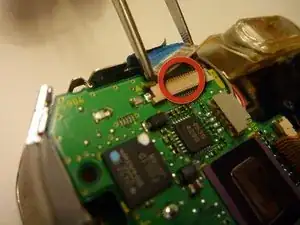
Remove gray and blue wiring with tweasers by gently wiggling and pulling.
-
-
-
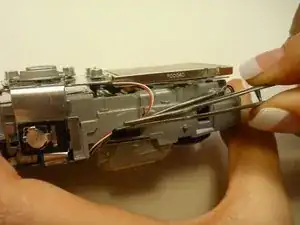
Locate the tape securing the wiring with the gray end piece located on top of the camera.
-
Gently lift up on the tape till all wires are exposed.
-
-
-
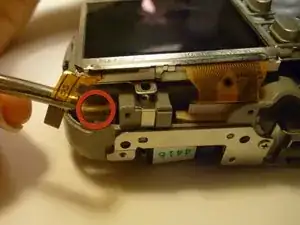
Flip Camera to the bottom side as shown.
-
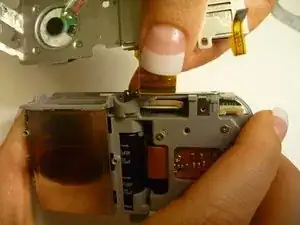
Pull and wriggle the thin yellow wiring tape to detach it from the rest of the camera, while leaving it attached to the LCD screen.
-
-
-
Flip camera so the front is facing you.
-
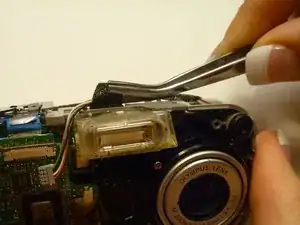
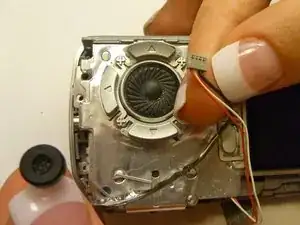
Locate speaker in upper right hand corner.
-
Gently lift with tweasers.
-
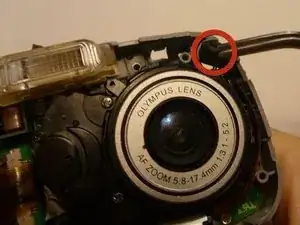
Feed wiring through designated spot so that it is no longer connected to the camera.
-
-
-
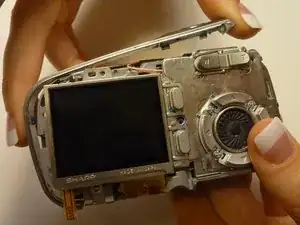
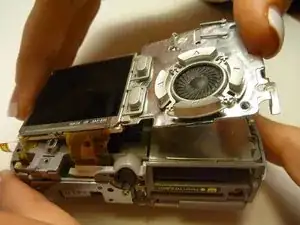
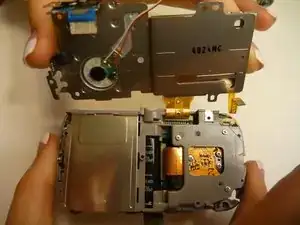
Lift the LCD screen so the thick yellow wiring is the only thing attaching the LCD screen to the camera.
-
Gently pull the thick yellow wiring out by using the forefinger and thumb.
-
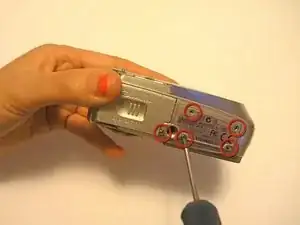
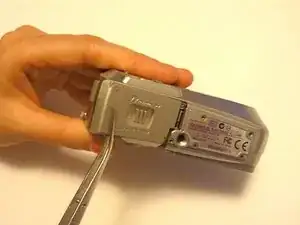
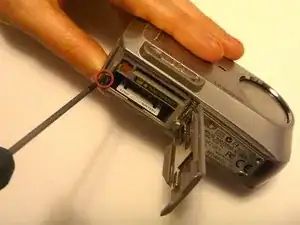
To reassemble your device, follow these instructions in reverse order.
