Einleitung

Removal of the front plate to get into the logic board, lens, etc.

  1. tLRBDCXKkV3QFXxf
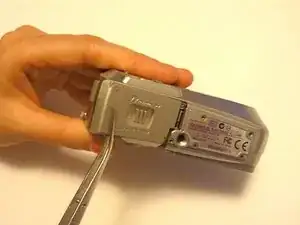
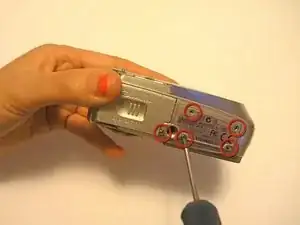
    • Flip camera so you are looking at the bottom.

    • Unscrew all 5 base plate screws.

  2. xviXHOyDMDQNLxqv
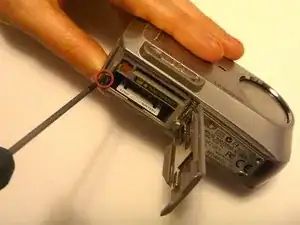
    • Lift open retainer clip by sliding the clip to the left and letting the clip pop up.

  3. HbI3KlmFdDtXiqWg
    • Unscrew the single screw located next to the battery slot.

  4. w6ZLPFeFtDTHba5h
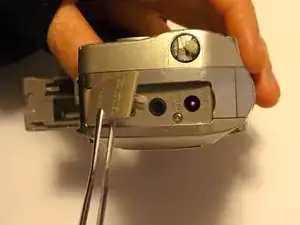
    • Turn the camera so that the USB, AV and DC in/out rubber plate it facing you.

    • Lift the rubber plate exposing the ports beneath.

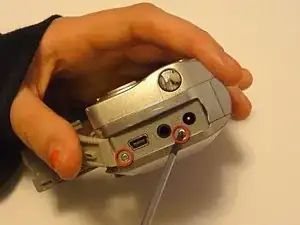
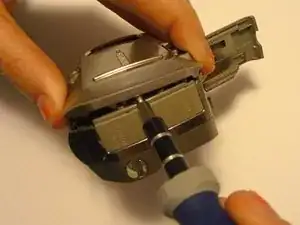
  5. lWpwRWBLQLbGXt4r
    • Unscrew the 2 screws next to the USB and AC ports.

  6. TrqgK4nV5sZBYJOi
    • Use a flathead screwdriver or another flat opening tool to pry the faceplate from the whole device.

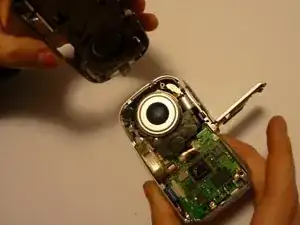
  7. cCr4mQVeNcIX6Qbl
    • Pull off the faceplate to reveal the inside of the camera.

    • Be careful of the connector that goes from the faceplate to the motherboard . Disconnecting this line will cause the camera not not power on through the on/off switch anymore.

Abschluss

To reassemble your device, follow these instructions in reverse order.

Katie

Mitglied seit: 15/04/10

31 Reputation

0 Kommentare