Einleitung
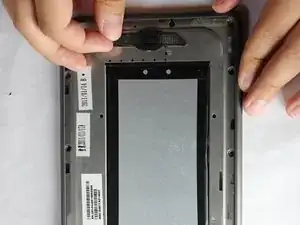
This guide will provide in depth steps in the replacement of a damaged or faulty speaker. When removing the speaker from your device some force will be necessary in their separation.
Werkzeuge


-
-
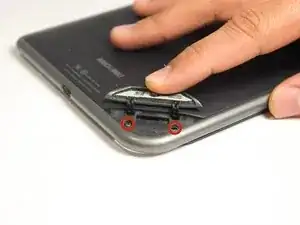
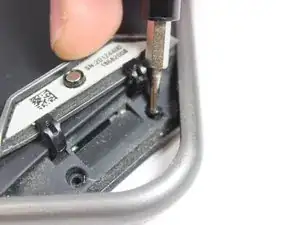
Use the T5 Torx screwdriver to remove the two 3.8 mm screws located in the back right corner of the device.
-
-
-
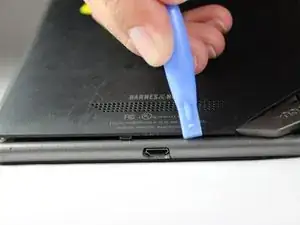
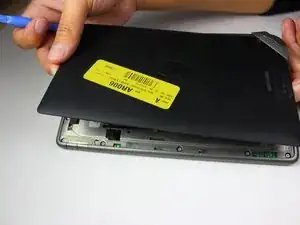
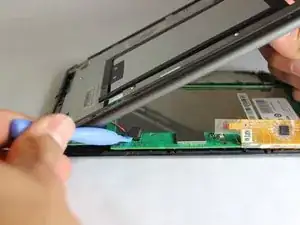
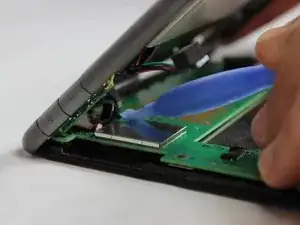
Using a plastic opening tool, pry off the back cover by going around the device until the panel is completely detached.
-
-
-
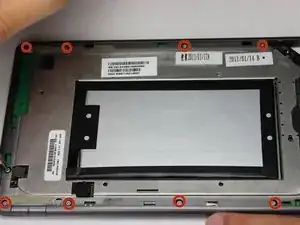
Use a T5 Torx screwdriver to remove the ten 4.0 mm screws lining the perimeter of the device.
-
-
-
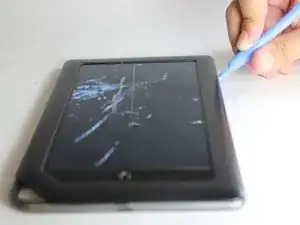
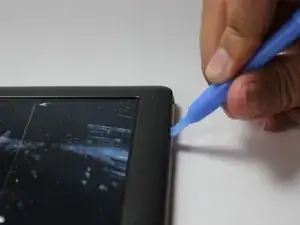
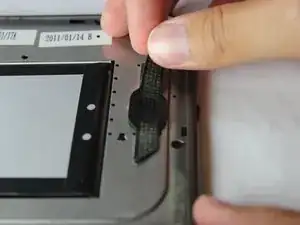
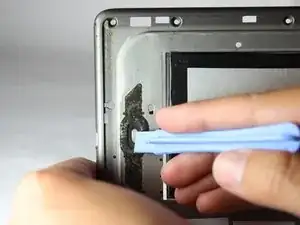
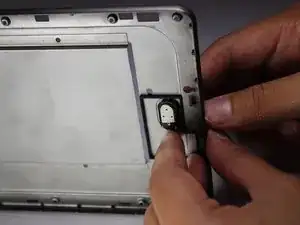
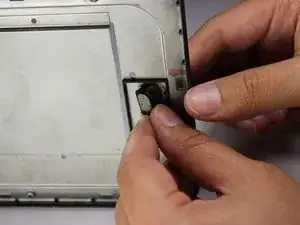
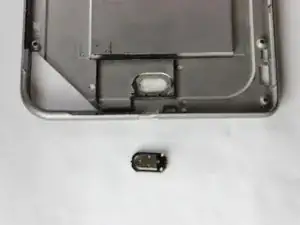
Using a plastic opening tool, push on the speaker from the front of the panel to loosen the speaker. Some force will be required. Once loose, use your index finger to push it through.
-
To reassemble your device, follow these instructions in reverse order.
