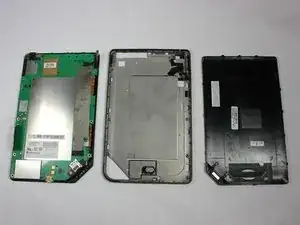
Einleitung
While removing faulty or damaged buttons, use caution as the buttons may fall out of place while removing the back panel. If buttons do not fall out, a little bit of force will be required in pulling them out of place.
Werkzeuge


-
-
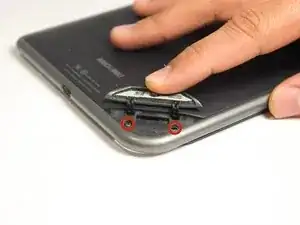
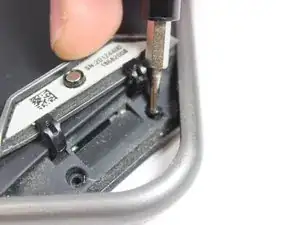
Use the T5 Torx screwdriver to remove the two 3.8 mm screws located in the back right corner of the device.
-
-
-
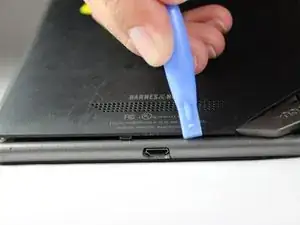
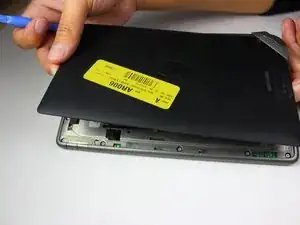
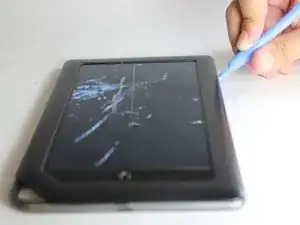
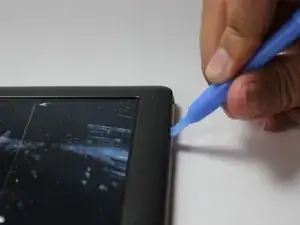
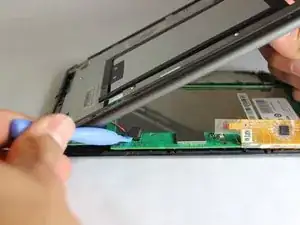
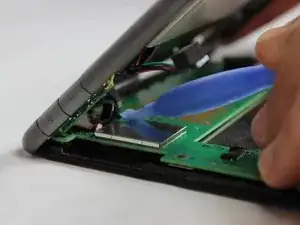
Using a plastic opening tool, pry off the back cover by going around the device until the panel is completely detached.
-
-
-
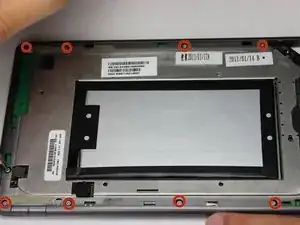
Use a T5 Torx screwdriver to remove the ten 4.0 mm screws lining the perimeter of the device.
-
-
-
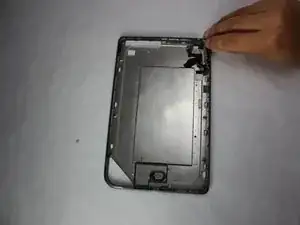
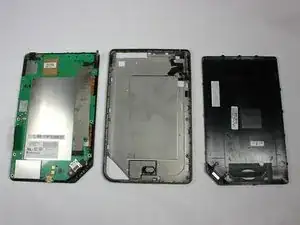
Once you have removed both the back and front panels of the device, you will isolate the panel which contains the buttons. You will remove the volume buttons on the top right first. Use some force upwards and the button will slide free.
-
-
-
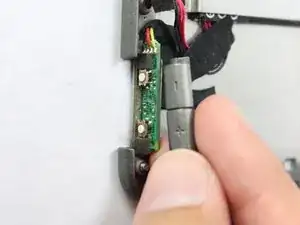
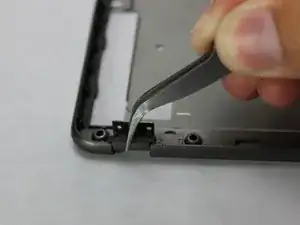
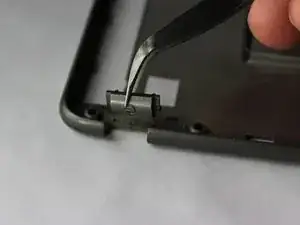
Next, you will remove the power button from the top left of the middle portion of your device. Using tweezers you will carefully lift the button from where it sits and remove it.
-
To reassemble your device, follow these instructions in reverse order.
