Einleitung

Be cautious when removing the back panel of the device. Buttons tend to become loose and fall out of place. Some force is necessary in removing the back and front panels.

  1. SS4qDnHDG4jXitSZ
    SS4qDnHDG4jXitSZ
    OCttAjMLTlARvVhR
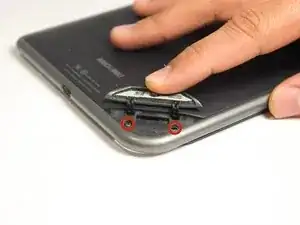
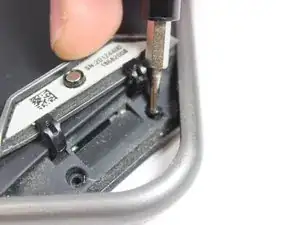
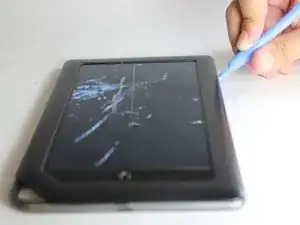
    • Use the T5 Torx screwdriver to remove the two 3.8 mm screws located in the back right corner of the device.

  2. pQ1OsPkRfBA361TG
    pQ1OsPkRfBA361TG
    CXWt1etUkvDI1CMU
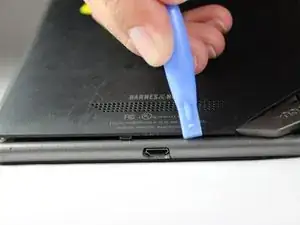
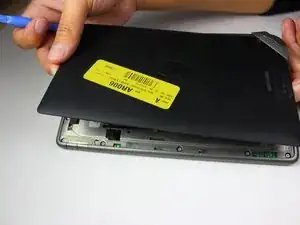
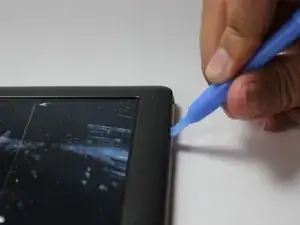
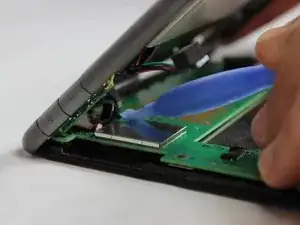
    • Using a plastic opening tool, pry off the back cover by going around the device until the panel is completely detached.

  3. 3XPxMarkoLcYTLCP
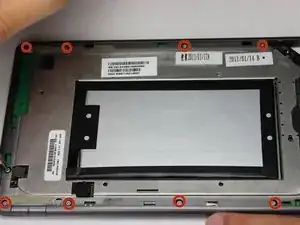
    • Use a T5 Torx screwdriver to remove the ten 4.0 mm screws lining the perimeter of the device.

  4. ThASIIxj4RjPimrD
    ThASIIxj4RjPimrD
    NdGZ4sUZabsDujlO
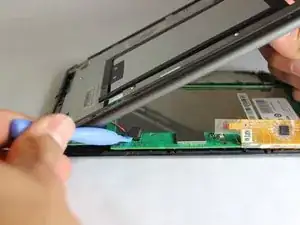
    • Using the plastic opening tools, pry off the front panel of the device.

  5. o3WGHa5i6cLmXdPO
    o3WGHa5i6cLmXdPO
    gYcgKjssddw2LAMY
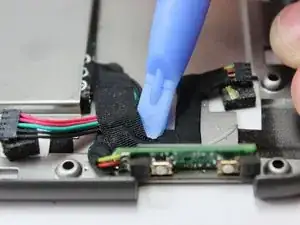
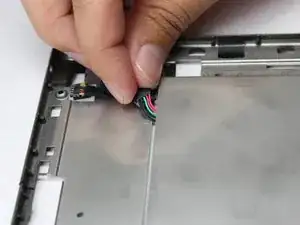
    • With your plastic opening tool, lift up on the connectors to disconnect them.

  6. pXUbXXxJh6oBWrTN
    pXUbXXxJh6oBWrTN
    jcoQVgLxfcKqKabB
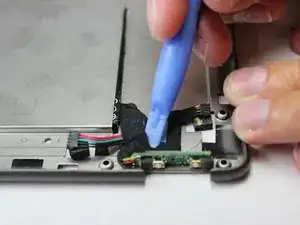
    • Remove the tape which holds the wiring to the battery using a plastic opening tool.

  7. ML2kRfI2m6cuQkwm
    ML2kRfI2m6cuQkwm
    EHsufEqsCfYfO6yk
    qbGQvxYUUwADmNbd
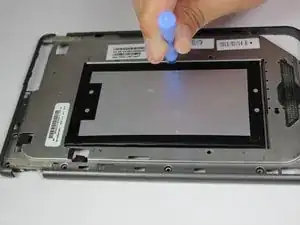
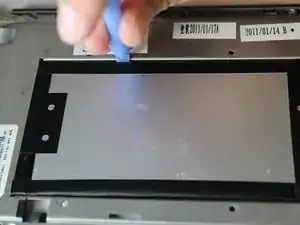
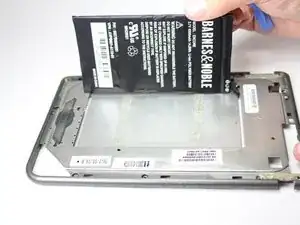
    • On the back side of the middle panel, pry the battery using the plastic opening tools.

    • Use of force is necessary since the battery is glued down.

  8. AkTZV2f2rqaKoGck
    AkTZV2f2rqaKoGck
    CGEySU1U5xkrMhfV
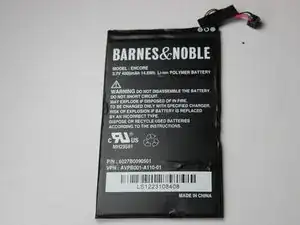
    • Slide the connecting wire through the opening of where the battery was placed.

Abschluss

To reassemble your device, follow these instructions in reverse order.

John Goly

Mitglied seit: 20/01/15

490 Reputation

0 Kommentare