Einleitung
Use this guide to replace the fan on your Nintendo Wii mini.


Ersatzteile
-
-
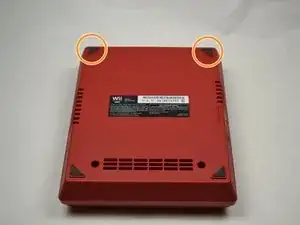
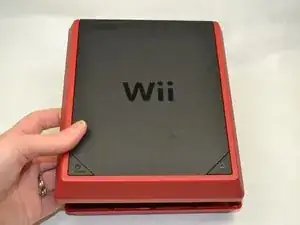
Turn the Wii mini upside down.
-
Remove the two rubber feet at the back of the console to reveal the hidden screws.
-
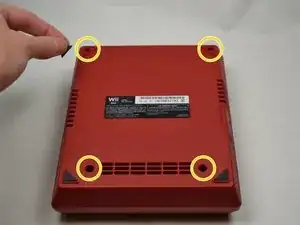
Remove the four 6mm Phillips #0 screws.
-
-
-
Turn the Wii mini right-side up.
-
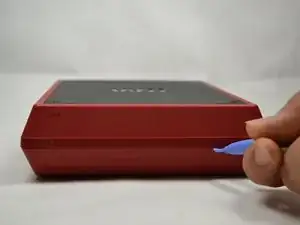
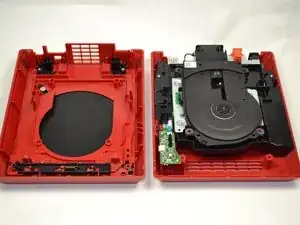
Run a plastic opening tool around the middle edge of the console to loosen the top piece.
-
Gently lift the top piece of the console and set it aside.
-
-
-
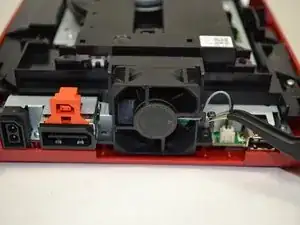
Turn the Wii mini around so that the back of the device is facing you.
-
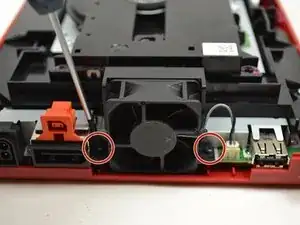
Using a Phillips #0 Screwdriver, unscrew the two 6mm screws on either side of the fan piece.
-
-
-
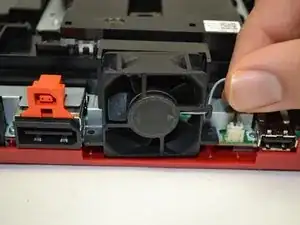
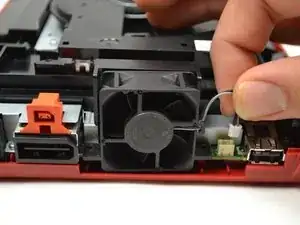
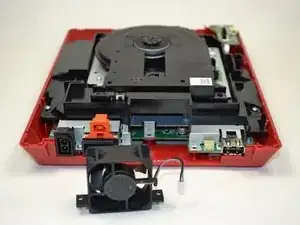
Using your fingers, gently pull the top of the pin connector straight up to detach the fan from the console.
-
Abschluss
To reassemble your device, follow these instructions in reverse order.
