Einleitung

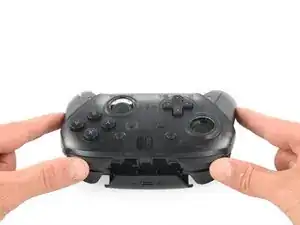
Nach der Benutzung des Nintendo Switch Pro Controller (Model HAC-001), kann es häufig vorkommen, dass sie Joystick-Kappen kaputt gehen. Obwohl sie keinen Einfluß auf die Funktionalität des Controllers haben, machen sie die Benutzung der Joysticks angenehmer. In dieser Anleitung wird nur der Austausch der Kappen, nicht der der Joysticks selbst gezeigt.

  1. iaKRfcPV2HNC5yUK
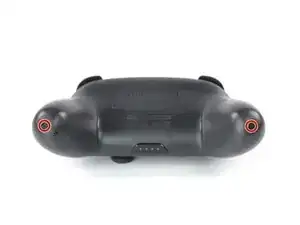
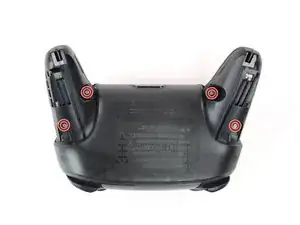
    • Drehe den Controller so um, dass der Aufkleber mit der Modellnummer nach oben zeigt.

    • Entferne die beiden schwarzen 8,4 mm Flachkopf-Kreuzschlitzschrauben, mit denen die Handgriffe am Ende verschraubt sind.

    Be carefull, these screws are super easy to strip even with the right tools.

    Lukas Eberharter -

  2. pFHHOlTyvlQ43DOC
    pFHHOlTyvlQ43DOC
    KCE54LsPyGnuWTkW
    UNYZtREEKVfHallZ
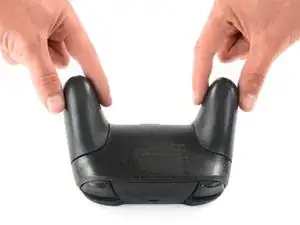
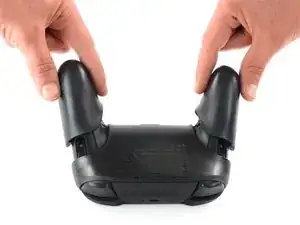
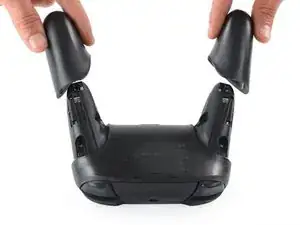
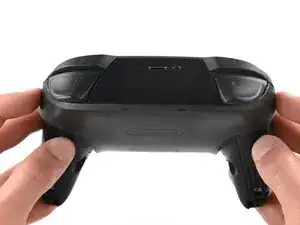
    • Ziehe die Abdeckungen der Griffe vorsichtig vom Controller.

  3. 3OnYDcOU1gVR2fEG
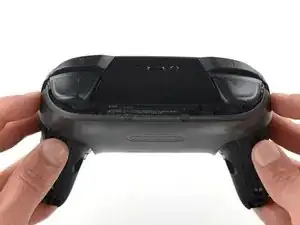
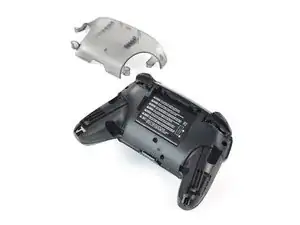
    • Entferne die vier silberfarbenen 6,8 mm Kreuzschlitzschrauben #00, mit denen die durchsichtige Abdeckung befestigt ist.

  4. Zb3Ool4Evh63KKVd
    Zb3Ool4Evh63KKVd
    E4qBEgOibCQbXlIJ
    jihxJQfDSqclVJnF
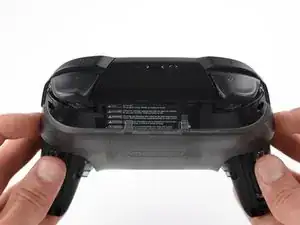
    • Löse die durchsichtige Abdeckung mit deinem Fingernagel ab.

  5. p4bHAkTpIvuBFIfc
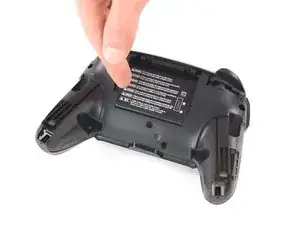
    • Entferne die durchsichtige Abdeckung.

  6. yUbMYllrTC6sSOGL
    yUbMYllrTC6sSOGL
    6pxWhyQpxoXGbs22
    vEF6WXIGCHUebiZO
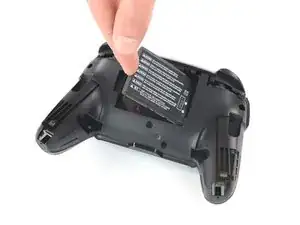
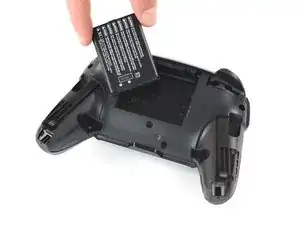
    • Entferne den Lithium-Ionen-Akku, indem du ihn mit deinem Fingernagel oder einem Öffnungswerkzeug an der linken Seite anhebst.

    • Dafür brauchst du nur wenig Kraft.

  7. 41hYi1SofYMKVF4B
    41hYi1SofYMKVF4B
    IhtOVVcrnx5IBHgJ
    WJ4LvGQlKLhlREns
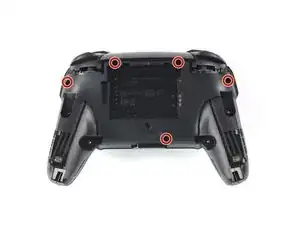
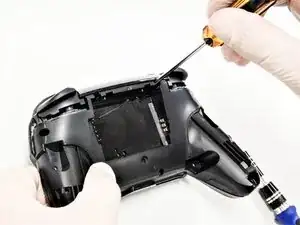
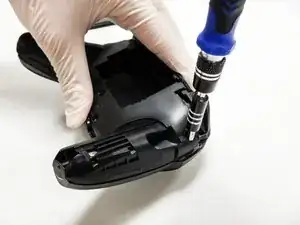
    • Entferne die fünf 6 mm Kreuzschlitzschrauben auf der Rückseite des Controllers.

    the 2 screws up at the top are unreachable with the standard fixit kit just a heads up

    Andrew Feliz -

    Seconded. the screws are located too deep below the plastic slot, and the bit holding bulge is too wide for the small aperture (similarly with the flexible extension). the bit length is too shallow to reach.

    An alternative driver with a much narrower & longer shaft is required, which will likely not come with interchangeable bits.

    Douglas Selby -

    I would say it is possible to reach the top left screw, just not the top right - there is a gap in the top left that allows you to slightly bend the standard driver outward to turn it while still making adequate contact.

    El_Mechacontext -

    An update: I was actually able to remove the top right one in a really hacky way - inserting the Phillips #0 bit into the #4 hex bit, and then using that in the standard driver. This added just enough length to successfully reach and make full contact with the screw!

    El_Mechacontext -

  8. PnIrdtdY4KCyxuKK
    PnIrdtdY4KCyxuKK
    ZBKtxPXnhQuBTaDN
    OZcevYGCPPARFaRx
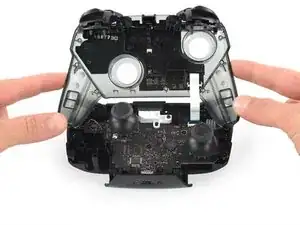
    • Nimm die Kunststoffabdeckung des Controllers behutsam ab.

    • Entferne die Abdeckung noch nicht ganz, sie ist noch mit einem weißen Flachbandkabel an der Hauptplatine angeschlossen.

    Didn't realize there is adhesive holding the front cover onto the unit. It's located inside of the handles. Just a bit of force there helped, just be careful of the cable.

    Roger Perez -

  9. NpVhXDsYSWmW4tBT
    NpVhXDsYSWmW4tBT
    QXe1DlCMuCXbrveX
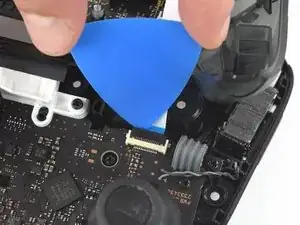
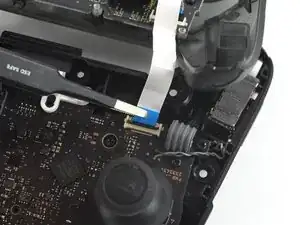
    • Drücke den schwarzen Sicherungsbügel am ZIF-Anschluss mit der Spitze eines Plektrums zum Öffnen nach oben.

  10. 3qj6VtFJtKAHHm6I
    3qj6VtFJtKAHHm6I
    YJvaLXngDhvHF1Gr
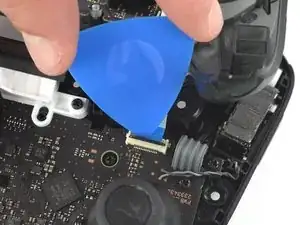
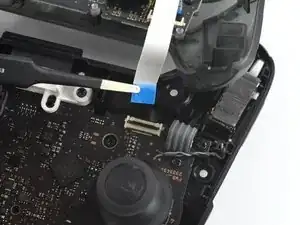
    • Löse das Verbindungskabel mit deinen Fingern oder einer stumpfen Pinzette aus seinem Anschluss.

  11. OpC2vBHXBB35uAQ4
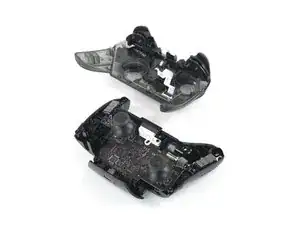
    • Entferne das vordere Gehäuseteil.

  12. fmhalkYPurcsCRYL
    fmhalkYPurcsCRYL
    elaYKLLtkDSyGABw
    rEIOPXEXhFo3sEO1
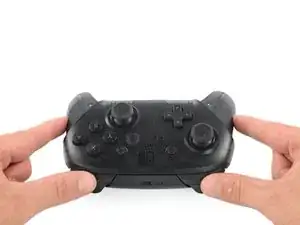
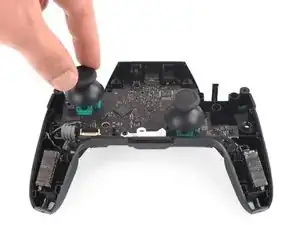
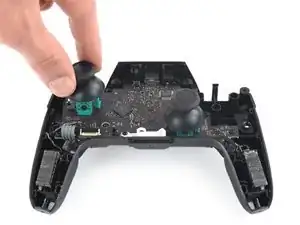
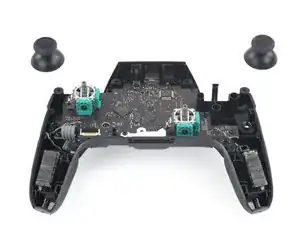
    • Ziehe mit leichter Kraft die beiden Joystickkappen vom Controller ab.

Abschluss

Um dein Gerät wieder zusammenzubauen, folge diesen Anweisungen in umgekehrter Reihenfolge.

Christian Rudnick

Mitglied seit: 10/10/19

223 Reputation

3 Kommentare

Where can I get the replacement caps?

Locke Valentine -

do you know where to find a replacement cap? If so can you give me link, thanks!

Jesus Acosta -

You really don't need to disconnect the ZIF to replace the caps. It might make things a tiny bit easier, but is best not to mess with it AT ALL if you're only replacing the caps. As messing it up, or not connecting it properly when you're putting it back together can lead to ALL your face buttons and D-pad not working.

master2873 -