Einleitung

This guide illustrates how to remove and install an LCD screen into the camera casing. These instructions are useful if the camera screen becomes damaged or no longer functions properly due to overuse. A Phillips-head screwdriver is necessary to complete this installation.

  1. YPuPry5uskBsWTRX
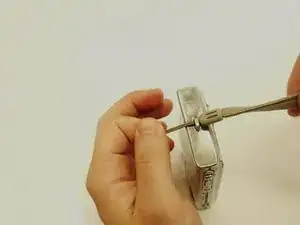
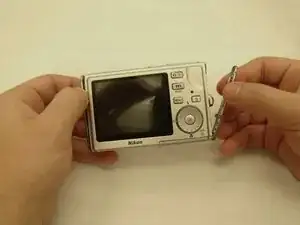
    • Remove wrist strap by unknotting the strap.

  2. 4qIlvUucC4lYQGf6
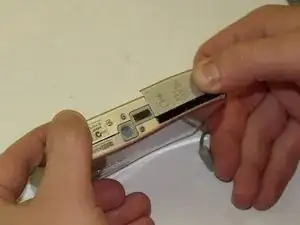
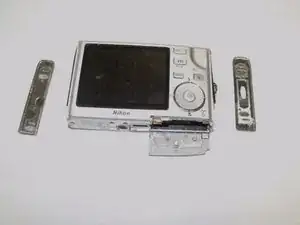
    • Open SD/Battery cover.

  3. MuUGtKVSXYbPrNLp
    MuUGtKVSXYbPrNLp
    MSNERUkGQByZvPYO
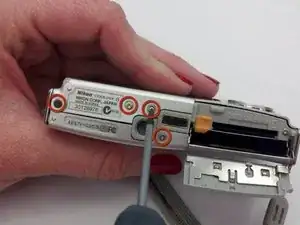
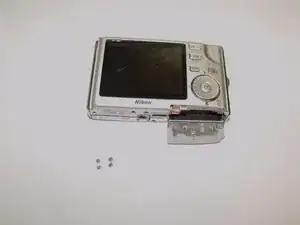
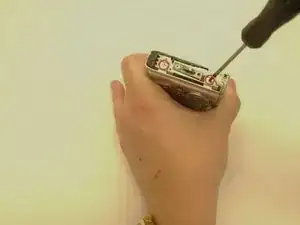
    • Remove the four screws on the bottom of the camera using the Phillips-Head screwdriver.

  4. 5yOJMNdWPaNWVx6C
    5yOJMNdWPaNWVx6C
    rPXCPYUTjYRCaPQP
    • Pull the silver side panels on each side.

  5. fOEZeGI4gCZD6gVf
    fOEZeGI4gCZD6gVf
    WDZu3FEAJudjHJs5
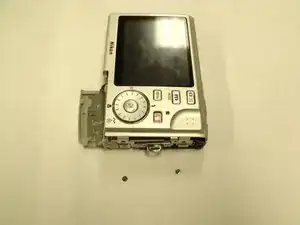
    • On the right side of the camera (that contains the wrist strap loop), use the screwdriver to remove the two screws holding the backplate in place.

    • Repeat this step for the left side.

  6. CdPKXChHG3eT4JGp
    CdPKXChHG3eT4JGp
    IJChEJmmO12c2Xtx
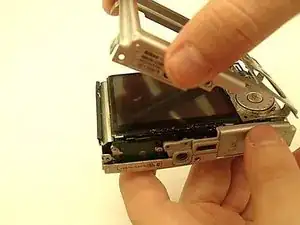
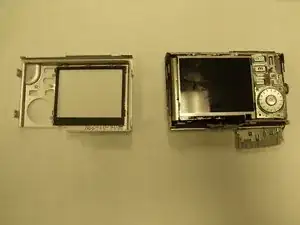
    • Pull the back silver faceplate to separate it from the rest of the camera.

  7. IKxvFAr4odXT4CIJ
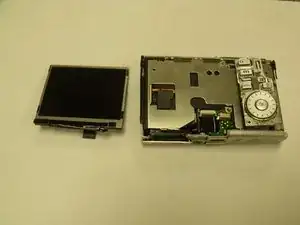
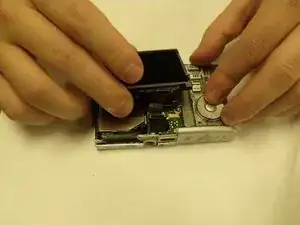
    • Gently lift the LCD screen.

    • Disconnect the ribbon cables from the ports.

  8. wCB3KyoaKnmZl5Oe
    • Remove the LCD screen from camera.

Abschluss

To reassemble your device, follow these instructions in reverse order.

Josh Miller

Mitglied seit: 11/03/13

87 Reputation

0 Kommentare