Einleitung
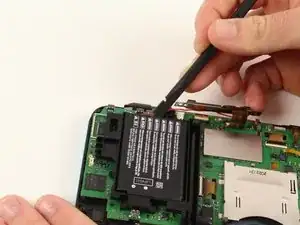
Wenn deine Nee Nintendo 2DS XL sich nicht einschalten lässt, muss wahrscheinlich der Akku ausgetauscht werden. Der Akku kann direkt unter der Bodenplatte erreicht werden. Weitere Informationen auf unserer troubleshooting-Seite.
Werkzeuge


Ersatzteile
-
-
Bevor du mit der Reparatur beginnst:
-
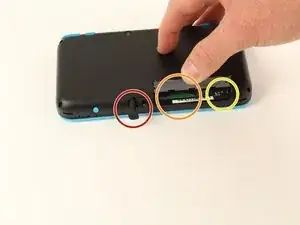
Entferne den Stylus
-
Entferne die Game Cartridge
-
Entferne die SD-Karte
-
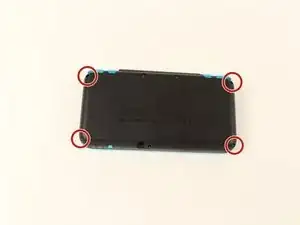
-
-
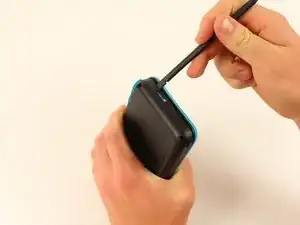
Heble die untere und obere Gehäusehälfte mit dem flachen Ende des Spudgers behutsam voneinander.
-
An der Scharnierseite sind viele Rasten, wir empfehlen, zuerst an einer kurzen Seite und den beiden langen Seiten anzufangen, dann erst die letzte kurze Seite zu bearbeiten.
-
-
-
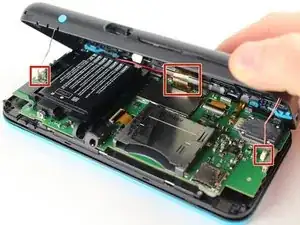
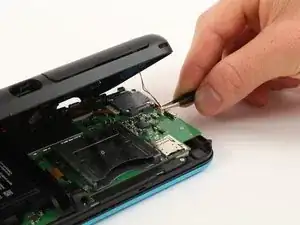
Ziehe die beiden Kabel, die die beiden hinteren Tasten auf jeder Seite mit der Hauptplatine verbinden behutsam nach oben und trenne sie ab.
-
-
-
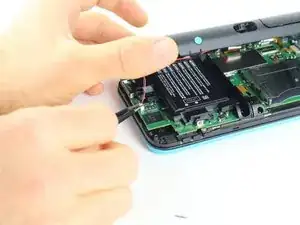
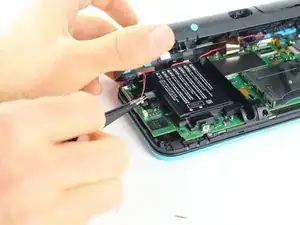
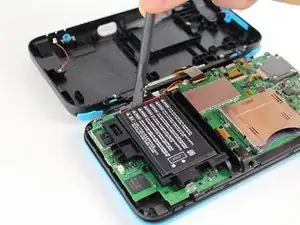
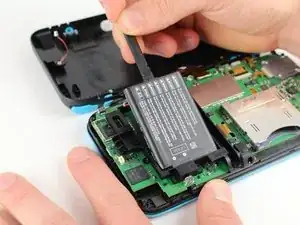
Hebe den Akku mit einem Spudger heraus.
-
Denke dran, dass der Akku mit einem Klebepad in seinem Fach festgeklebt ist. Es kann schon sein, dass du mehrere Werkzeuge benutzen musst, um den Akku aus seinem Fach und von der Hauptplatine zu lösen.
-
Um dein Gerät wieder zusammenbauen, folge den Schritten in umgekehrter Reihenfolge.

4 Kommentare
Does the 2ds xl have the same as the new 3ds xl
no. the 2ds shares the same battery type as the Nintendo DS and the Nintendo switch pro controller.
Jason -
CTR-003 Battery
Do I need to put a sticky pad on the new battery?
This is a great repair instructional, but I would advise also looking at the below video link. (I used both.) Sometimes watching 2 repair guides can help when you think you think you’re stuck. For example, I had a really hard time getting the hinge off!
https://www.youtube.com/watch?v=Zuu_T2ls...
(HINT: Works best if you rotate it 180 degrees, so that you are repairing it from the same perspective as the technician)
skat1140 -