Einleitung

This guide is used for replacing the motherboard on the device . This makes the device to work at faster speeds.

  1. ujdcxRZOMC36mCYg
    ujdcxRZOMC36mCYg
    6twbpIcTCwk1pKkA
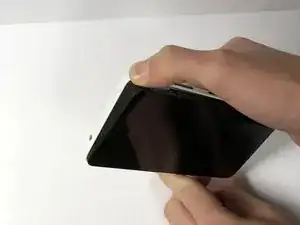
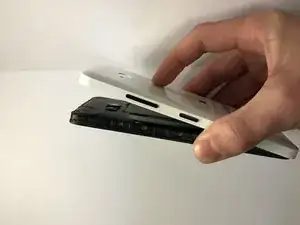
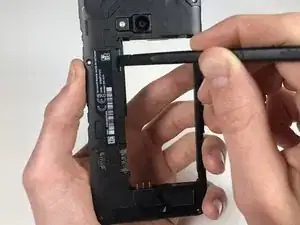
    • Use your thumb or fingernail on the edge/corner of the phone to pry the back cover off the phone.

  2. dF5GudLumxOGl3kR
    dF5GudLumxOGl3kR
    QpK4JaqrE6WGMAiv
    SCQnryWoBmyMsPOe
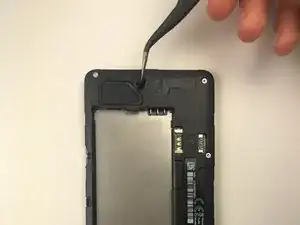
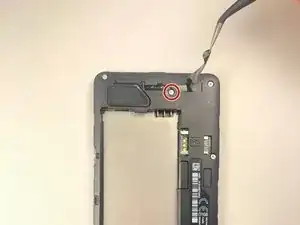
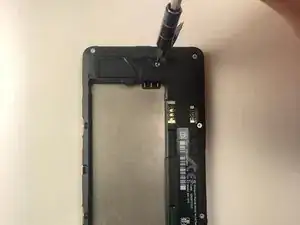
    • Use the tweezers to pull back the sticker, revealing the screw underneath.

    • Be careful when taking out the screws as they can strip easily.

  3. yGKwCAaeVaQdDh5J
    yGKwCAaeVaQdDh5J
    BoklAksFHkscqniy
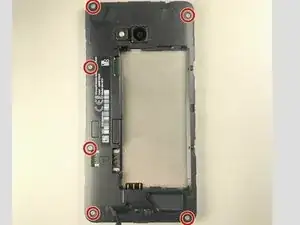
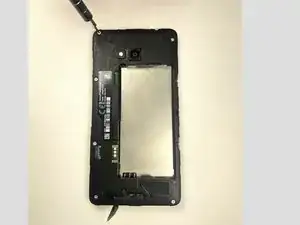
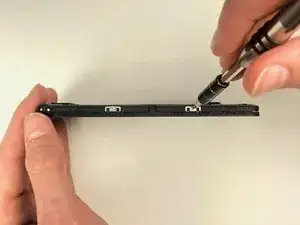
    • Use the T-4 bit to unscrew the screws in the 4 corners, along with the two acres in the middle left side.

  4. dQhHynEpfo2M1RI1
    dQhHynEpfo2M1RI1
    QyvCXXRmhqs1v6v1
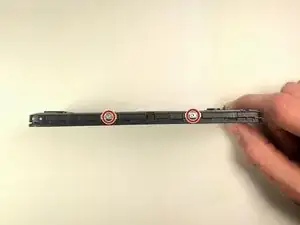
    • Using the T-4 bit, unscrew the two (2) screws.

    • Keep these screws separate from the screws from back of the phone to ensure that the right screws go where they belong.

  5. KK1CteFtFwB31KNP
    KK1CteFtFwB31KNP
    mJDi1wWnoJheF5IZ
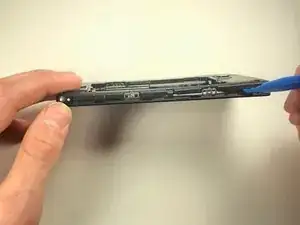
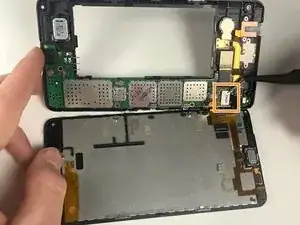
    • Using the plastic opening tool to separate the screen from the back plastic casing

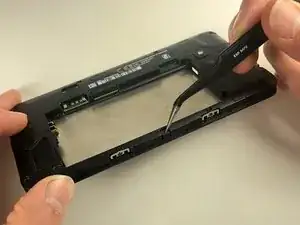
    • Use the tweezers to release the clip on the side of device, and remove the back of the phone.

  6. ygYdoGfqFiMImIxG
    ygYdoGfqFiMImIxG
    A4GgkgMJ6ooyRA4B
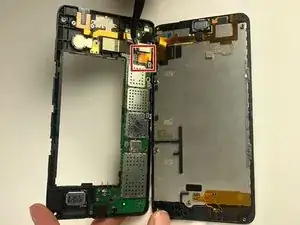
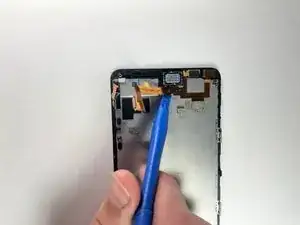
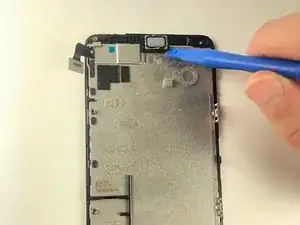
    • Using the tweezers or a spudger, pull the gold tab up gently

    • Using the tweezers or spudger, pull the white circuit up gently to completely detach the screen from the phone

    • For Motherboard replacement skip to step 11 after finishing this step

  7. YubMTmPPHCwt2yKM
    YubMTmPPHCwt2yKM
    bZykYuyAAgoOjjiN
    FrEevsvKXau5XCrU
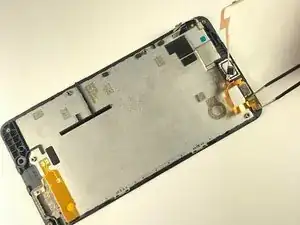
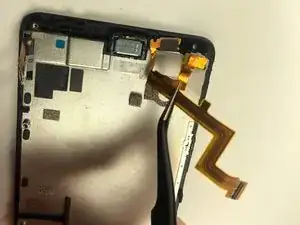
    • Using the plastic opening tool, carefully get under the gold strip

    • Using tweezers pull up the camera. The camera just sits in there

    • using the tweezers pull up on the depth sensor. This is held in by a strong adhesive

  8. e3DfUlYMCO2O52vw
    • Using the plastic opening tool, pry up the ear speaker. This is held in by strong adhesive.

  9. ADmCPmkfGFjeQMNk
    • Unscrew 2 remaining screws with T-4 bit.

  10. gifyB554L2LjUvsa
    • Remove speaker using tweezers.

  11. WrjSsZP2oFIwQjL6
    WrjSsZP2oFIwQjL6
    Y3WCEA4CRl5WVnOO
    nRSLZSBhBqGkUaxA
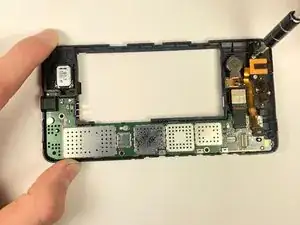
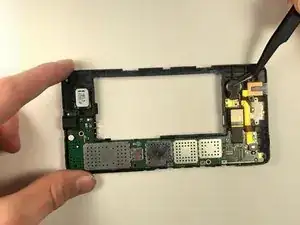
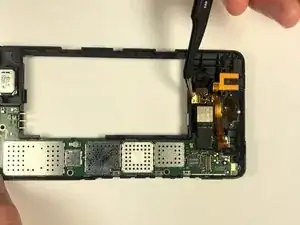
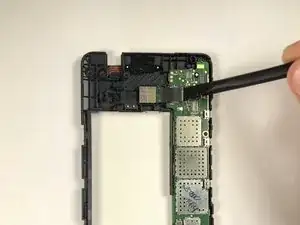
    • Use the plastic opening tool to lift up black tab

    • Using the tweezers, gently pull up on the gold tab

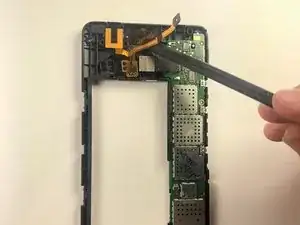
    • using the spudger, slowly get underneath the gold sticker to pry it up. Held down with strong adhesive

  12. VSMVUHluIsQ5ALEH
    • Remove orange insulator foam with tweezers.

  13. F5R1RUT2vVlQoqTJ
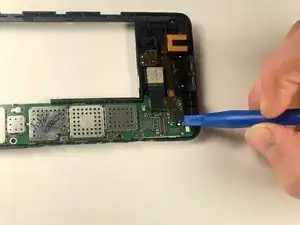
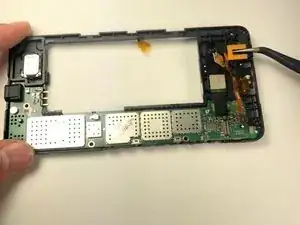
    • Using the pry tool lift up on the black tab

  14. LJQMfcfkaxaT415k
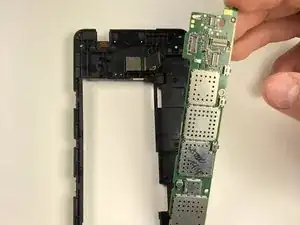
    • Using the spudger, press out the motherboard.

  15. SyqHpGYx2Od2WgtE
    • Gently wiggle out the motherboard.

Abschluss

To reassemble your device, follow these instructions in reverse order.

Nick Emmert

Mitglied seit: 27/09/18

637 Reputation

0 Kommentare