Einleitung

  1. dI2u1IDLLhnA2J1Y
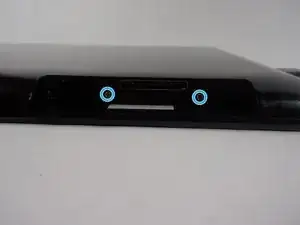
    • Remove the two screws using a PH #00 Phillips head screw driver.

  2. F5q3dXfAoUOjtnjR
    F5q3dXfAoUOjtnjR
    3SIDoktd5xFgiFCr
    eYBDANYSHxwhnEKO
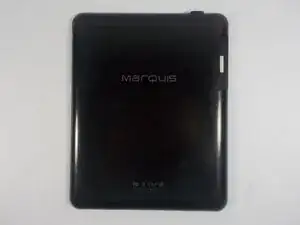
    • Place the device face down on a flat surface.

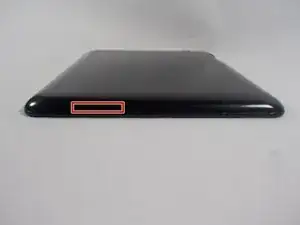
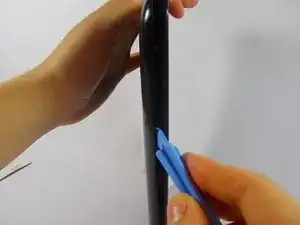
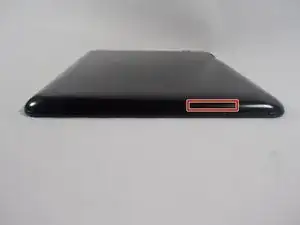
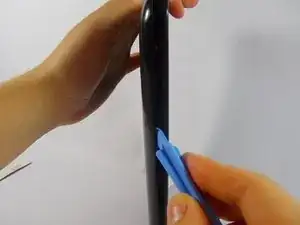
    • Insert one of the wide tipped, plastic opening tools into the top of the left speaker slot.

    • Be sure not to puncture the covering of the speaker.

    • Pry the back plate open and slide the tool in a clockwise direction, moving it along the opening between the device and its back plate until you reach the power button.

  3. 1nfPRWLbaVyTaevS
    1nfPRWLbaVyTaevS
    w6M1ie46RMfMdAMZ
    • Insert opening tool into the right speaker slot.

    • Pry open the back plate, and slide the tool counter clockwise along the device until you reach the charging port.

  4. RJDlOJiqJkYPResp
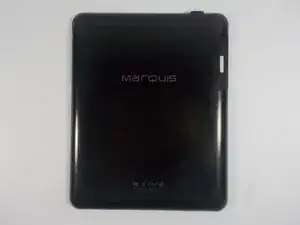
    • Remove the back plate and place it to the side.

  5. jdQruTBNhGrl2BiH
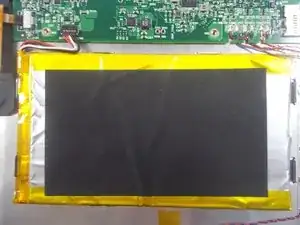
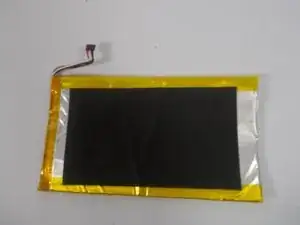
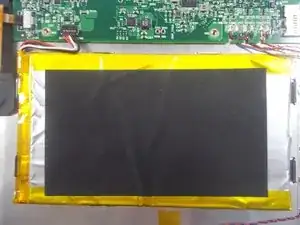
    • Detach the battery from the motherboard.

  6. SlvEmM1SSAC3lbP1
    SlvEmM1SSAC3lbP1
    YH2GMuiCYAVcQPZ5
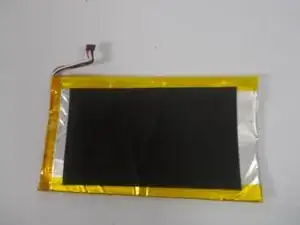
    • Plug in the new battery.

Abschluss

To reassemble your device, follow these instructions in reverse order.
Evan Campbell

Mitglied seit: 24/03/15

88 Reputation

0 Kommentare