
Einleitung
Taking the speaker out and replacing it with a new one requires work with small wires. If you have a physical disorder that makes your hands shake, this guide will be much more difficult, and you might want to consider asking someone to replace the speaker assembly for you. Also, the device should be powered off the whole time you are working on the device. Leaving the device on may allow you to become shocked by an electrical current.


-
-
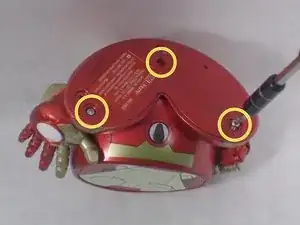
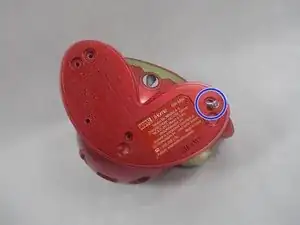
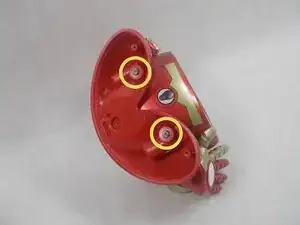
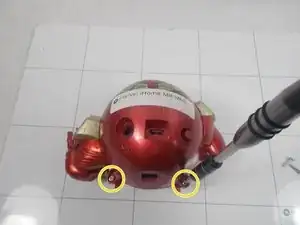
On the bottom of the device, remove the three screws shown.
-
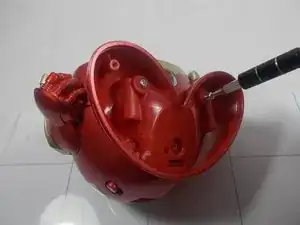
Leave one screw partially in the socket to remove the bottom cover easier.
-
-
-
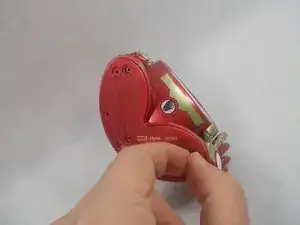
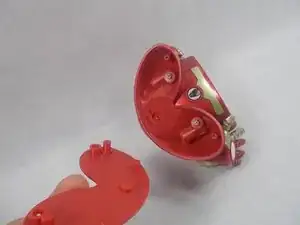
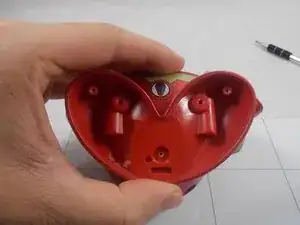
Remove the bottom cover by either pulling on the screw or using a plastic opening tool to pry the cover off.
-
-
-
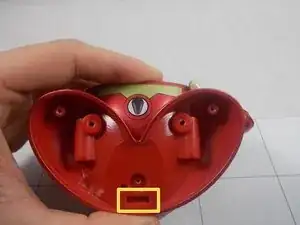
Use a spudger to release the small retaining clip that holds the feet to the bottom of the device.
-
-
-
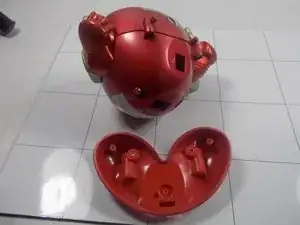
Using a plastic opening tool, separate the front and back cover from each other.
-
Starting from the bottom, use the plastic opening tool to create the initial separation and continue along the seam to the top of the device.
-
Alternate between using the plastic opening tool and your hand to create the separation.
-
-
-
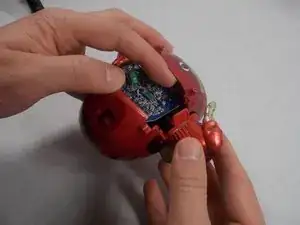
Once a significant separation has been created, remove the two arms from either side of the device.
-
Once the arms are out, continue pulling the back cover off the device.
-
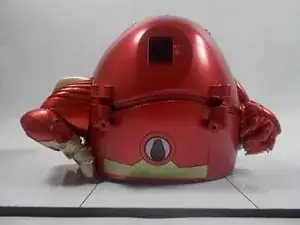
Remove the power switch cover.
-
-
-
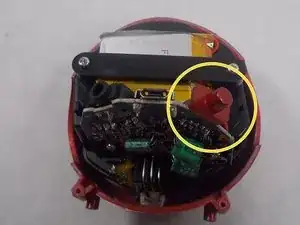
Remove the red cover for the on/of switch from the device. Set it aside with the back plate and legs of the device.
-
-
-
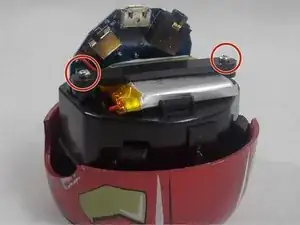
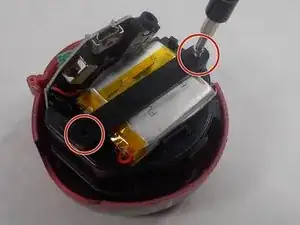
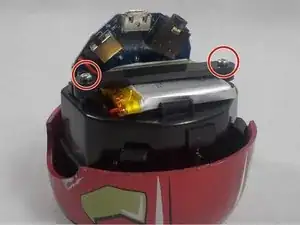
Loosen and remove the two screws keeping the battery cover (the black plastic strip that keeps the battery in place) using the Philips head screw driver.
-
-
-
Remove the battery cover. Set it aside with the on/off button cover, backplate, and other plastic pieces taken from the device.
-
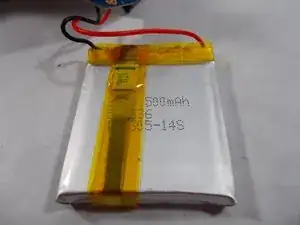
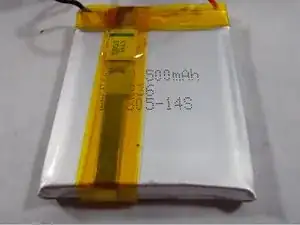
The battery should become loose as shown in the picture
-
-
-
Gently lift the battery from the rest of the front assembly to stretch the wires out slightly. Gently let the battery hang from the side of the device.
-
-
-
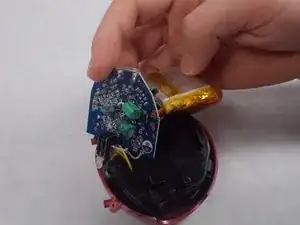
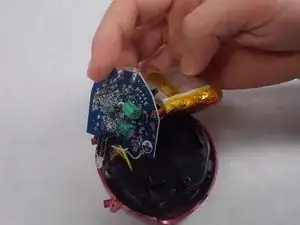
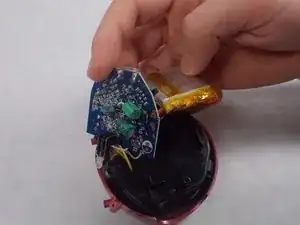
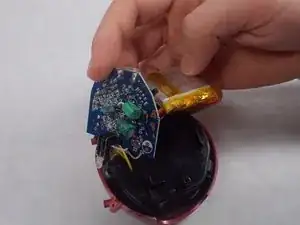
Gently lift the motherboard from the rest of the front assembly to stretch the wires out slightly.
-
-
-
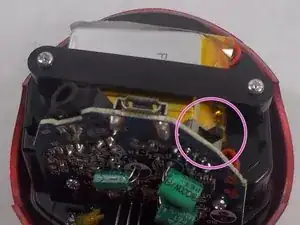
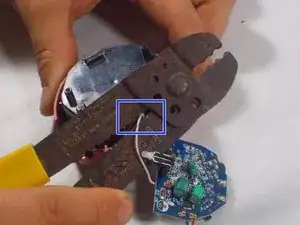
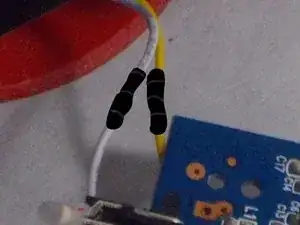
Take the wire cutters and place the two cutting edges against one of the wires connecting the motherboard to the speaker assembly. Place the wire cutter about an inch away from where it connects to the front assembly and gently squeeze the grips of the wire cutter together until the wire is severed.
-
-
-
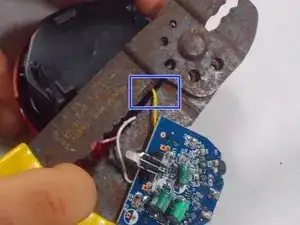
Repeat the previous step with the second wire connecting the speaker assembly with the motherboard.
-
-
-
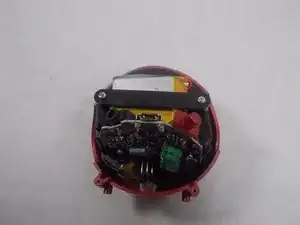
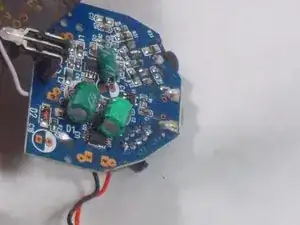
With the motherboard detached from the speaker assembly, take out the mother board and battery and set them aside.
-
-
-
Set aside the old speaker assembly and put the new speaker assembly in the spot where the old speaker assembly was.
-
-
-
Twist the wire sticking out from the assembly with that of the motherboard so that they loop around each other. Add electrical tape around the wire connection.
-
Repeat with the second wire.
-
-
-
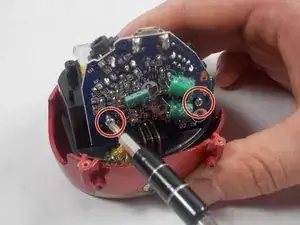
Place the motherboard on the new speaker assembly as shown in the picture.
-
Replace the screw keeping the motherboard in place.
-
-
-
Place the battery on the speaker assembly, letting the battery fall into the slot between the plastic pieces coming up from the top of the speaker assembly.
-
Replace the screws on the battery cover to secure the battery onto the new speaker assembly.
-



To reassemble your device, follow these instructions in reverse order.
