Einleitung
This guide will show how to remove and replace the device's charging port. To complete this successfully, all the listed tools must be obtained and the listed steps must be strictly followed in order. Experience with soldering is required.


-
-
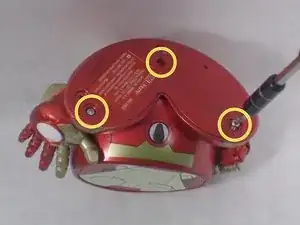
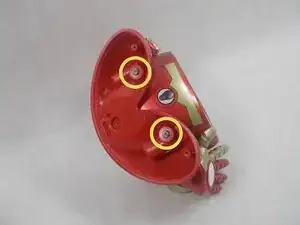
On the bottom of the device, remove the three screws shown.
-
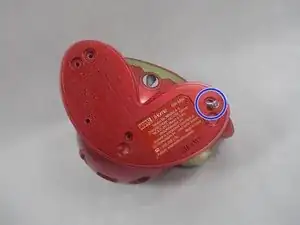
Leave one screw partially in the socket to remove the bottom cover easier.
-
-
-
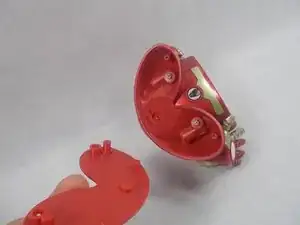
Remove the bottom cover by either pulling on the screw or using a plastic opening tool to pry the cover off.
-
-
-
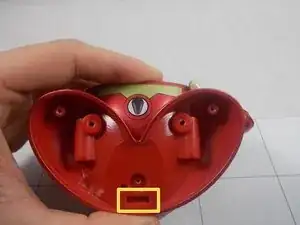
Use a spudger to release the small retaining clip that holds the feet to the bottom of the device.
-
-
-
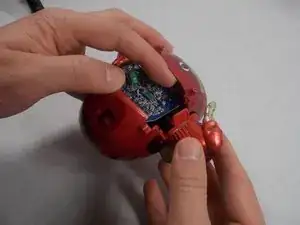
Using a plastic opening tool, separate the front and back cover from each other.
-
Starting from the bottom, use the plastic opening tool to create the initial separation and continue along the seam to the top of the device.
-
Alternate between using the plastic opening tool and your hand to create the separation.
-
-
-
Once a significant separation has been created, remove the two arms from either side of the device.
-
Once the arms are out, continue pulling the back cover off the device.
-
Remove the power switch cover.
-
-
-
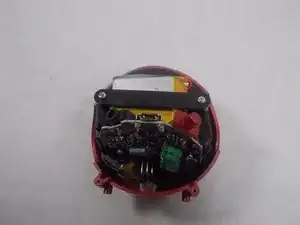
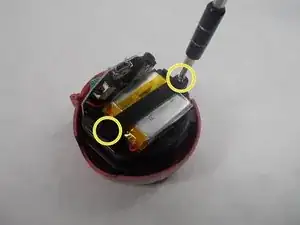
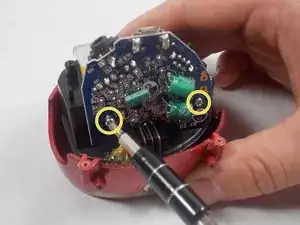
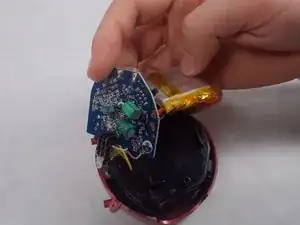
Remove the battery and circuitboard.
-
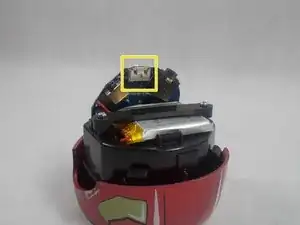
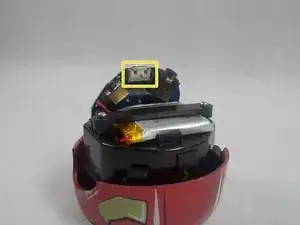
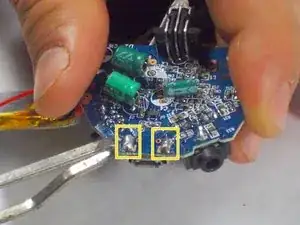
Locate the charging port on the edge of the top side of the circuitboard.
-
-
-
Locate the 4 metal pins on the bottom of the circuitboard connecting the charging port to the circuitboard.
-
Use the soldering iron to disconnect the pins.
-
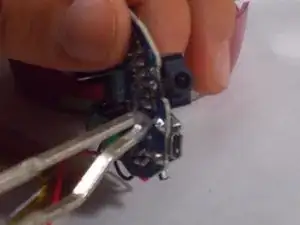
Use a pair of tweezers to remove the old charging port.
-
Place the new charging port in the same spot and solder the port to the circuitboard.
-









To reassemble your device, follow these instructions in reverse order.
