Einleitung
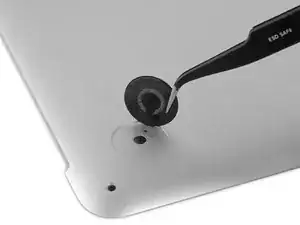
Haben die Gummifüße an deinem MacBook Pro schon mal besser ausgesehen? Diese Anleitung zeigt dir, wie du sie austauschen kannst.


-
-
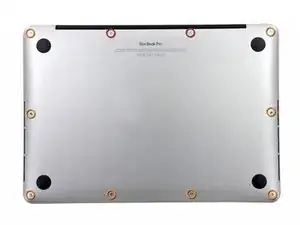
Entferne die folgenden zehn Schrauben, die den Boden des Gehäuses befestigen:
-
Zwei 2,3 mm Pentalobe P5 Schrauben
-
Acht 3 mm Pentalobe P5 Schrauben
-
-
-
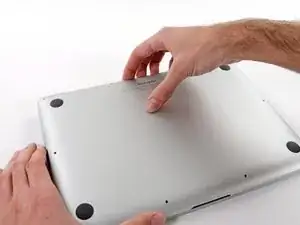
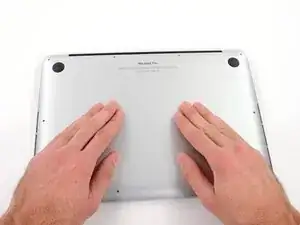
Gehe mit deinen Fingern zwischen das obere und das untere Gehäuse.
-
Hebe die untere Gehäuseabdeckung vorsichtig vom Gerät ab.
-
-
-
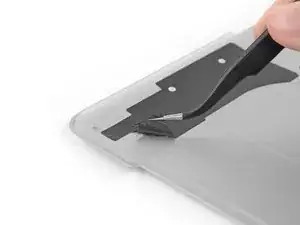
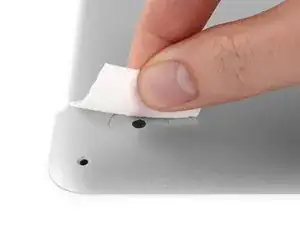
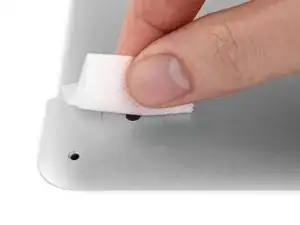
Ziehe alle Aufkleber von den Füßen, die du ersetzen willst, auf der Rückseite des Rückgehäuses ab.
-
-
-
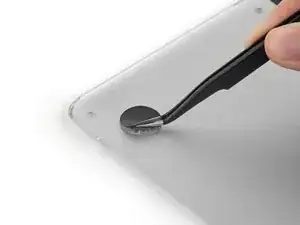
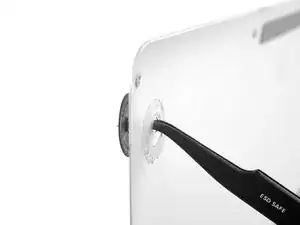
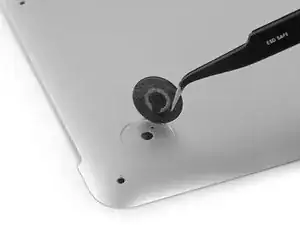
Entferne alle kaputten oder beschädigten Füße.
-
Wenn sich der Fuß nur schwer entfernen lässt, dann kannst du die Stelle mit einem Haartrockner oder einem Heißluftgebläse erwärmen und den Kleber lösen.
-
-
-
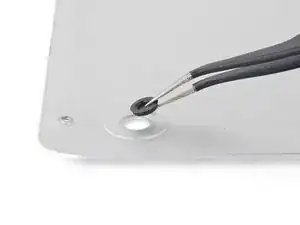
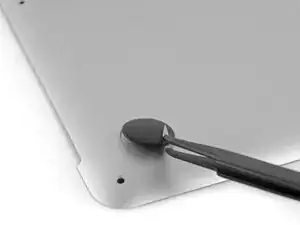
Reibe die Vertiefung für den Fuß mit einem Klebstoffentferner ab und entferne alle Klebstoffreste.
-
-
-
Wische die Vertiefung für den Fuß mit einem mit Isopropylalkohol getränkten Pad aus, so dass wirklich alle Klebstoffreste beseitigt sind und die Klebestelle gut vorbereitet ist.
-
-
-
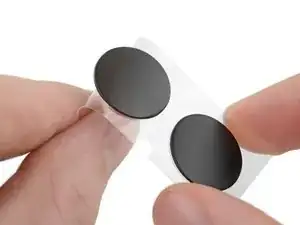
Richte den neuen Fuß genau in der Vertiefung aus.
-
Drücke den Fuß immer noch exakt ausgerichtet nach unten.
-
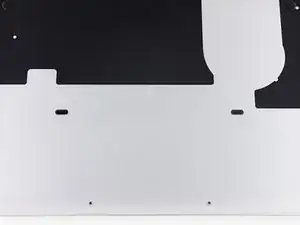
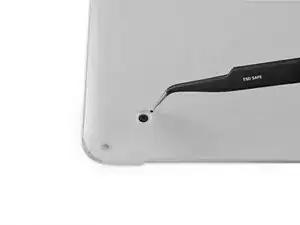
Überprüfe von der Gehäuseinnenseite her, ob der Fuß wirklich richtig sitzt. Die kleine Noppe muss von innen ein wenig in dem Führungsloch sichtbar sein.
-
-
-
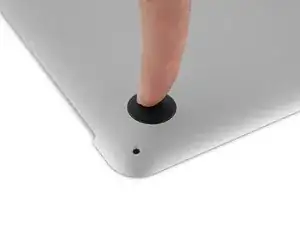
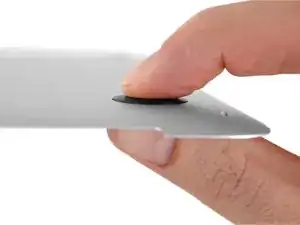
Drücke den neuen Fuß mit dem Finger fest. Drücke ihn dann noch kräftig an, indem du den Fuß von jeder Gehäuseseite her zwischen Zeigefinger und Daumen zusammenpresst.
-
Halte diesen Druck 30 Sekunden lang an, so dass der Kleber durch den Druck fest wird.
-
Wiederhole die letzten sieben Schritte für alle Füße, die ausgetauscht werden müssen.
-
Um dein Gerät wieder zusammenzusetzen, folge den Schritten in umgekehrter Reihenfolge.

For all the screws you use the P5 pentalobe screwdriver?
Carlos -
Pentalobe is only for the screws on the bottom cover. The Torx screw driver is for the remainder.
Fredrik -
I never, ever, ever considered using anything but the correct tool on the Pentalobe screws. Too easy to strip and void your warranty (if still in effect), as well as make it almost impossible to get inside later for another upgrade or repair. The Wiha P5 Pentalobe screwdriver fits like a glove and costs only about $11 (a fraction of your drive's price)at Amazon.com. Get it!
marketing -
I followed this exactly and was able to replace my broken trackpad. I did not have to replace the ribbon OR the battery. However I would suggest getting the ribbon since it’s fairly cheap, as for the batteries I was able to do it with a card only. I didn’t use any heat or the liquid but it takes some time. You really have to work the card in there to release the glue. Also you must be very careful not to bend the batteries or damage them, if you do you must replace with new. This took me about 1.5hrs and my computer works like new. Apple cost for this job was around $450, I did it for $120. Big ups to ifixit for this awesome tutorial, tool set and parts!
On a side note, only use quality tools, the cheap ones will break or strip the screws.
Dustin Steward -
Note that the eight 3mm screws have a shoulder under the head, while the two 2.3mm screws are “full thread”, i.e., there is no shoulder under their heads. It’s important to put the two screws with no shoulder at the hinge of the cover.
All ten screws require a P5 Pentalobe screwdriver, preferably with a magnetized tip to help hold and position the screw.
All of the screws have blue “Loctite” thread locker compound on their threads. This is to help prevent the screws from working loose and falling out. Don’t attempt to clean the Loctite from the screws — leave it in place, and it will continue to help prevent the re-inserted screws from working loose.
When replacing the bottom cover, it is a good technique to insert and BEGIN tightening all ten screws BEFORE fully tightening any one screw. After all the screws have been started, then go around and finish tightening all of them. By doing this, you make it easier to feel that each screw has been started properly, and is not “cross-threaded”.
doubleclutch -
This is what I found on my MBP mid-2014 13” Retina. All 10 used the same screwdriver. I didn’t see the blue “loctite” but I also got my computer refurbished.
Evan Shulman -
A good technique for starting to thread the screws when replacing them is to position and align the screw, and with the driver, gently turn the screw in the REMOVAL direction until you feel and hear a slight click. This click happens when the leading thread of the screw drops off of the leading edge of the thread in the hole — this is the point at which the threads are properly positioned for engagement. You can now turn the driver and screw in the TIGHTENING direction. This technique will help prevent accidental “cross-threading” of the screw, which will damage the threads permanently.
Note that this is a useful technique when installing ANY threaded fastener.
doubleclutch -
Hi peeps,
I have a wifi problem on this MBP 13” early 2015 and was pleasently surprised to find your guide to changing the airport card.
However upon closer inspection it seems that on my MBP (purchased new or so I thought) the 3 antennae seem so have been soldered together at the point where they are clamped to the chassis. I have photos but cannot post here. Can anyone conform that where the 3 antennae wires are held to the chssis by the 2 scew metal support (just before disappearing into the screen hinge), the support is not meant to short the 3 wires together. This makes no sense for 3 seperate antennae wires.
Any advice /close up photos is welcome here.
dom
colonel mustard -
Tip: Use post-it notes to keep track of screws
1. Pack of post it notes
2. Stick screws to the sticky part of the post it note
3. Write on the post it note which step and what kind of screw it is
ibash -
Hi, in order to drain the battery I am running:
yes > /dev/null
in 4 terminals, so the CPU maxes out at almost 99%.
I hope this speeds up the battery draining process.
And the backlight is at maximum brightness :-)
You can see the cpu load in Activity Monitor.
Its draining at 20% per 15 minutes.
Any concerns about draining the battery in this way?
Andre van der Ham -
Something I’ve been curious about, is it possible to upgrade a late 2013 Retina model MacBook Pro, with the improved 16gb ram and i7 processor logic board from the 2015 retina model? I’d be interested to try but not ready to shell out the $500+ to be the first lol
Chat Dawgie -
Without rehashing what others have said, I would highly recommend reading through the steps *and* the comments for each before tackling your replacement for tips. Highlights for me were: only disconnecting what actually needed to be disconnected, rotating the spudger to release the track pad cable, a hair dryer worked perfectly fine, and the pencil outline of the battery before you remove. You got this!
N DesRochers -
Installation of replacement AirPort card was easier than I had expected thanks to this guide. Thank you.
chaslaw -
I use replaced SSD and it was super easy and working great. I can finally upgrade Mac OS with plenty of room to spare and no more low memory alerts. Well worth investment and didn’t have to buy new laptop
Pete James -