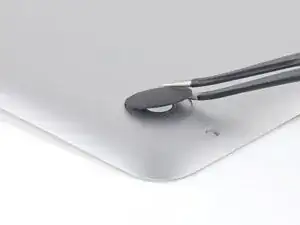
Einleitung
Frische dein MacBook Pro mit einem Satz neuer Füße auf.


-
-
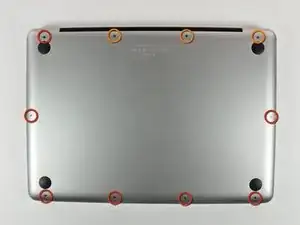
Entferne die folgenden 10 Kreuzschlitz-Schrauben, die die Gehäuse-Unterseite des MacBook Pro 13" Unibody befestigen:
-
Sieben 3 mm Schrauben.
-
Drei 13,5 mm Schrauben.
-
-
-
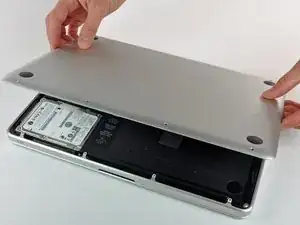
Hebe die Unterseite vorsichtig an und drücke sie Richtung Rückseite des Laptops, um die Halterungsclips zu lösen.
-
-
-
Entferne alle gerissenen oder beschädigte Gummifüße.
-
Entferne alle Reste von Gummifüßen, die noch im Befestigungsloch stecken.
-
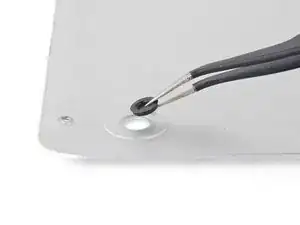
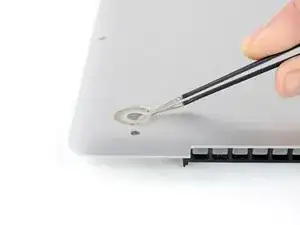
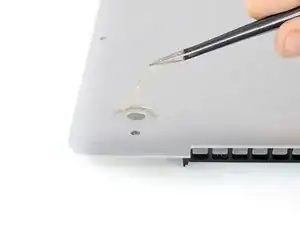
Entferne mit einer Pinzette alle Reste von altem Klebeband in der Klebefläche der Gummifüße.
-
-
-
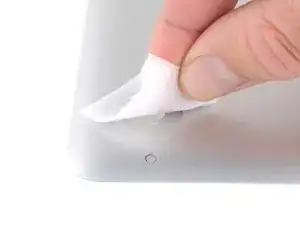
Reinige die Klebefläche mit Klebstoffentferner, um jegliche Reste des Klebers zu beseitigen.
-
-
-
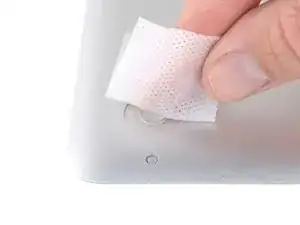
Wische mit einem alkoholbefeuchteten Tuch über die Klebefläche, um Reste vom Klebstoffentferner zu beseitigen.
-
-
-
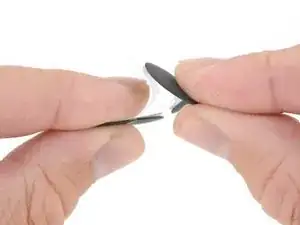
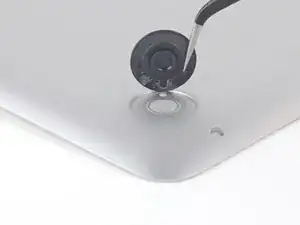
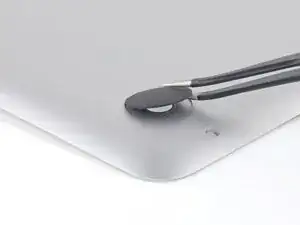
Platziere den neuen Fuß richtig in der Klebefläche.
-
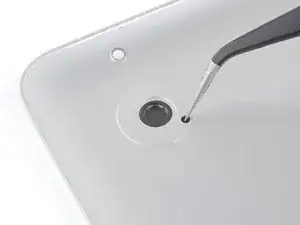
Achte darauf, dass die kleine Passnoppe im Gummifuß in das entsprechende Loch nahe am Rand der Klebefläche eingreift.
-
Wenn der Fuß richtig sitzt, kannst du ihn nach unten drücken.
-
Schaue von der Innenseite des unteren Gehäuses, ob der Fuß gut ausgerichtet ist. Schiebe die Passnoppe mit einer Pinzette in das entsprechende Loch.
-
-
-
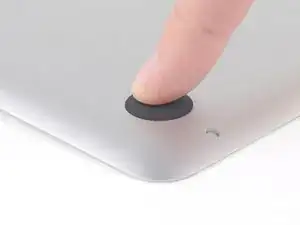
Drücke den neuen Fuß mit dem Finger fest und halte den Druck 30 Sekunden lang aufrecht, damit der druckempfindliche Kleber abbindet. Drücke von der anderen Seite dagegen.
-
Wiederhole die letzten sechs Schritte für jeden Gummifuß, der gerissen oder beschädigt ist.
-
Um dein Gerät wieder zusammenbauen, folge den Schritten in umgekehrter Reihenfolge.

Compare the short screws carefully before reinstalling them. The shouldered screws go in the holes on the front edge.
David Kilbridge -
Before I started removing any screws I took a piece of paper and drew the bottom of the laptop and put a piece of double-sided tape in the spot where each screw goes. That way when I took out the screws, I could put them on the tape so I knew exactly which screw went in which spot. I did the same thing for dismantling the inside on another sheet of paper, then a third sheet for the screen after getting the front glass off.
mastover -
I use a similar technique: I print out the iFixit manual for the job, and Scotch-tape down the screws/brackets/cables I remove at each step next to the component descriptions. That way, when I'm reassembling, the bits are taped right next to the photo of where they came from.
adlerpe -
That's exactly what I do for all my repairs! It's the best way to keep track of all of the parts ' original location and to make sure that you don't miss any parts during reassembly.
joyitsjennie -
Great idea and one I use often
Thomas Overstreet -
Excellent idea! Thanks for sharing it here.
Laura Sharkey -
I used a 00 that fit but the screws were very tight so I used a tiny paintbrush with some wd40 on it and put it around the edges of the screws. Worked like a charm
valentinedhdh -