Einleitung
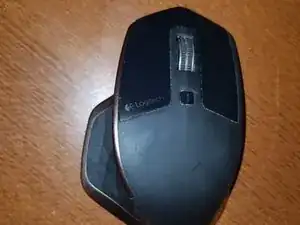
Ich habe meine MX Master nun mehr als 3 Jahre. In dieser Zeit sammelten sich viel Staub und Hundehaare an. Es hatte so viel Staub im Gehäuse, dass das Mausrad langsamer wurde, also habe ich mich entschieden, die Maus zu reinigen.
Ich wollte auch wissen, ob ich den Micro-USB Anschluss durch einen USB-C austauschen könnte. (Spoiler Alert: Nein)
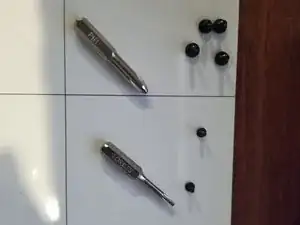
Werkzeuge

-
-
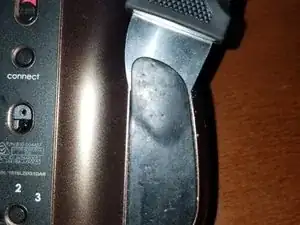
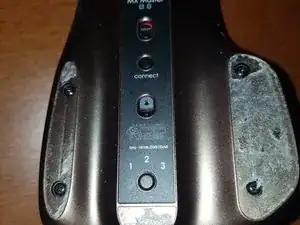
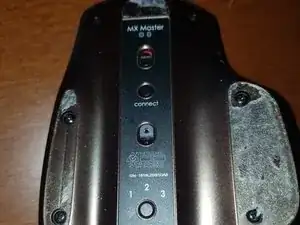
Die Maus hat vier "Füße" an der Unterseite, aber nur die beiden längeren müssen entfernt werden. Nutze dafür das Jimmy aus dem Pro Tech Toolkit.
-
Ich hatte keine neuen Füße zur Hand, also musste ich die Originalfüße wiederverwenden. Deshalb wird nicht gezeigt, wie der Klebstoff entfernt und neue Füße angebracht werden.
-
-
-
Verwende einen Schraubendreher um die vier PH1- und zwei T5-Schrauben an der Unterseite zu entfernen.
-
Sobald du die Schrauben entfernt hast, sollte sich die Maus ganz einfach öffnen lassen.
-
-
-
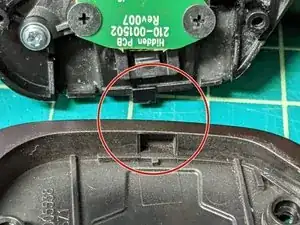
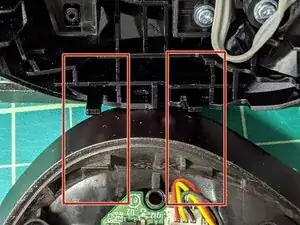
Beachte beim Öffnen der Maus, an welchen Stellen sich die Rasten befinden, so dass du nicht zu stark eindrücken musst.
-
-
-
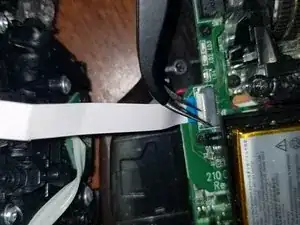
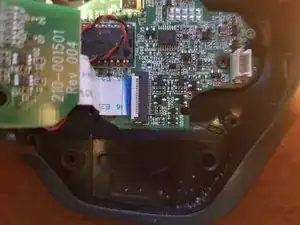
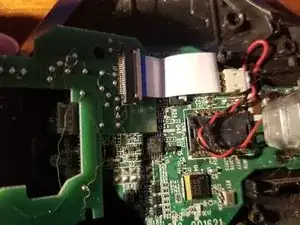
Öffne den Stecker einfach mit dem Werkzeug, das deiner Meinung nach am besten funktioniert, es sei denn dir passiert das gleiche wie mir. Ich habe das Kabel nämlich versehentlich im vorherigen Schritt herausgezogen.
-
-
-
Sorge für diesen Teil für eine gute Beleuchtung.
-
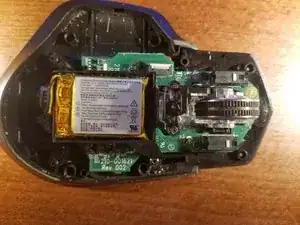
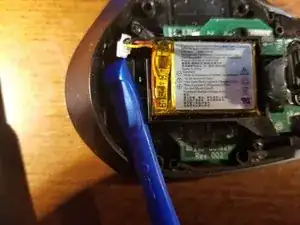
Lege die obere Hälfte vorerst beiseite. Das Entfernen des Akkus geschieht durch das Entfernen von drei PH1-Schrauben und einem Verbinder, der sich leider nicht wirklich nicht lösen will.
-
-
-
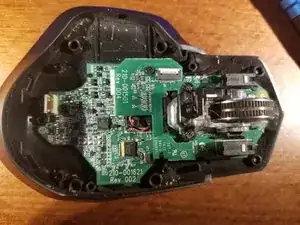
Zeit für eine kleine Veränderung! Die Leiterplatte, auf der die Schalter für Links- und Rechtsklicks untergebracht sind, wird mit vier P0-Schrauben und einem weiteren ZIF-Stecker ablösbar.
-
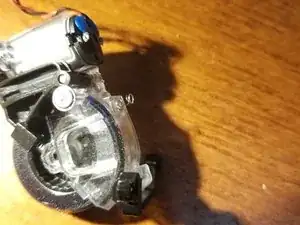
Die Scrollrad-Baugruppe ist mit zwei P0-Schrauben an der Vorderseite befestigt. Unter dem Flachbandkabel für die Leiterplatte, die du gerade entfernt hast, verbirgt sich auch ein Stecker für den Motor des Scrollrads.
-
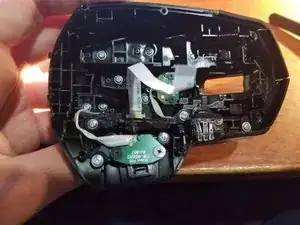
Die P0-Schrauben sind in diesem Schritt nicht sichtbar, können aber im vorherigen Schritt gesehen werden. Entschuldige die schlechte Fotoqualität.
-
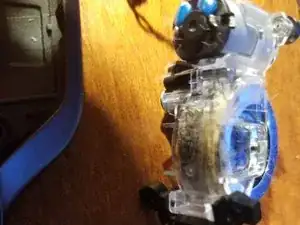
Auf dem letzten Foto kannst du etwas von dem Schmutz sehen, der meine Probleme beim Scrollen verursacht.
-
-
-
Drei weitere P0-Schrauben halten das PCB an seinem Platz. Entferne sie!
-
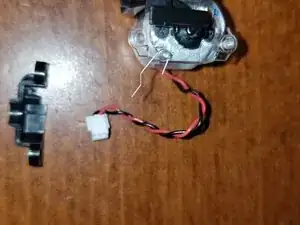
Achte darauf, dass das kleine Dingsbums auf dem roten Draht wieder an seinen Platz kommt (ich kann mich nicht mehr an den Namen erinnern).
-
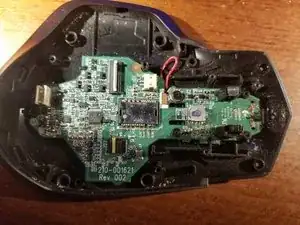
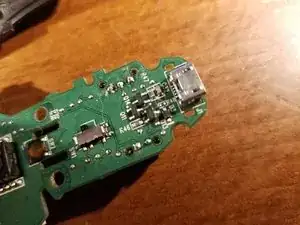
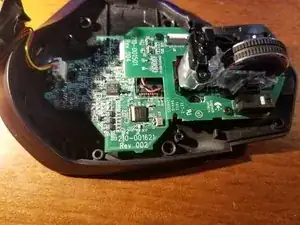
Wir können auf den Bildern den Mikro-USB-Anschluss auf der Unterseite sehen. Mit meinem Equipment ist mir ein Aufrüsten auf USB-C leider nicht möglich.
-
Eine Dose Druckluft ist alles, was ich zum Reinigen benötige.
-
-
-
Ich konnte das Rad nicht aus der Baugruppe herausholen, aber ich konnte es mit etwas Druckluft drehen und so teilweise reinigen.
-
Ich entschuldige mich im Voraus dafür, dass ich im Porträtmodus gefilmt habe. Außerdem ist es mir nicht gelungen, eine Aufnahme von den Rückständen im Inneren des Rades zu machen.
-
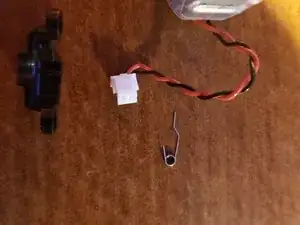
Die Feder unten auf dem ersten Bild wird wahrscheinlich bei der Prozedur abfallen. Achte darauf, sie nicht zu verlieren.
-
Ich habe die Baugruppe auseinandergenommen, um das Rad herauszuholen - ohne Würfel. Ich weiß nicht, wo diese seltsam geformte Feder hinkommt, möglicherweise an diesen Zapfen, aber ich habe sie ausgelassen, und sie scheint nicht wichtig zu sein. Anmerkung: Bitte kommentiere, sofern du weißt wo sie hinkommt!
-
-
-
Du kannst die Schritte 5-8 in umgekehrter Reihenfolge ausführen, um den Boden der Maus wieder zusammenzusetzen.
-
Das Oberteil benötigt für die Reinigung nur ein wenig Druckluft, eine Demontage ist nicht erforderlich.
-
Du kannst die Tasten nach unten drücken, um leichter an den Schmutz heranzukommen.
-
-
-
Nachdem du die Schritte 1-4 in umgekehrter Reihenfolge ausgeführt hast, ist deine Maus wieder sauber! Und wahrscheinlich sauberer als meine.
-
Abschluss hier einfügen?

11 Kommentare
I followed your guide and I found a problem when I put everything together again. Now I turn on the mouse and it’s broken. The battery leds just blink and it doesn’t respond to pressing the channel selection or connect buttons, it just doesn’t work or sincronizes with the dongle, just shows the battery leds blinking. Anyone has any suggestion? Many thanks.
I have the same problem (all three LED’s blink green and no response to pressing channel selection or connect buttons) that Juan Suarez describes.
I would also be happy for any suggestions on how to fix the issue.
Max -
And? Did you find a way to fix it?
Unfortunately I did not.
Max -
Have you tried reseating the ribbon cables?
Skylar -
I have just now.
Is it not just the one ribbon cable (see step 5)?
Max -
Reseating the ribbon cables fixed that for me. There is a blue line on the cables. That has to align perfectly to the edge of the cable lock when down and fixed.
mark -
I would recommend applying heat to the feet before removing them. I damaged one. Used heat and the second one came off and went back on perfectly.
charlie -
This is something I recommend as well since I now do not have the feet back. I removed them with a scalpel and the adhesive is now missing. I think it makes sense to apply heat (hair heater) and just remove them and put back on.
Stjepan -
My scroll wheel stopped responding to input. After cleaning out all the lint from the scroll wheel I still has issues. I cleaned off the boards and wiped down the mouse wheel sensor and ir emitter. Tested it out and it’s working again.