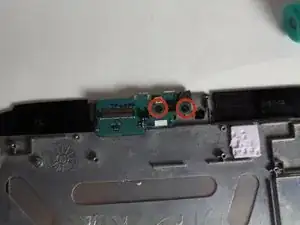
Einleitung
If you are inserting a micro SD card and your device does not recognize the SD card is inside, this guide will help you replace you broken reader.
In this guide we will remove:
- I/O Panel


-
-
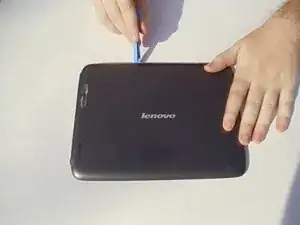
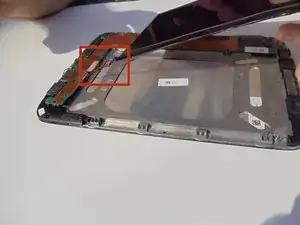
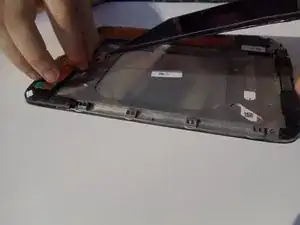
Place the tablet on its screen and use the opening tool to remove the back cover.
-
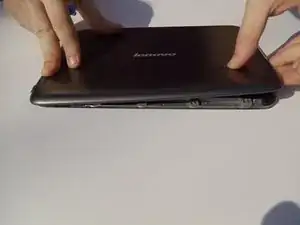
With the tool, place slight pressure on the tablet to pry the back panel off.
-
-
-
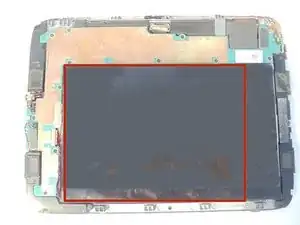
Grab the battery and gently lift upwards. This will show a red and black coiled wire.
-
Pull the battery gently until the cord has no slack.
-
-
-
Carefully hold the battery in one hand while your other hand's index finger and thumb grab the two wires nearest to their connection point.
-
Use your fingers to give a firm tug to the black and red wires, but do not yank them hard enough to damage the tablet.
-
Remove the battery from the device.
-
-
-
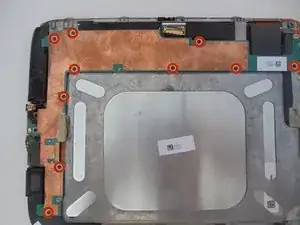
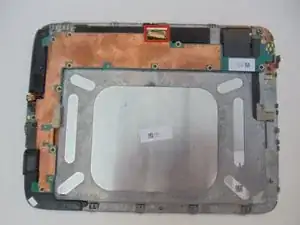
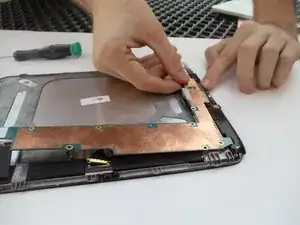
Remove the ten 2 mm black screws from the edges of the system board with a Phillips #00 screwdriver.
-
-
-
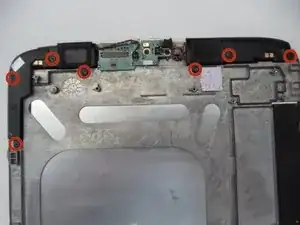
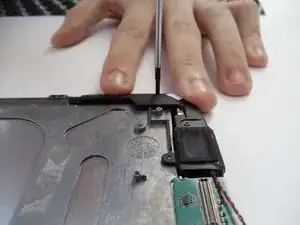
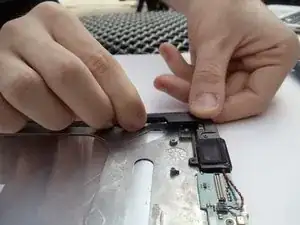
Remove the seven 2 mm black screws connecting the speakers using the Phillips #00 screwdriver.
-
-
-
Lift the disconnected speakers from their resting position.
-
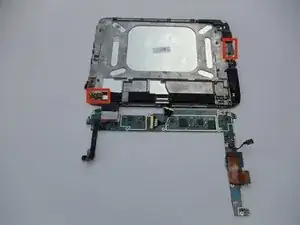
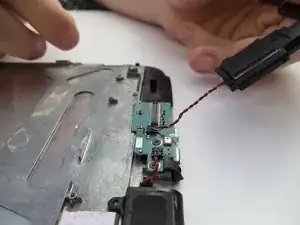
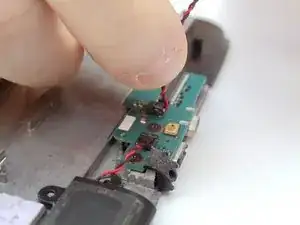
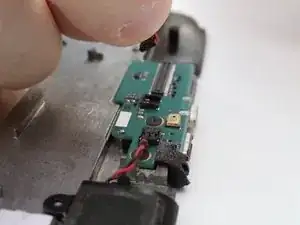
Grab the red and black cable with your index finger and thumb.
-
-
-
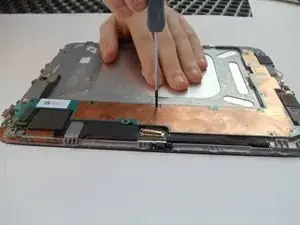
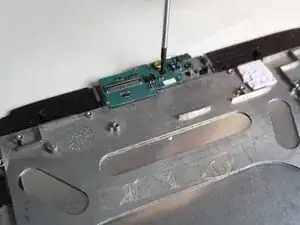
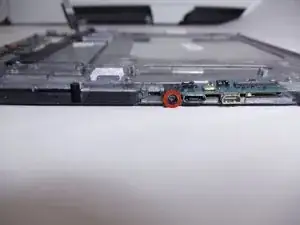
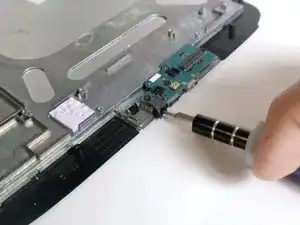
Remove the 2mm Torx T-4 screw on the front use a Torx T-4 screwdriver from the iFixit tool kit.
-
-
-
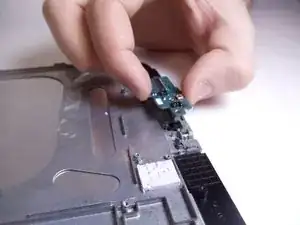
To remove the I/O Panel just lift up on the panel and it should come out without any effort.
-
To reassemble your device, follow these instructions in reverse order.

don’t forget the screws under the speaker grills. if you do it will break the back were they are going through to hold. There are 4 very small screws under the speaker covers.
dmemca -