Einleitung
This is a prerequisite guide! This guide is part of another procedure and is not meant to be used alone.
This guide was performed on the SM-G996B/DS (international) model. Other models have an additional antenna cable sitting in the left edge of the midframe.
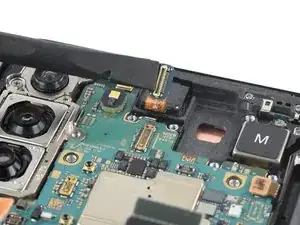
Use this guide to disconnect the front facing camera in the Samsung Galaxy S21 Plus.


-
-
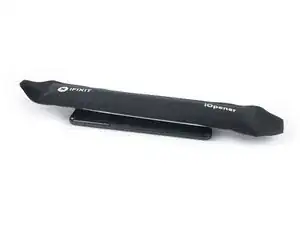
Prepare an iOpener and apply it to the rear glass for at least three minutes to loosen the adhesive underneath.
-
-
-
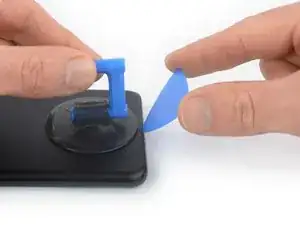
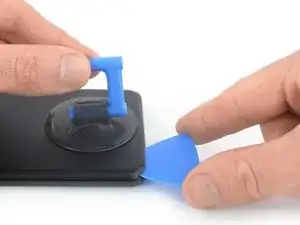
Secure a suction handle to the bottom edge of the rear glass, as close to the edge as possible.
-
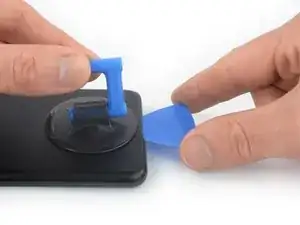
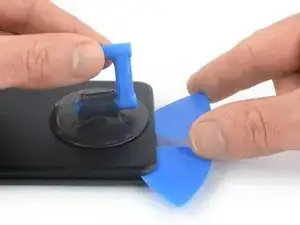
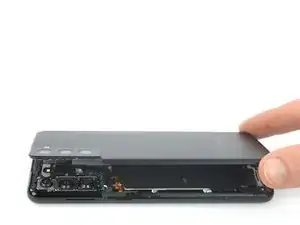
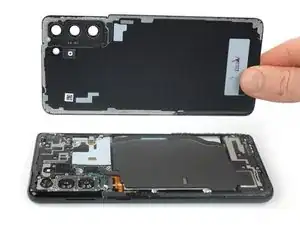
Lift the rear glass with the suction handle to create a small gap between the rear glass and the frame.
-
Insert an opening pick into the gap you created.
-
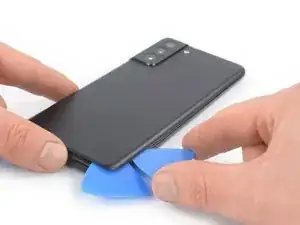
Slide the opening pick to the bottom left corner to slice the adhesive.
-
Leave the opening pick in place to prevent the adhesive from resealing.
-
-
-
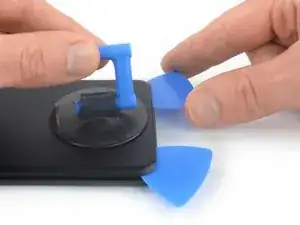
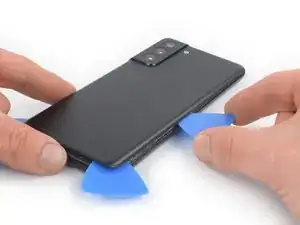
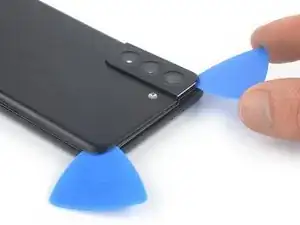
Insert a second opening pick at the bottom edge of your phone.
-
Slide the opening pick to the bottom right corner to slice the adhesive.
-
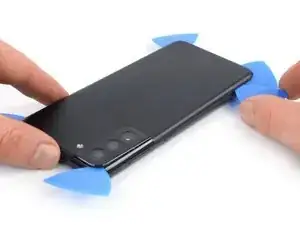
Leave the opening picks in place to prevent the adhesive from resealing.
-
-
-
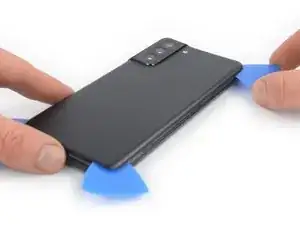
Insert a third opening pick at the bottom right corner of your phone.
-
Slide the opening pick along the right edge of your phone to slice the adhesive.
-
Leave the opening pick in the top right corner to prevent the adhesive from resealing.
-
-
-
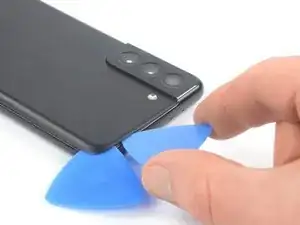
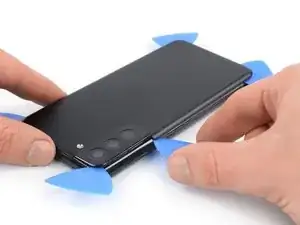
Insert a fourth opening pick underneath the top right corner of your phone.
-
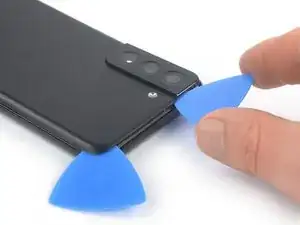
Slide the opening pick along the top edge to slice the adhesive.
-
Leave the opening pick in the top left corner to prevent the adhesive from resealing.
-
-
-
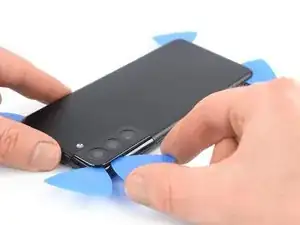
Insert a fifth opening pick underneath the bottom left corner.
-
Slide the opening pick along the left edge of the rear glass to slice the remaining adhesive.
-
-
-
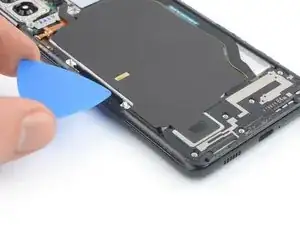
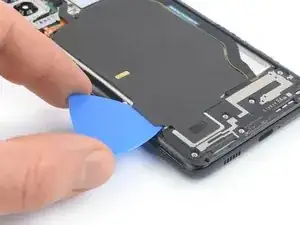
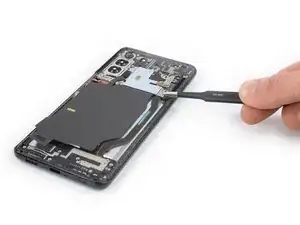
Insert an opening pick underneath the left bottom end of the NFC antenna and charging coil assembly.
-
Carefully slide the opening pick along the bottom left edge of the assembly to separate it from the battery.
-
-
-
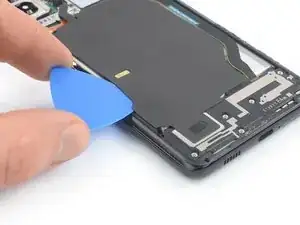
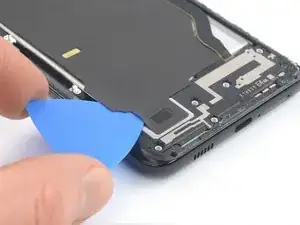
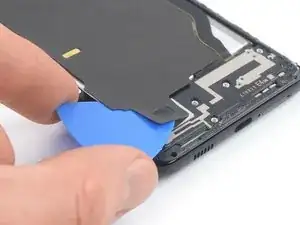
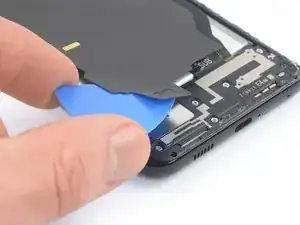
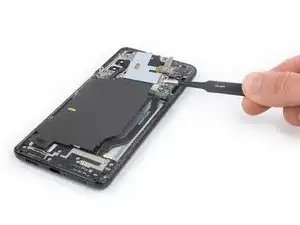
Insert an opening pick underneath the bottom end of the NFC antenna and charging coil assembly.
-
Carefully slide the opening pick along the bottom of the assembly to separate it from the loudspeaker.
-
-
-
Use a spudger to disconnect the charging coil by prying the connector straight up from its socket.
-
-
-
Use a spudger to disconnect the NFC antenna by prying the connector straight up from its socket.
-
-
-
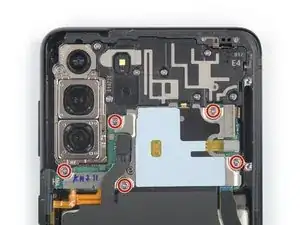
Use a Phillips screwdriver to remove the five 3.9 mm-long screws securing the NFC antenna and charging coil assembly.
-
-
-
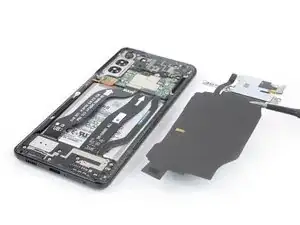
Use a pair of tweezers or your fingers to carefully remove the NFC antenna and charging coil assembly.
-
-
-
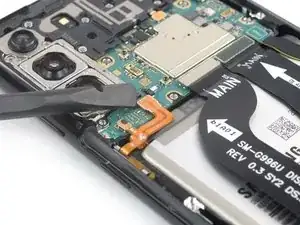
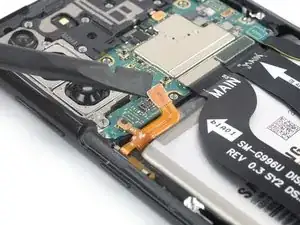
Use a spudger to disconnect the battery cable by prying the connector straight up from its socket.
-
-
-
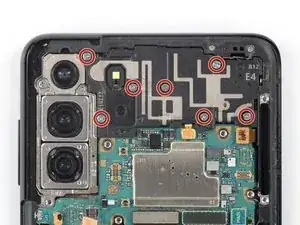
Use a Phillips screwdriver to remove the seven 3.9 mm-long screws securing the earpiece speaker assembly.
-
-
-
Use a spudger to disconnect the earpiece speaker cable by prying the connector straight up from its socket.
-
-
-
Insert a spudger underneath the bottom left edge of the earpiece speaker assembly.
-
Use your spudger to pry up the earpiece speaker assembly.
-
-
-
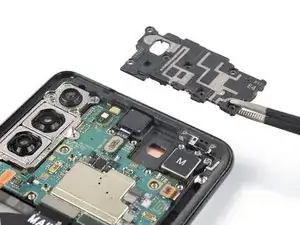
Use a pair of tweezers or your fingers to carefully remove the earpiece speaker assembly.
-
-
-
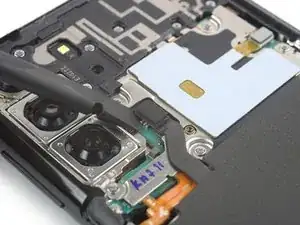
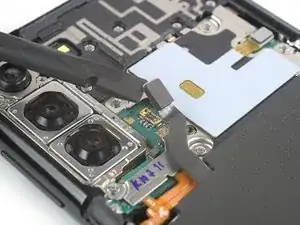
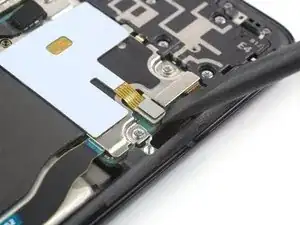
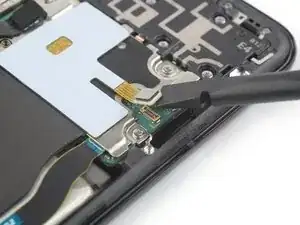
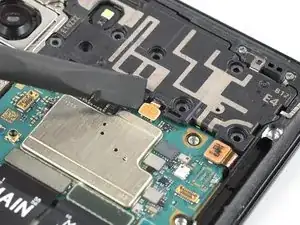
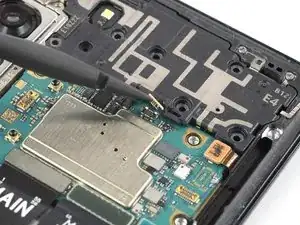
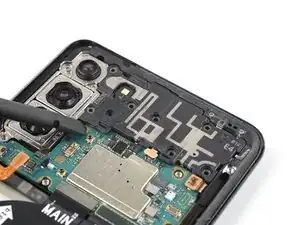
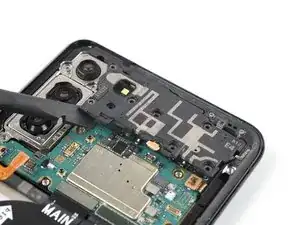
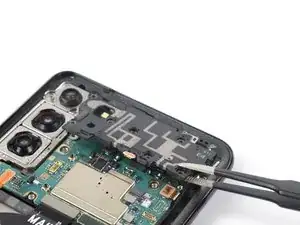
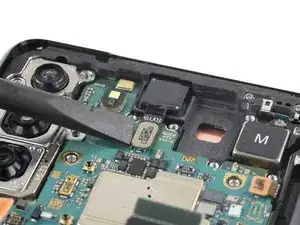
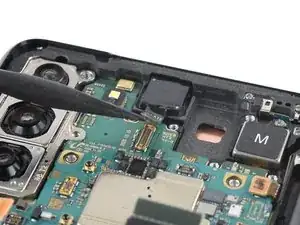
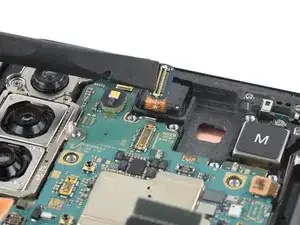
Use a spudger to disconnect the front facing camera cable by prying the connector straight up from its socket.
-
To reassemble your device, follow these instructions in reverse order.