-
-
Today we will share a repair case of a Samsung Galaxy S10+ that won’t turn on.
-
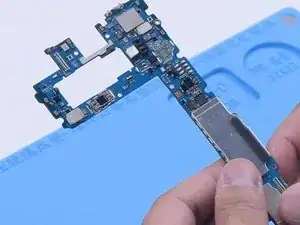
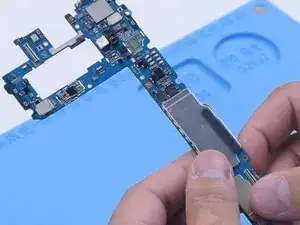
First of all, let’s check the motherboard. Both the power IC and camera IC have been soldered before.
-
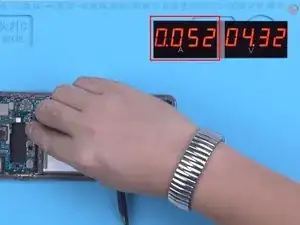
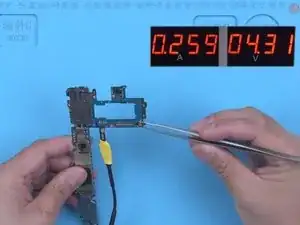
Then we install the motherboard to test. Connect the display and the power cable. The motherboard is found to have a 52 mA electricity leakage.
-
Press the power button to turn on the phone. The current reading isn’t changing.
-
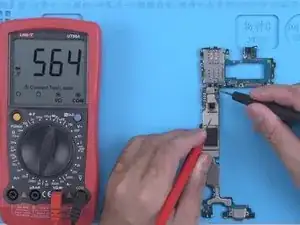
It can be preliminarily judged that the main power supply line of the motherboard is faulty. Measure several power supply lines of the motherboard with diode mode of the multimeter. Inductor L5039 is shorted to the ground.
-
-
-
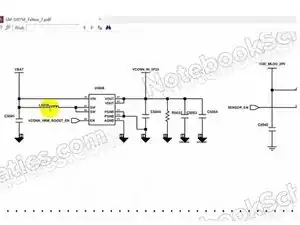
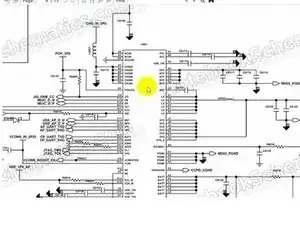
Open the schematic. We can see that L5039 is not only directly connected to the main power supply line VBAT but also connected to the power IC U8031.
-
-
-
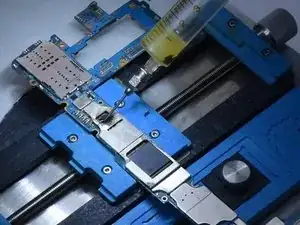
Since power IC U8031 has been soldered before, we need to find out if it is faulty in the first place. Attach the motherboard to the holder and apply some Paste Flux to the power IC.
-
Heat with Hot Air Gun at 340 °C and airflow 3 to remove the IC.
-
-
-
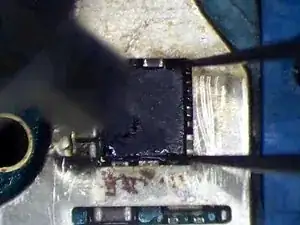
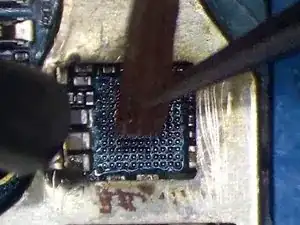
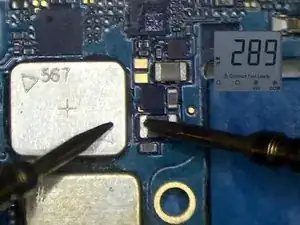
Clean the bonding pad with Solder Wick. Measure the inductor L5039 with diode mode of the multimeter. The diode value is 289, which is normal. We can judge that the power IC fault has resulted in the short-circuit of the main power supply line.
-
Clean the bonding pad with PCB Cleaner and apply some Paste Flux.
-
-
-
Align the new IC. Solder the new IC with Hot Air Gun at 340 °C and airflow 2. After the motherboard has cooled, connect the power cable.
-
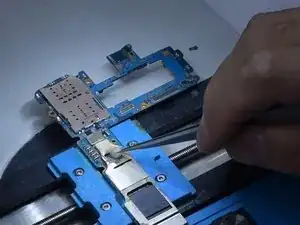
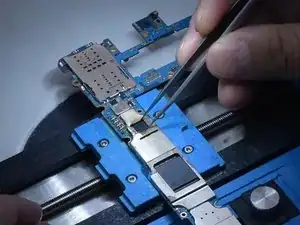
Trigger the boot-up with tweezers. The boot current returns to normal.
-
Install the motherboard. The phone turns on normally. The fault has been cleared.
-

To reassemble your device, follow these instructions in reverse order.

Ein Kommentar
sir. in step 4. i remove IC U8031 and Clean the bonding pad with Solder Wick.but when i Measure the inductor L5039 with diode mode of the multimeter. The diode value is shorted to the ground. How i fix it? thank i’m from Thailand
fazz_up -