Einleitung
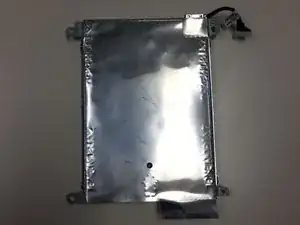
A user will effectively understand how to remove a hard drive from the device.
Werkzeuge

-
-
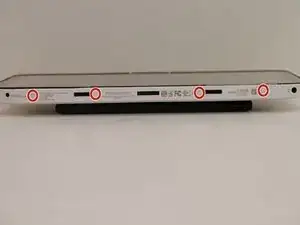
Locate the four screws at the bottom of the device. (Note that the keyboard attachment is missing from this device.)
-
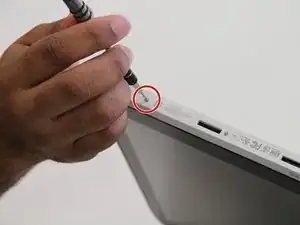
Use a Philips head #0 screwdriver to remove each of the screws (Size: 4mm)
-
-
-
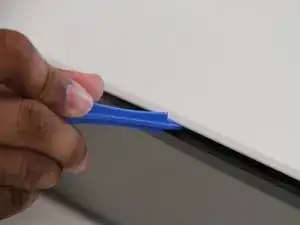
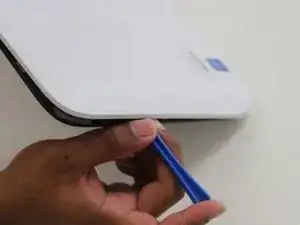
Gently wedge the plastic opening tool in between where the display and back panel meet.
-
Slowly and gently apply force to the plastic opening tool in a downwards motion to loosen the front panel from the back panel.
-
Rotate the device so that the side is facing up and repeat the previous step for the sides.
-
Do NOT attempt to wedge the plastic opening tool on the bottom . Once the sides and top are loose you are ready to continue to the next step.
-
-
-
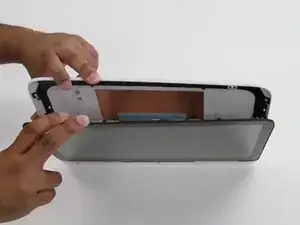
Gently and slowly pull the front and back panel away from each other (in opposite directions). ( Pulling them apart will not separate the two panels)
-
Only separate the panels by a few inches from each other so that there is room to separate the front and back panel in the next step. Proceed to the next step.
-
-
-
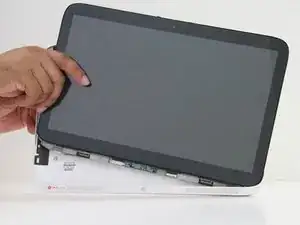
Hold the back panel firmly and pull the front panel upwards to completely separate the front panel from the back panel.
-
The device is now ready to be repaired or replacements installed.
-
-
-
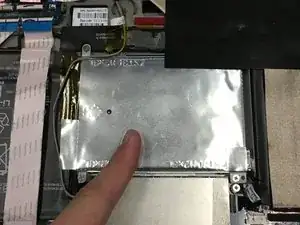
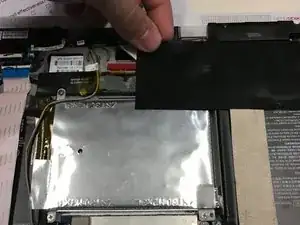
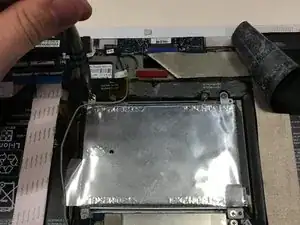
Locate the black strip of thermal resistant tape that is covering the upper right portion of the hard drive.
-
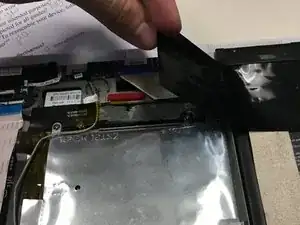
Gently lift up with the tape.
-
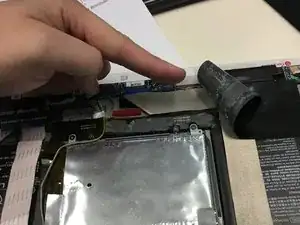
Fold the tape back away from the hard drive.
-
-
-
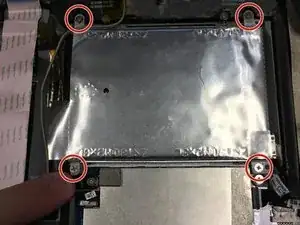
Locate the four screws (Size: 4mm) at each of the four corners of the hard drive.
-
Remove the four screws using a #0 Phillips head screwdriver.
-
-
-
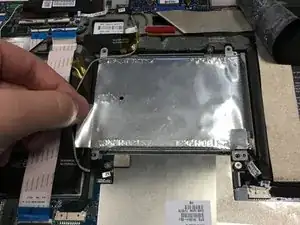
Locate the lift tab. (The lift tab is located at the bottom left corner of the hard drive).
-
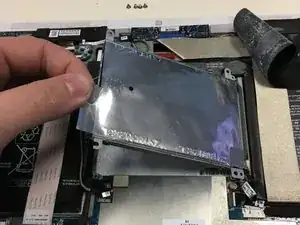
Gently lift up on the lift tab
-
-
-
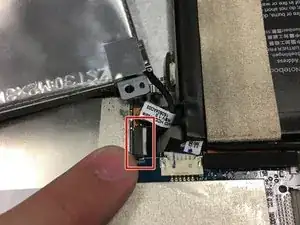
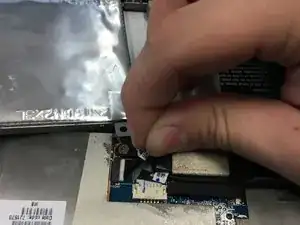
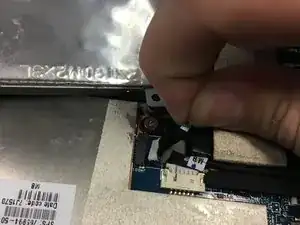
Locate the connection of the hard drive to the device.
-
Gently grasp the connector cord and pull horizontally to the right. (Very little force is needed to disconnect the cord).
-
-
-
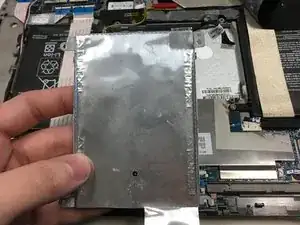
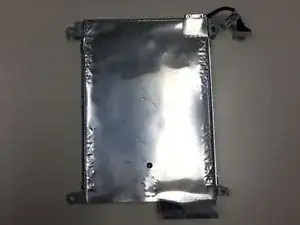
The hard drive is no longer connected to the device. Lift the hard drive up vertically and set aside.
-
The hard drive removal is completed.
-
To reassemble your device, follow these instructions in reverse order.

Ein Kommentar
Is it possible to change the Wd5000m21k disk for a Wd5000m22k?